All three of my readers have probably assumed that my recent quietude is because I’ve been busy working on the business since my last post – and for a few months, you would have been right. Then the tariffs hit, and the profit margin for my little toys got much, much slimmer, to the point where it was no longer worth doing.
Fortunately, I never got as far as going through the expensive FCC certification process, so the timing was at least decent. On the other side of the coin, however, my previous plan for the business is on the back burner, and quite possibly dead.
Sometimes, things do not go as planned due to circumstances well beyond our control.
What Now?
Back in early ‘24, I thought about getting a job again. Honestly, though, I have little interest in going back to my previous line of work, at least for now. The latest thing is AI, and I just don’t find that very exciting. The constant churn in the industry – it never stands still – is also just too tiring. It’s like running in place on a treadmill; you never reach your destination.
I have therefore decided that I’m officially retired.
Whether or not that declaration holds water will depend on how my investments pan out. I’ve spent surprisingly little money over the last couple of decades while working in a well-paid industry, so I’m doing just fine right now. I’m not going to be acquiring a Corvette or anything, let alone a whole car collection – I’m not nearly that well off – but I’ll do just fine, and I can afford to have a bit of fun along the way.
That could easily change if the markets turn sour, but I’m tentatively hopeful.
What About The Business?
I did come up with an alternative business idea – and even wrote up a fair bit of the business plan for it – but I stalled. It would be a whole lot of work, and a lot more cash investment than my original idea. I also don’t really have the energy to follow through, or the desire to risk my nest egg in such a way.
In the end, the business is more or less dormant, pending a new concept. Retired or not, I would enjoy running a small side business to make a few bucks here and there. I’m going to keep my eyes open, and if I come up with something, at least I have all the pieces in place to make it happen.
I’ll let you know if anything materializes.
But What Are You Going To Actually DO?!
Well, that’s easy: I’m going to pursue my hobbies!
For past hobbies, I have my 3D printer to play with. Gardening is also still on the table, though I’m not as enamored of the Click & Grow as when I started, so I might need to do something outside. Not to mention my usual fictional rabbit holes. I’ll also continue to tinker with technology on occasion, since I still sometimes enjoy that.
Plus my newest hobby, but more on that in a mo…
The real trick for me is going to be convincing myself that I’m allowed to do what I want, when I want, and that I’m not actually obligated to finish anything I start, whether I talk about it publicly or not. If I can manage it, it will be nice to relax for a change.
Okay, so…
Yeah, so about that new hobby…
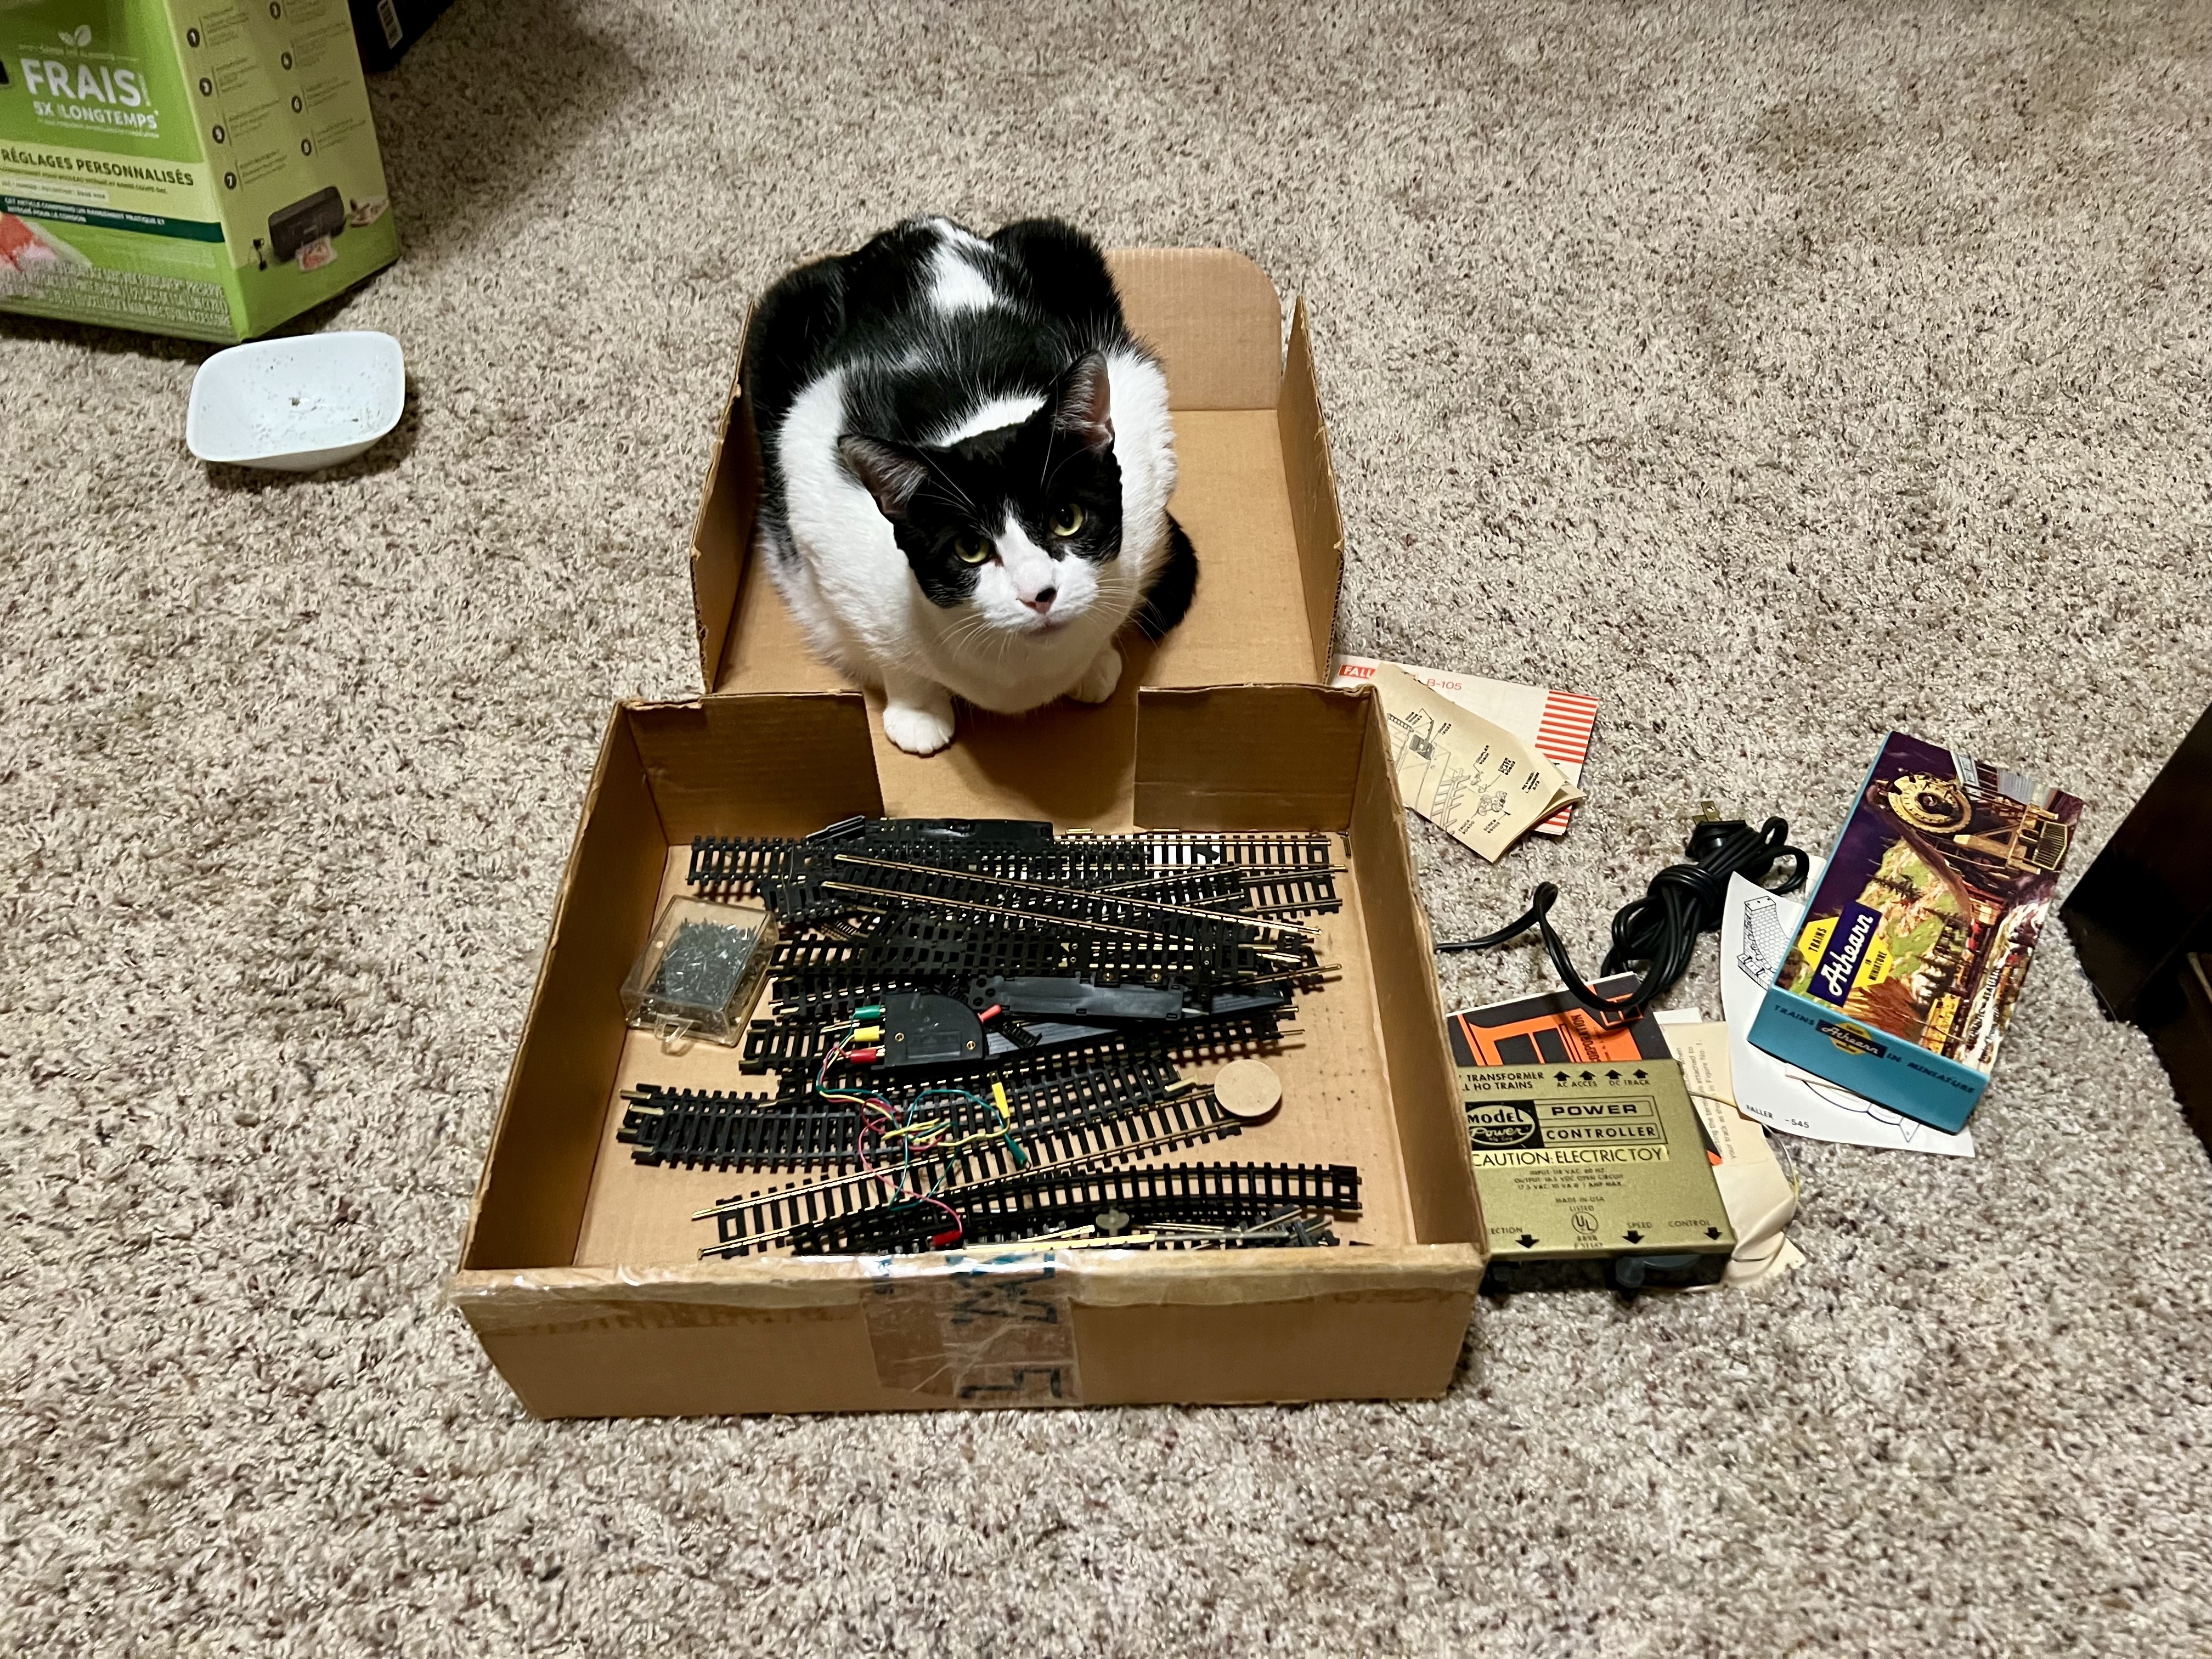
When I was a kid, my Dad tried to get me into model trains. We had his old HO-scale set, a much more forgiving and child-friendly Lionel set (O-scale, with that obnoxious three-rail tin plated track), and a small N-scale set. I had the back of a table top painted with a few roads and could play a little with my N-scale stuff and some Hot Wheels, but that was about it.
When I was a kid, it just didn’t click properly.
Now, though? Now I see the potential in it. I like trains and transportation, but what intrigues me more is the systems behind it. Track switches, routing, and on and on and on… Plus all the lighting and other effects that a layout can have in buildings, on roads…
There’s a whole lot of technological fun just waiting to be had, in addition to the trains themselves!
When the idea hit and wouldn’t go away, I dug out what my parents had left of my childhood train memories. My N scale train, which is what I was really after, is unfortunately missing. I have no clue what happened to it, even though I still have the track.
Because of that lack, I bought myself an N scale starter set off of Amazon.
Holy moly, has this hobby changed! It was worth it just to understand that fact!
The set I bought is an Amtrak passenger set in N scale from Kato; a nice diesel locomotive with a few passenger cars. I also bought the extra lighting kits for the loco and cars and installed those as well. It was, all in all, a fun way to spend an evening.
The quality and user-friendliness of the gear is vastly better than when I was a kid.
The entry level track sets are definitely nicer; Kato Unitrak is trivial to make work problem-free, unlike the stuff I used to have. This is a basic DC-powered set just like the old days, but the newer digital control systems are much more promising, and my nice new locomotive can supposedly be converted for digital operation.
I’m hooked, but running a little oval on the kitchen table isn’t all that interesting…
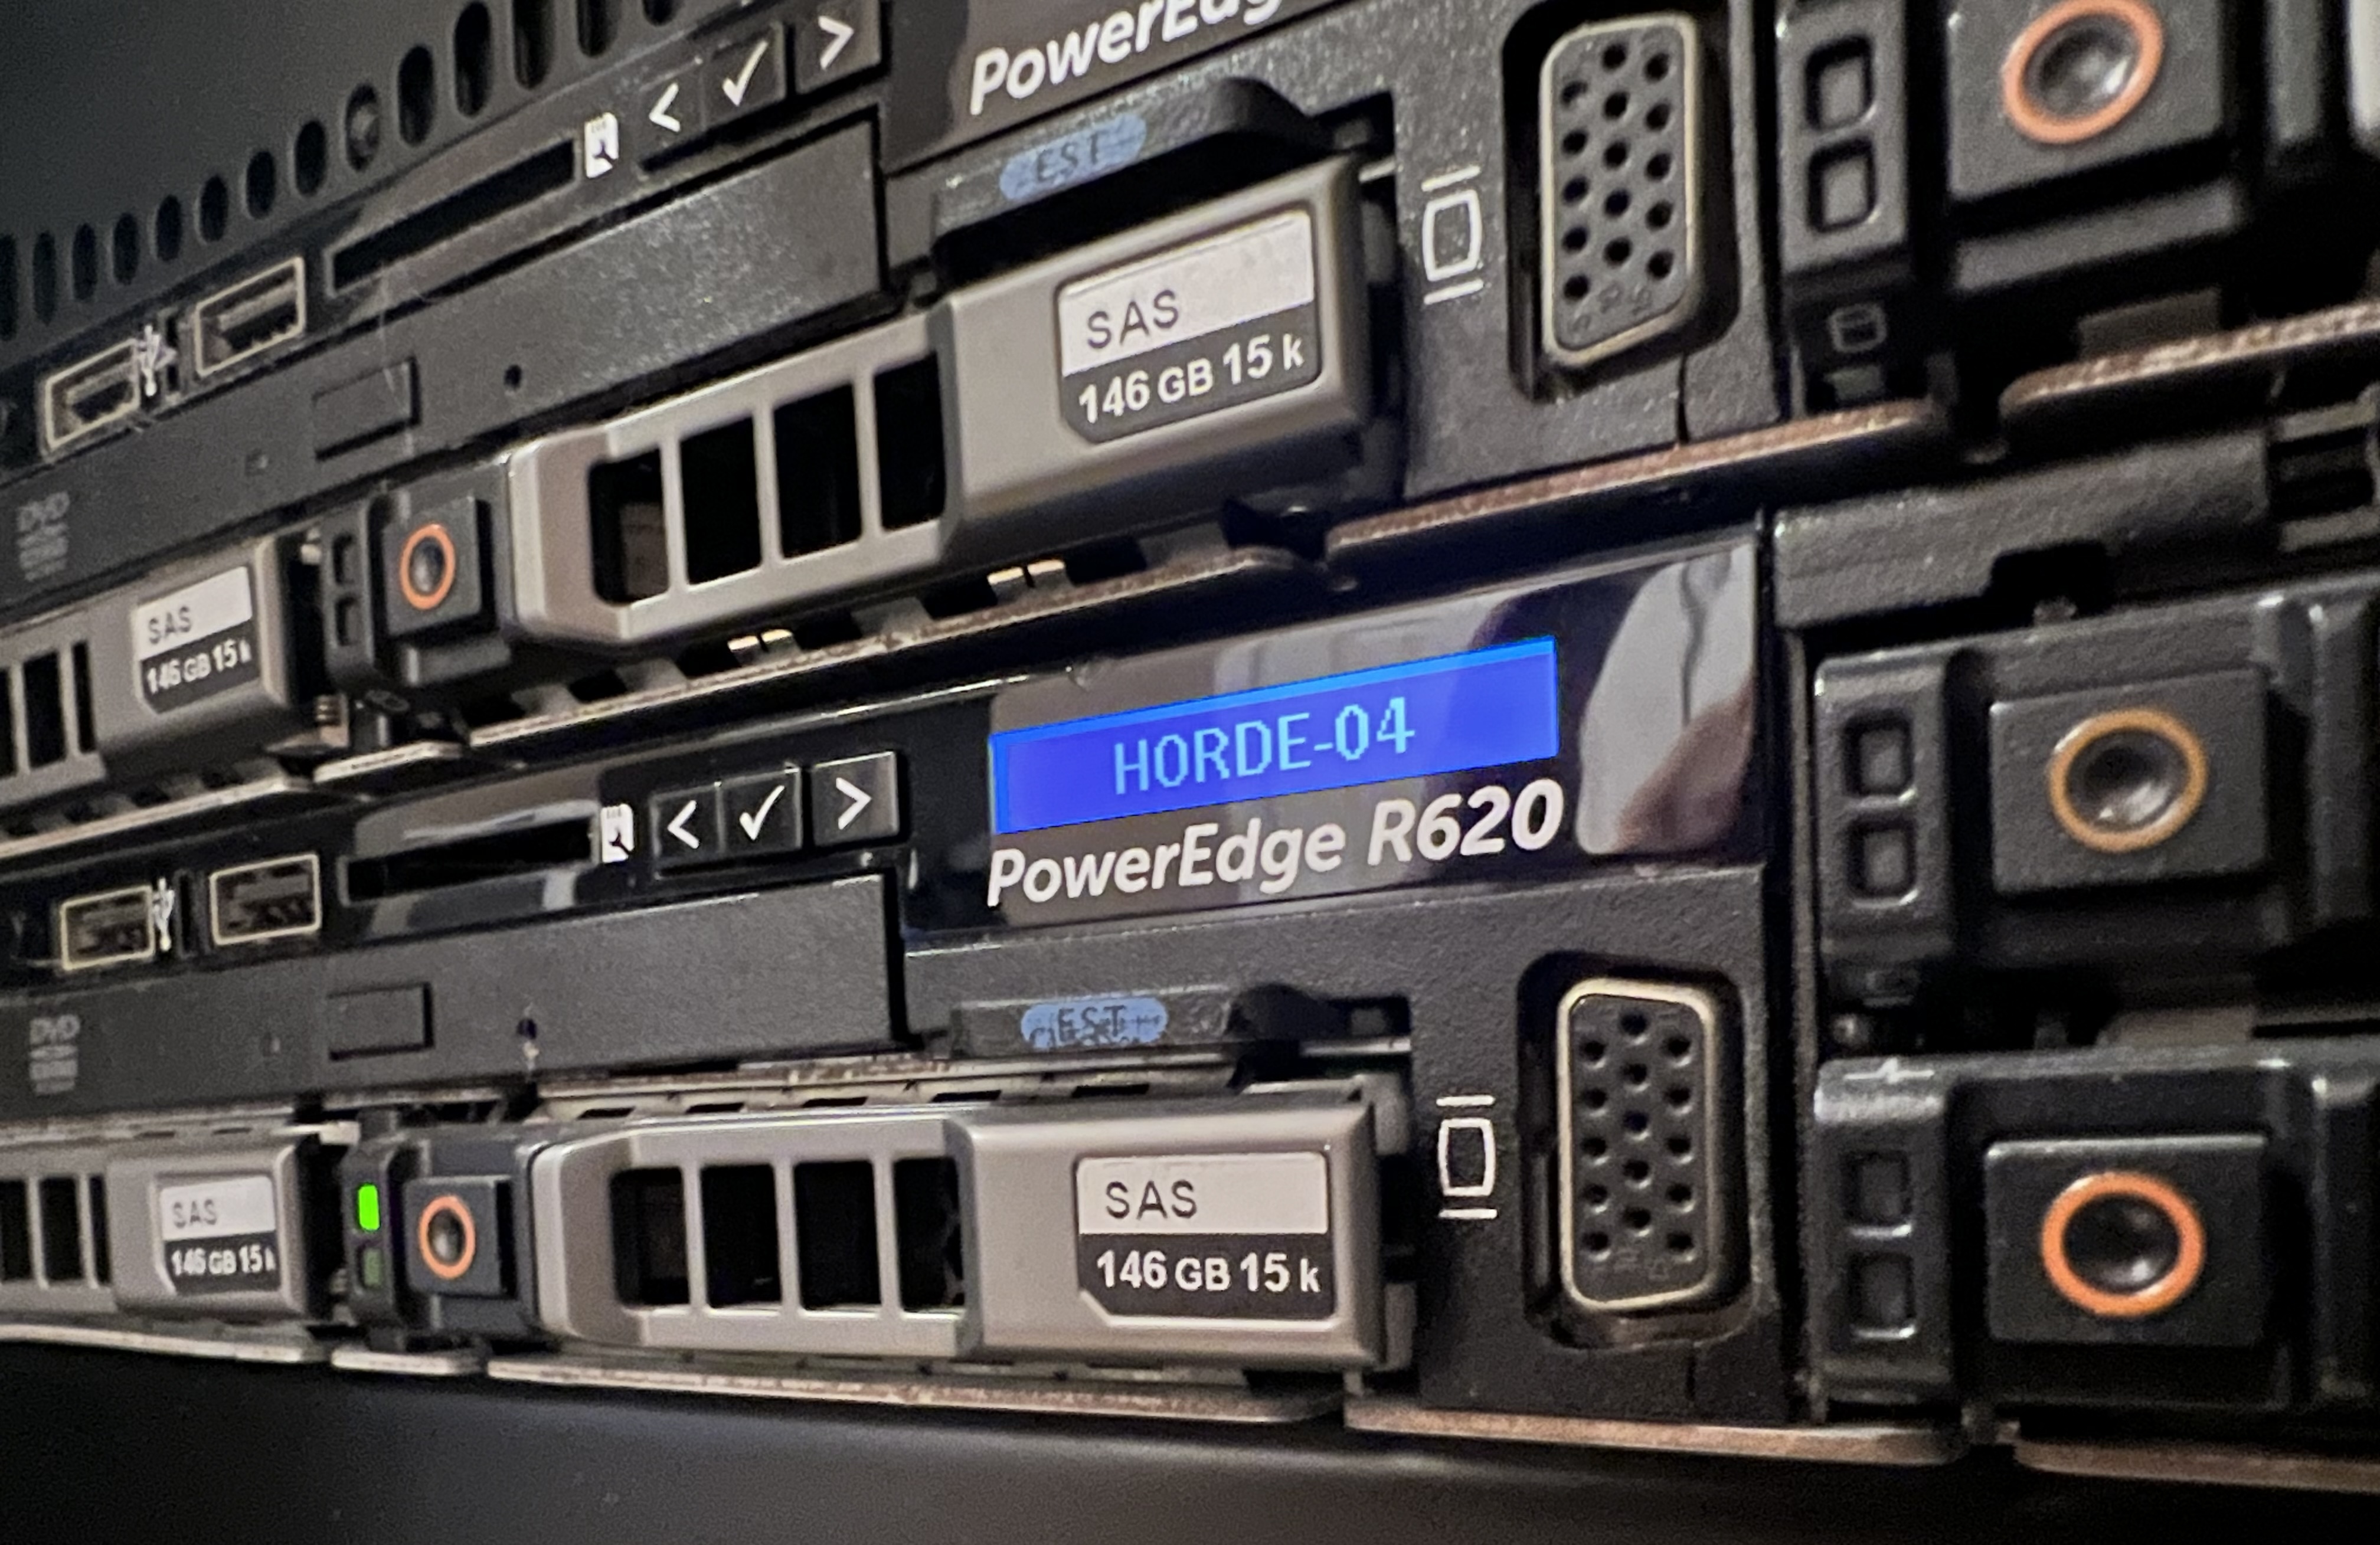
My back bedroom is still configured as an office from when I was employed. I haven’t really used it for anything for the last few years, other than to contain my homelab. I’ve decided that I’m going to replace said homelab with smaller, quieter, cooler-running gear, hollow the room out, and turn it into my train room.
Such is the advantage of living alone in a three-bedroom house; I can get away with crap like that!
I’m still in the early planning stages. The general idea is to do it in phases: a “small” (heh) layout first, just to see if I get bored with it or not, and then expanding to fill the rest of the room as time goes by. And it’s definitely going to take time; I don’t have the kind of disposable cash needed to buy thousands of dollars worth of new hobby stuff all at once anymore.
Fortunately, there are a lot of aspects to this hobby, including things like modeling buildings and landscape, that are likely going to take up a lot of my time, so it’s not that big a deal. It might even teach me some patience.
Okay, yeah, probably not…
In any event, I have a new hobby, and we’ll see where it goes.
And The Blog?
Still here, still typing, but as I’ve said before, sometimes I just don’t have anything to say. I’m currently debating if I’ll put the train stuff in this blog or on a separate one (and there will be a blog, I’m sure; I just can’t help myself). I still do random stuff though, and I have every expectation of continuing to post here about that random stuff from time to time.
It will probably come in waves, just like it always has.
Stay tuned!