Since I’ve never actually touched a 3D printer before, I had no idea what to expect when my X1 arrived. What would it take to go from boxed bits and bobs to actual results? Turns out, not that much.
This printer, so far, is living up to its reputation.
And that means: I’m doomed.
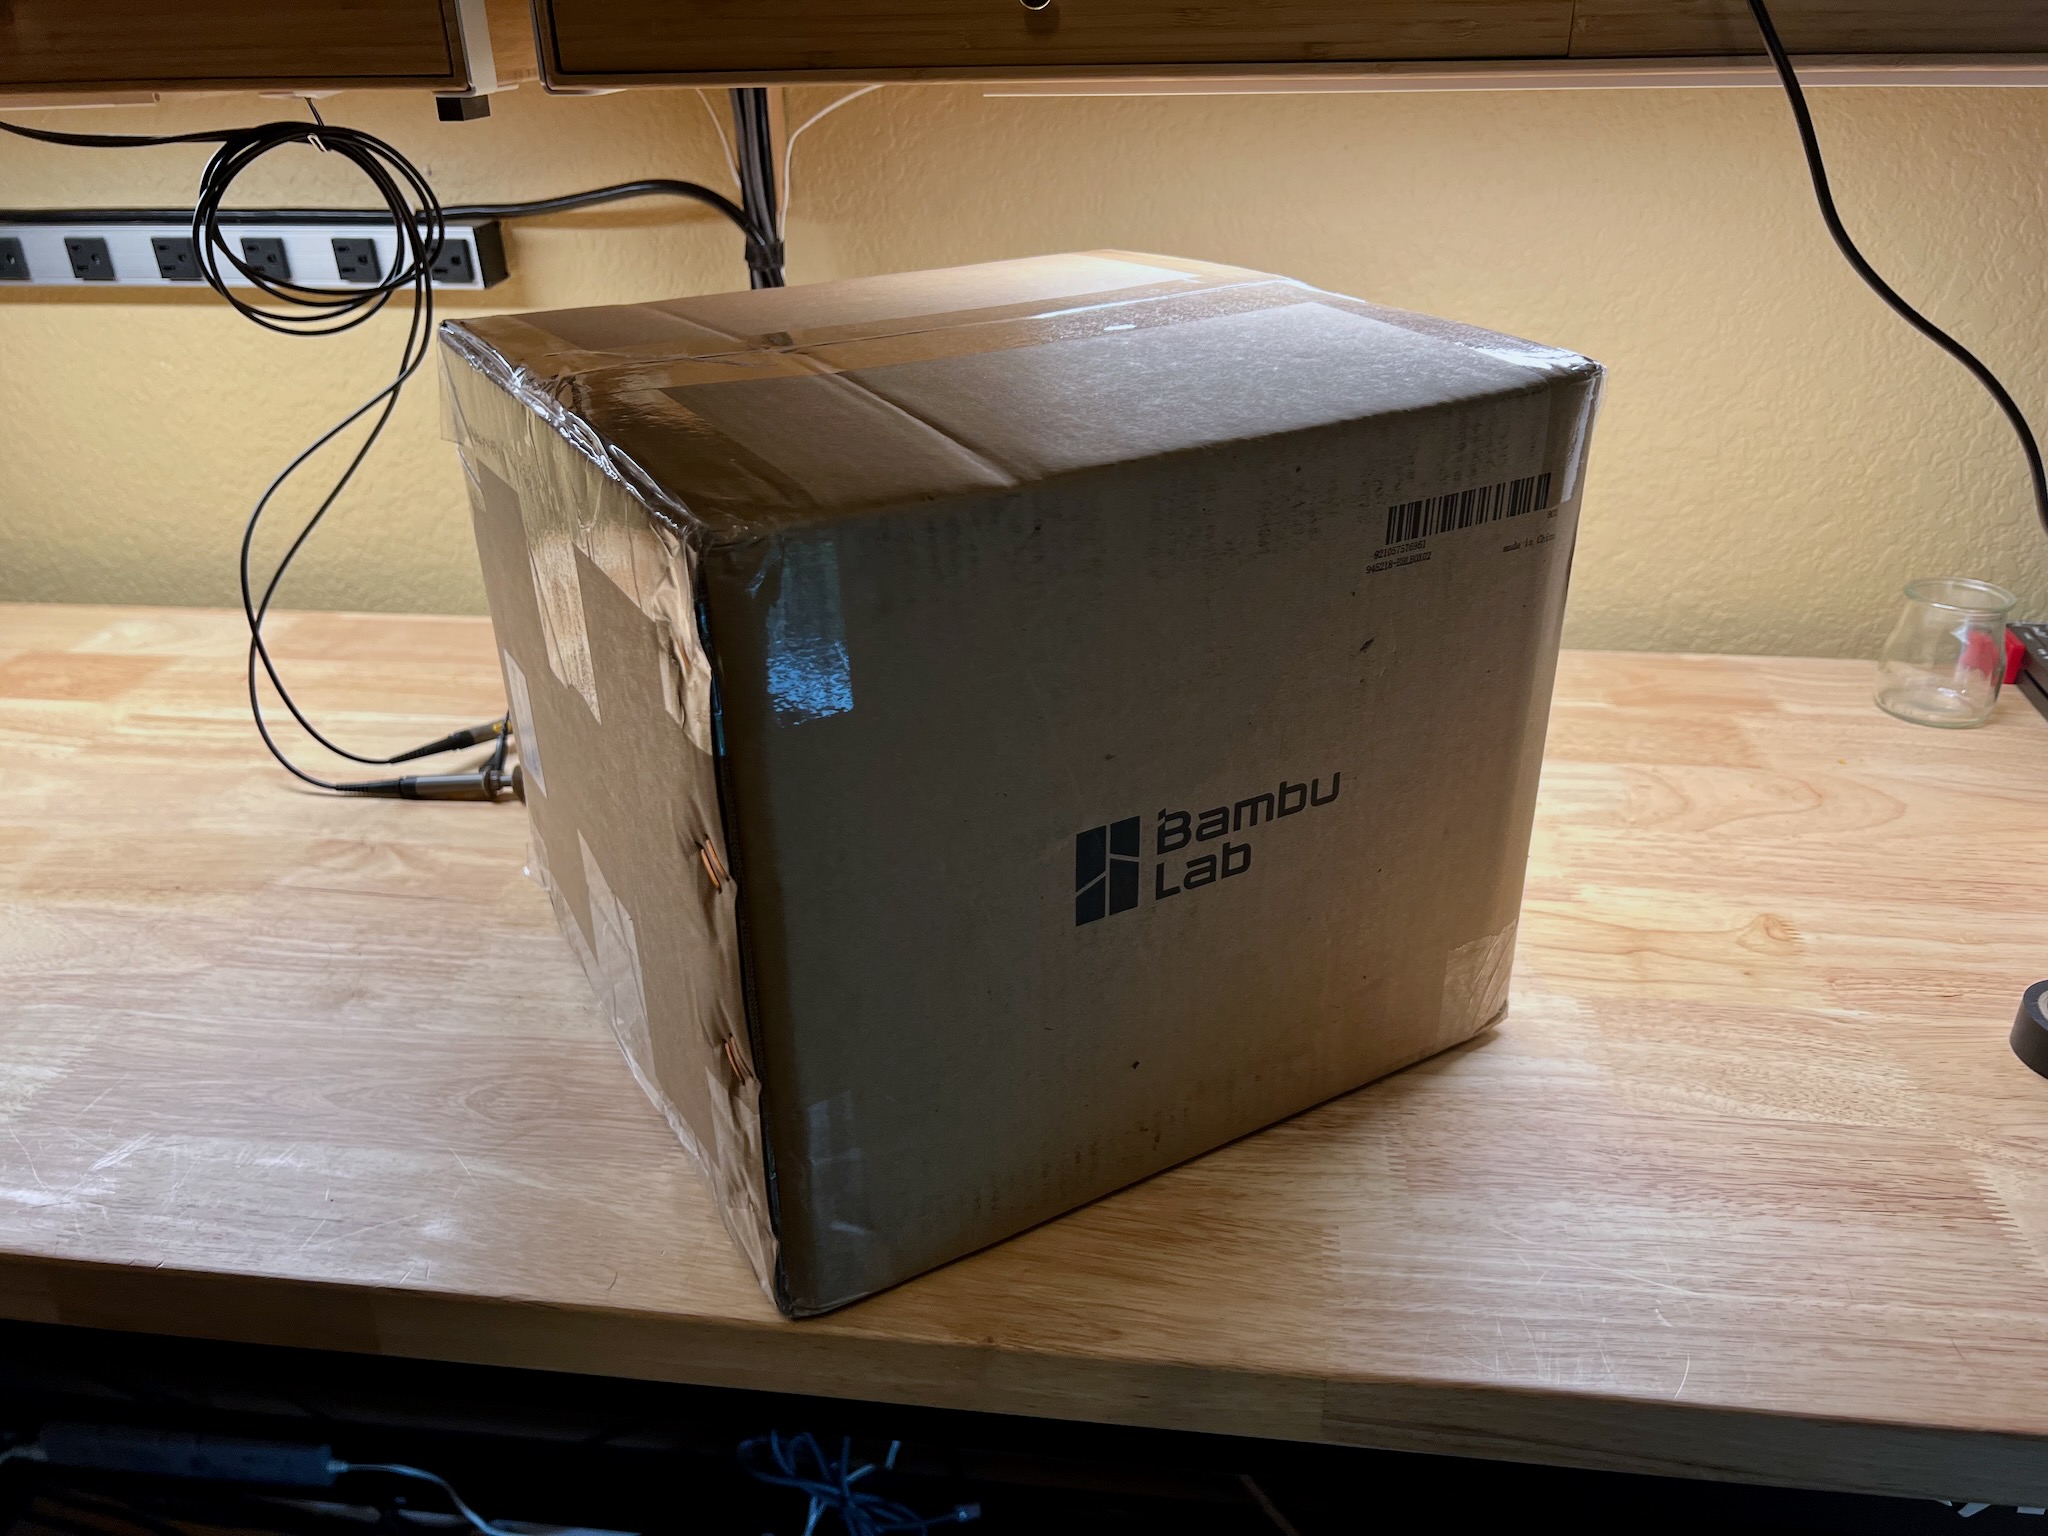
Unbox
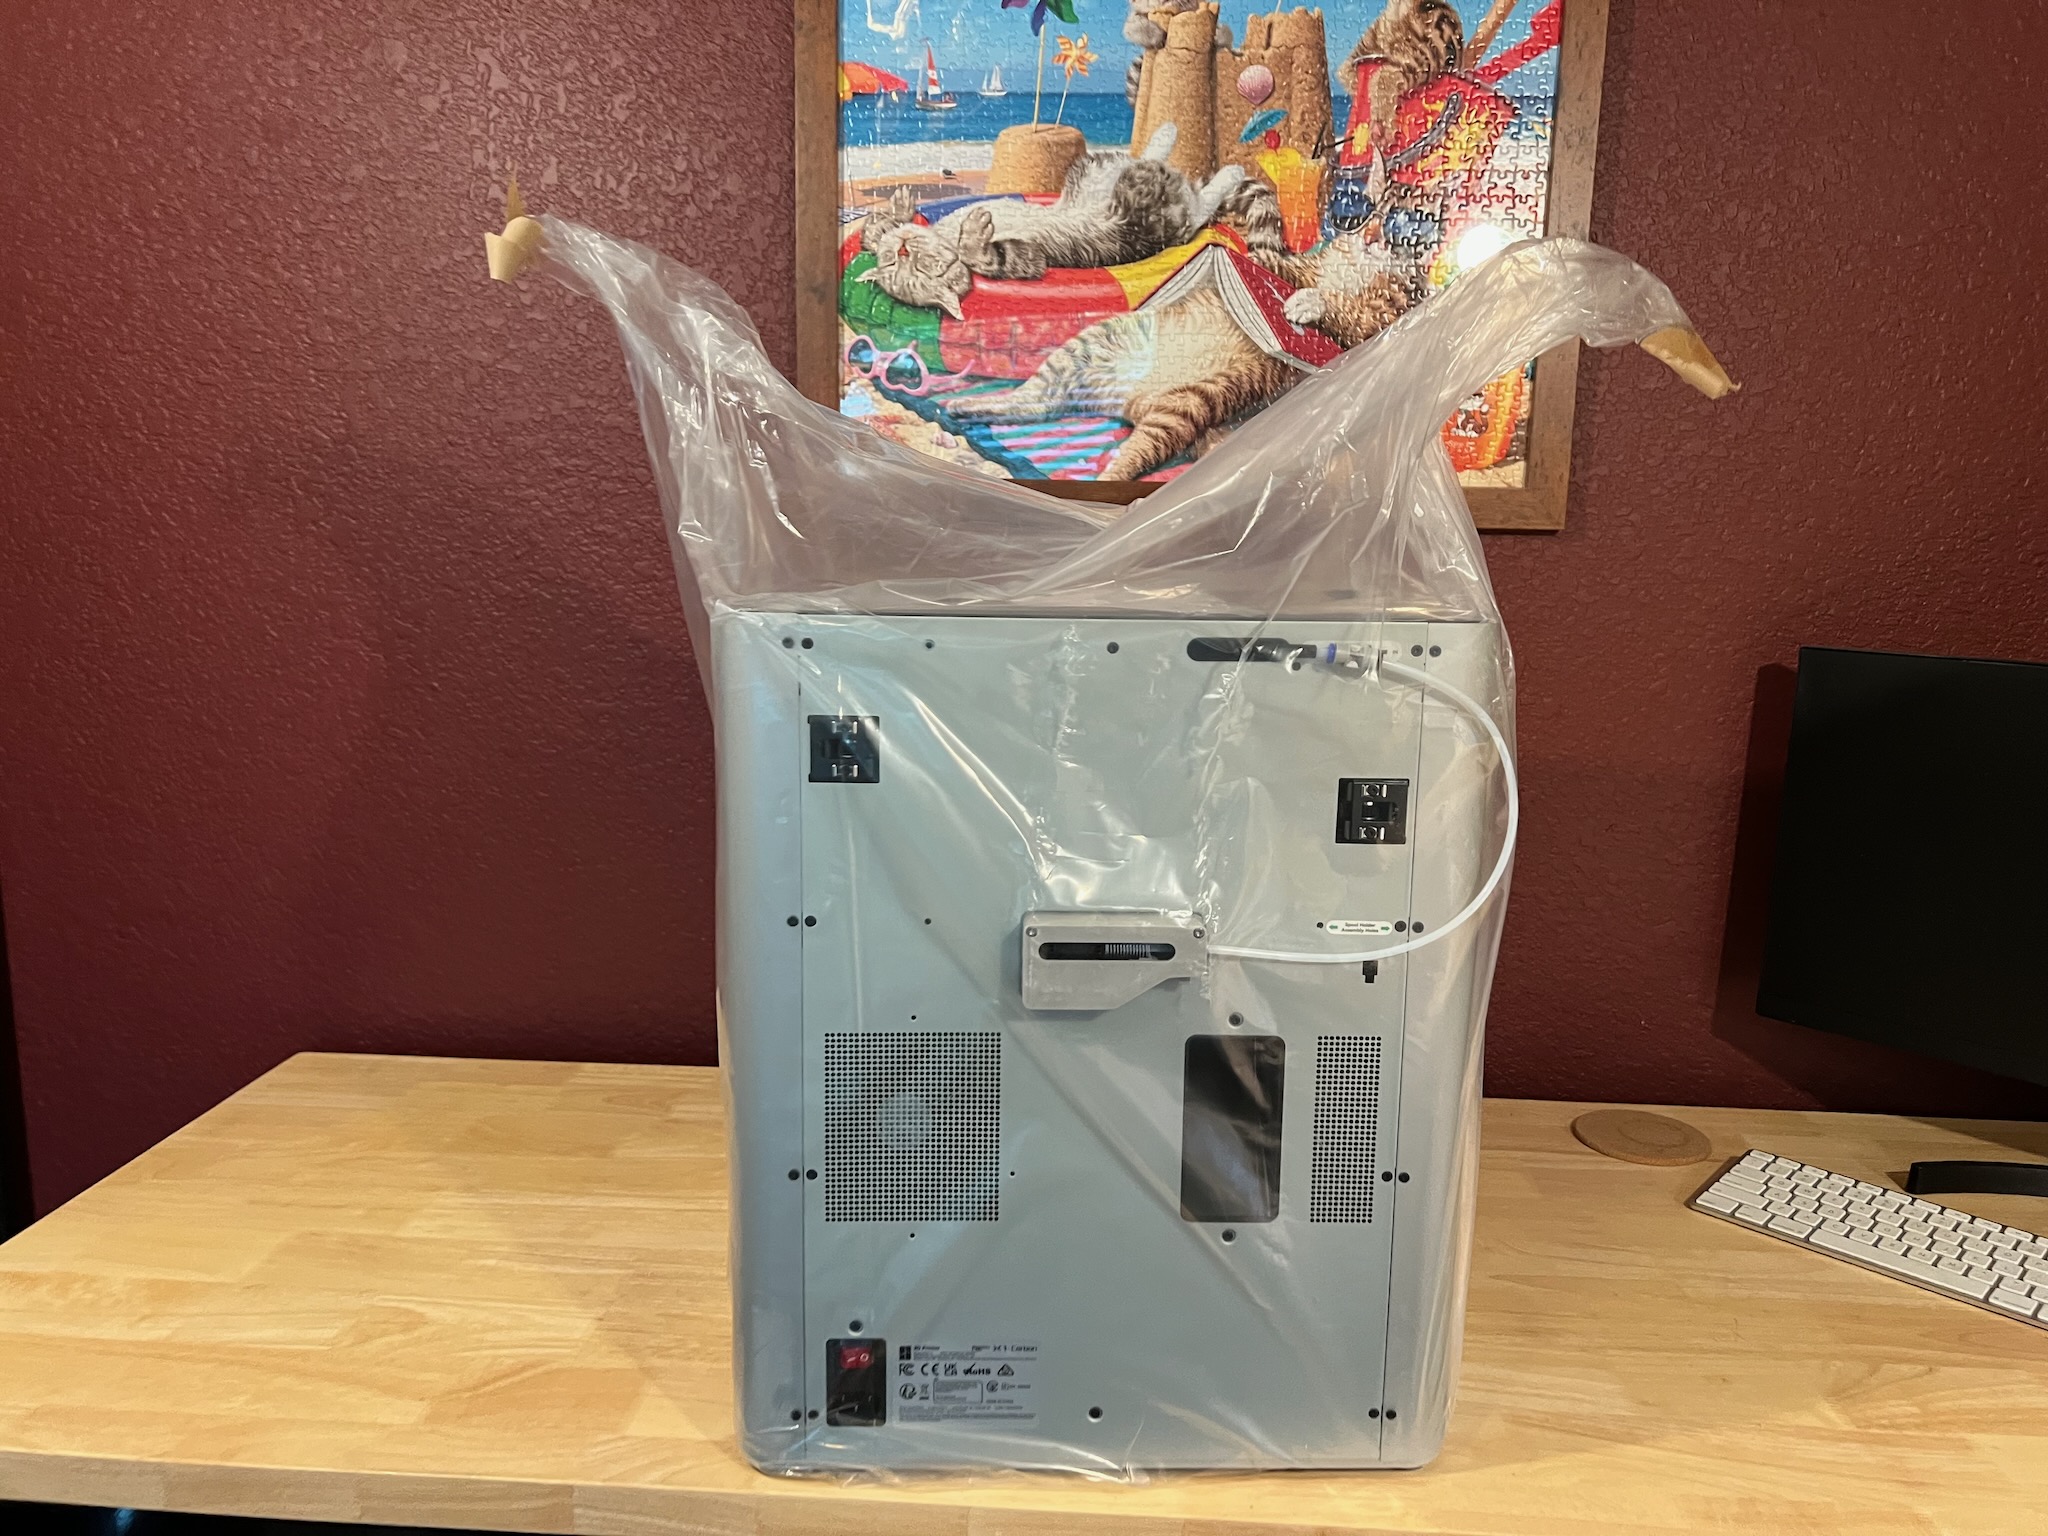
The printer/AMS combo ships in a single box, all mashed together. Simply open it up, grab the “handles” which are actually part of the bag the printer is in, and lift it onto some surface. Then, remove the bag of course.
This has to be one of the slicker setups I’ve ever seen for getting a machine this heavy out of a box…
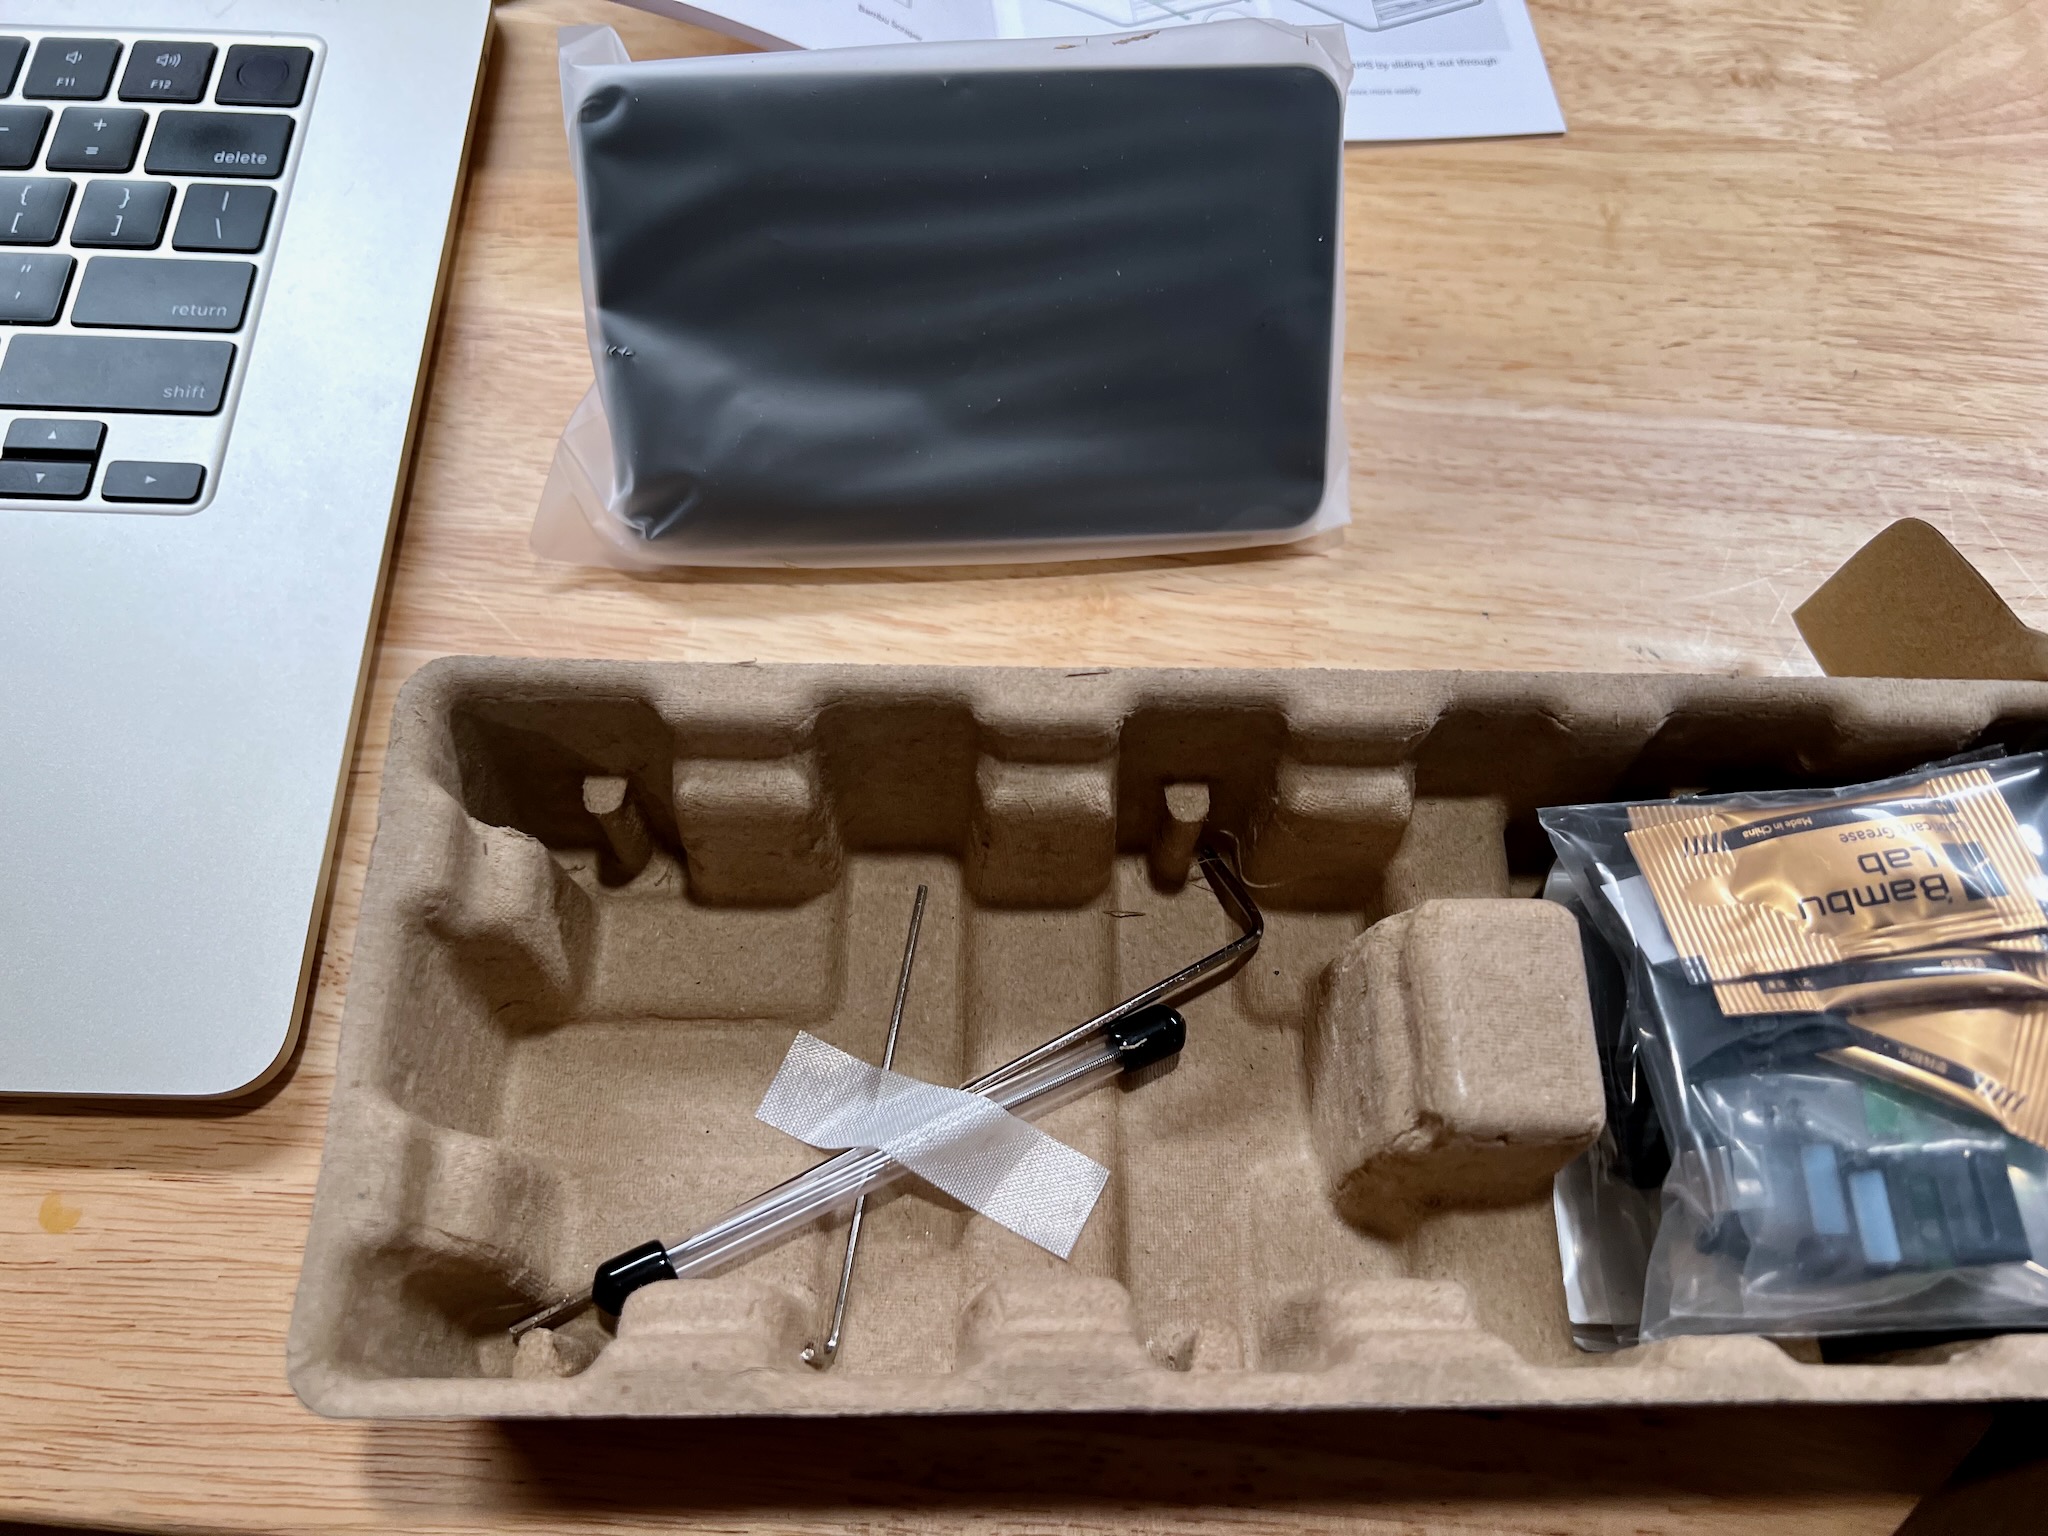
While the hardware (including the AMS!) is all in the printer enclosure, there are a few things on the bottom of the box. Specifically, three rolls of filament and a bonus box of boat parts. Simple enough.
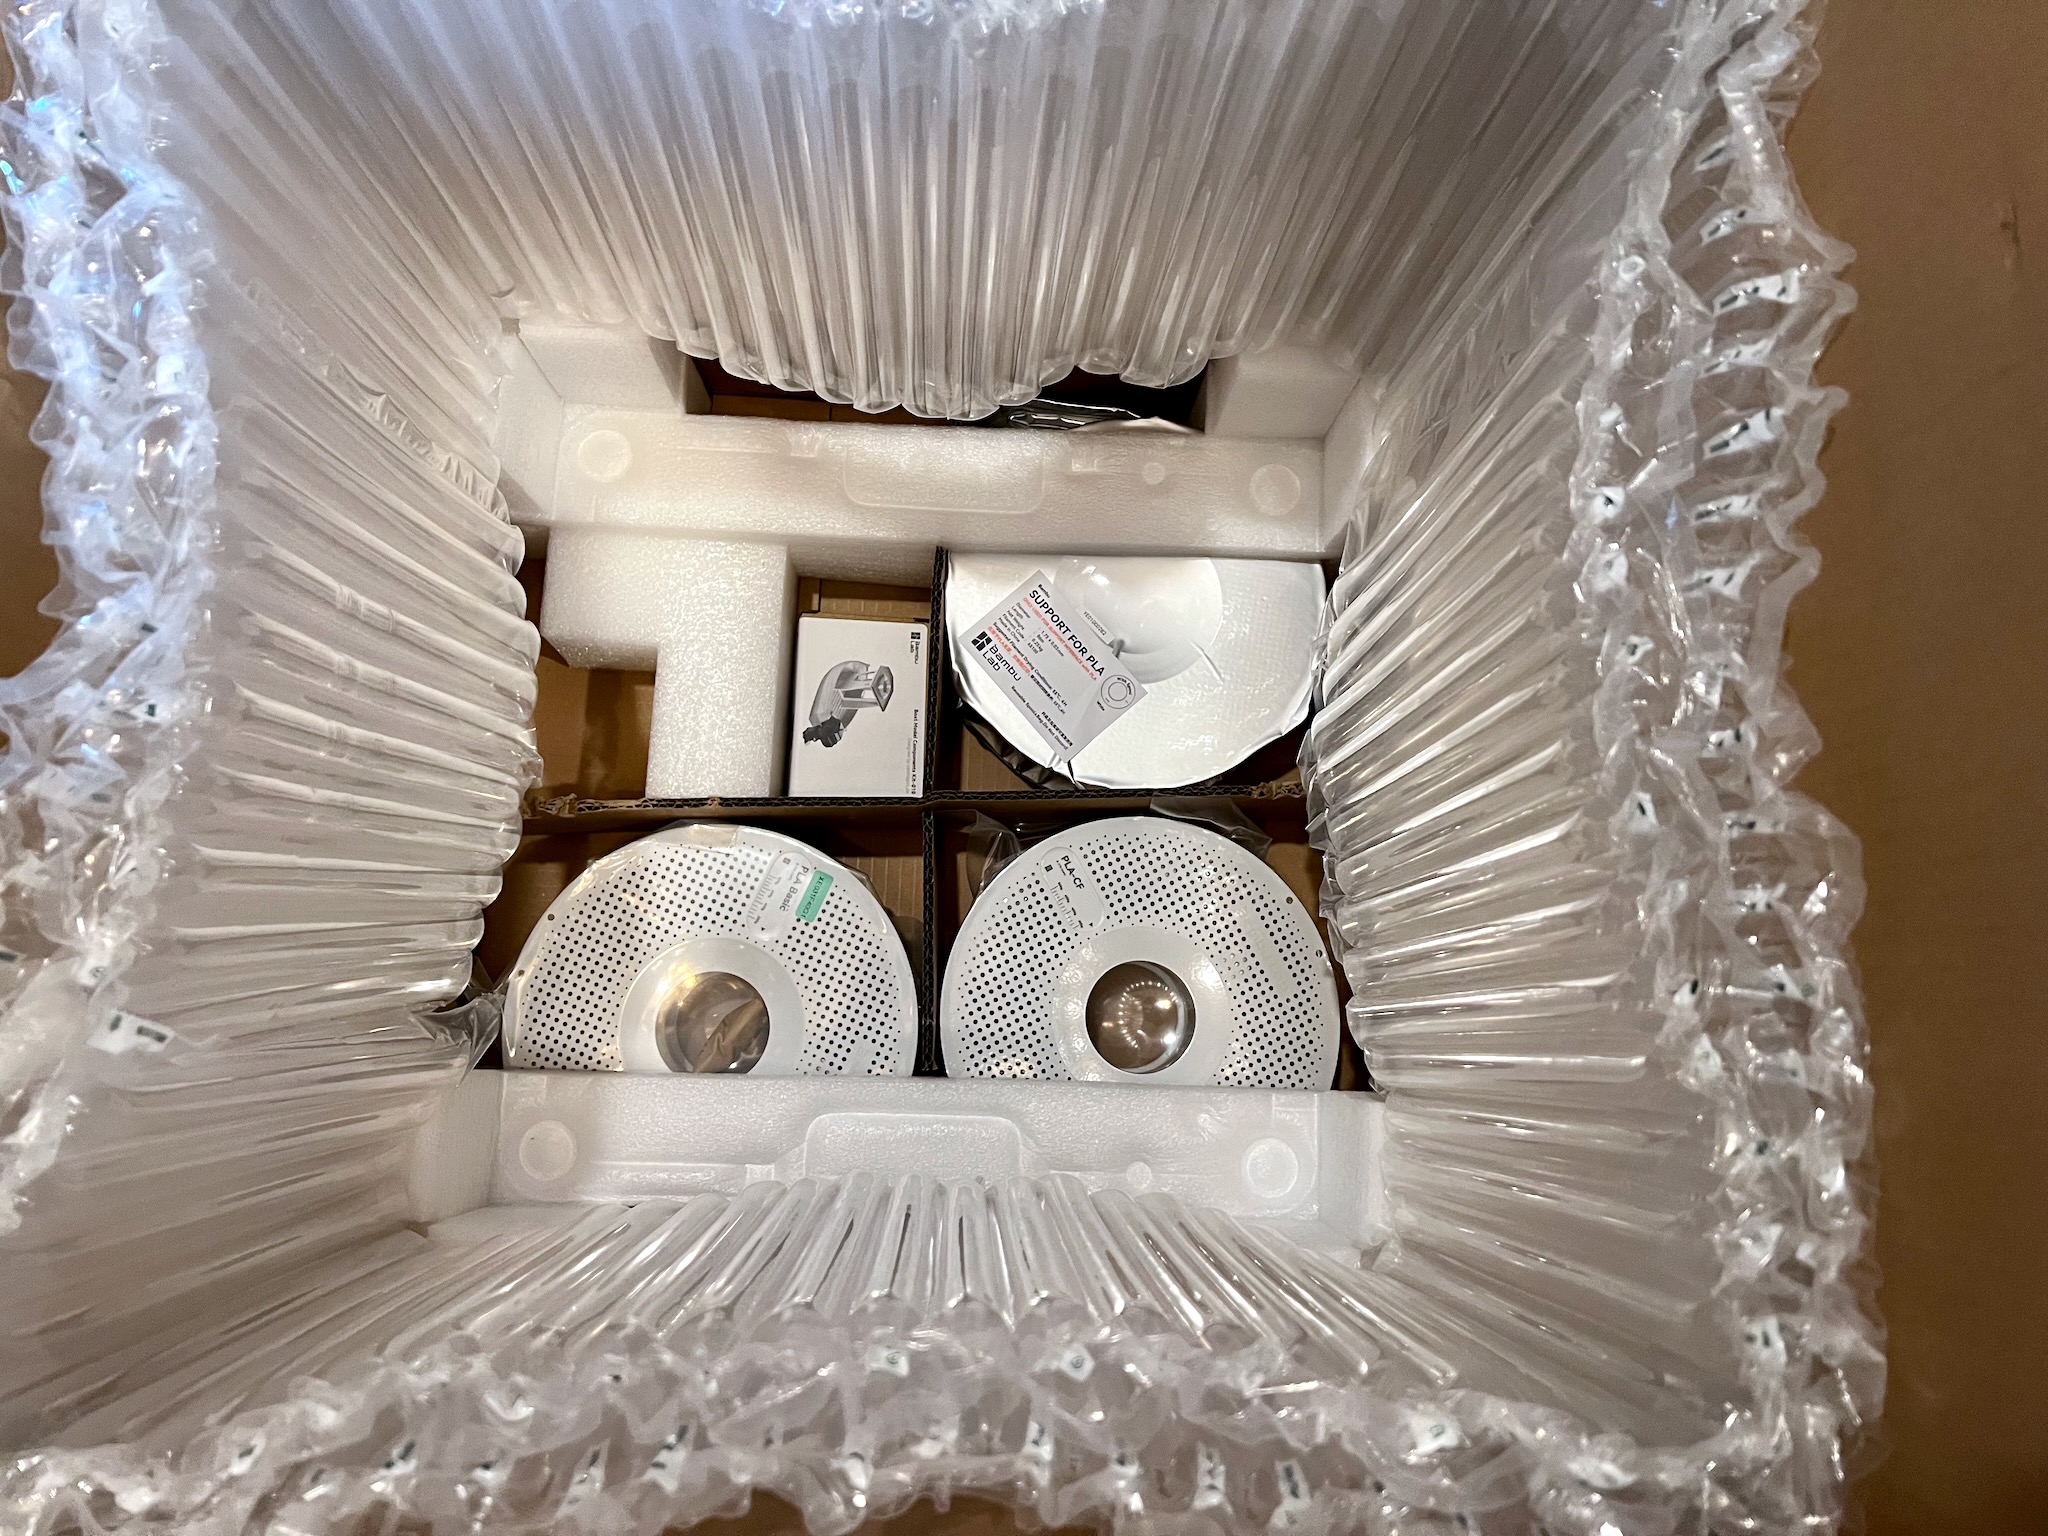
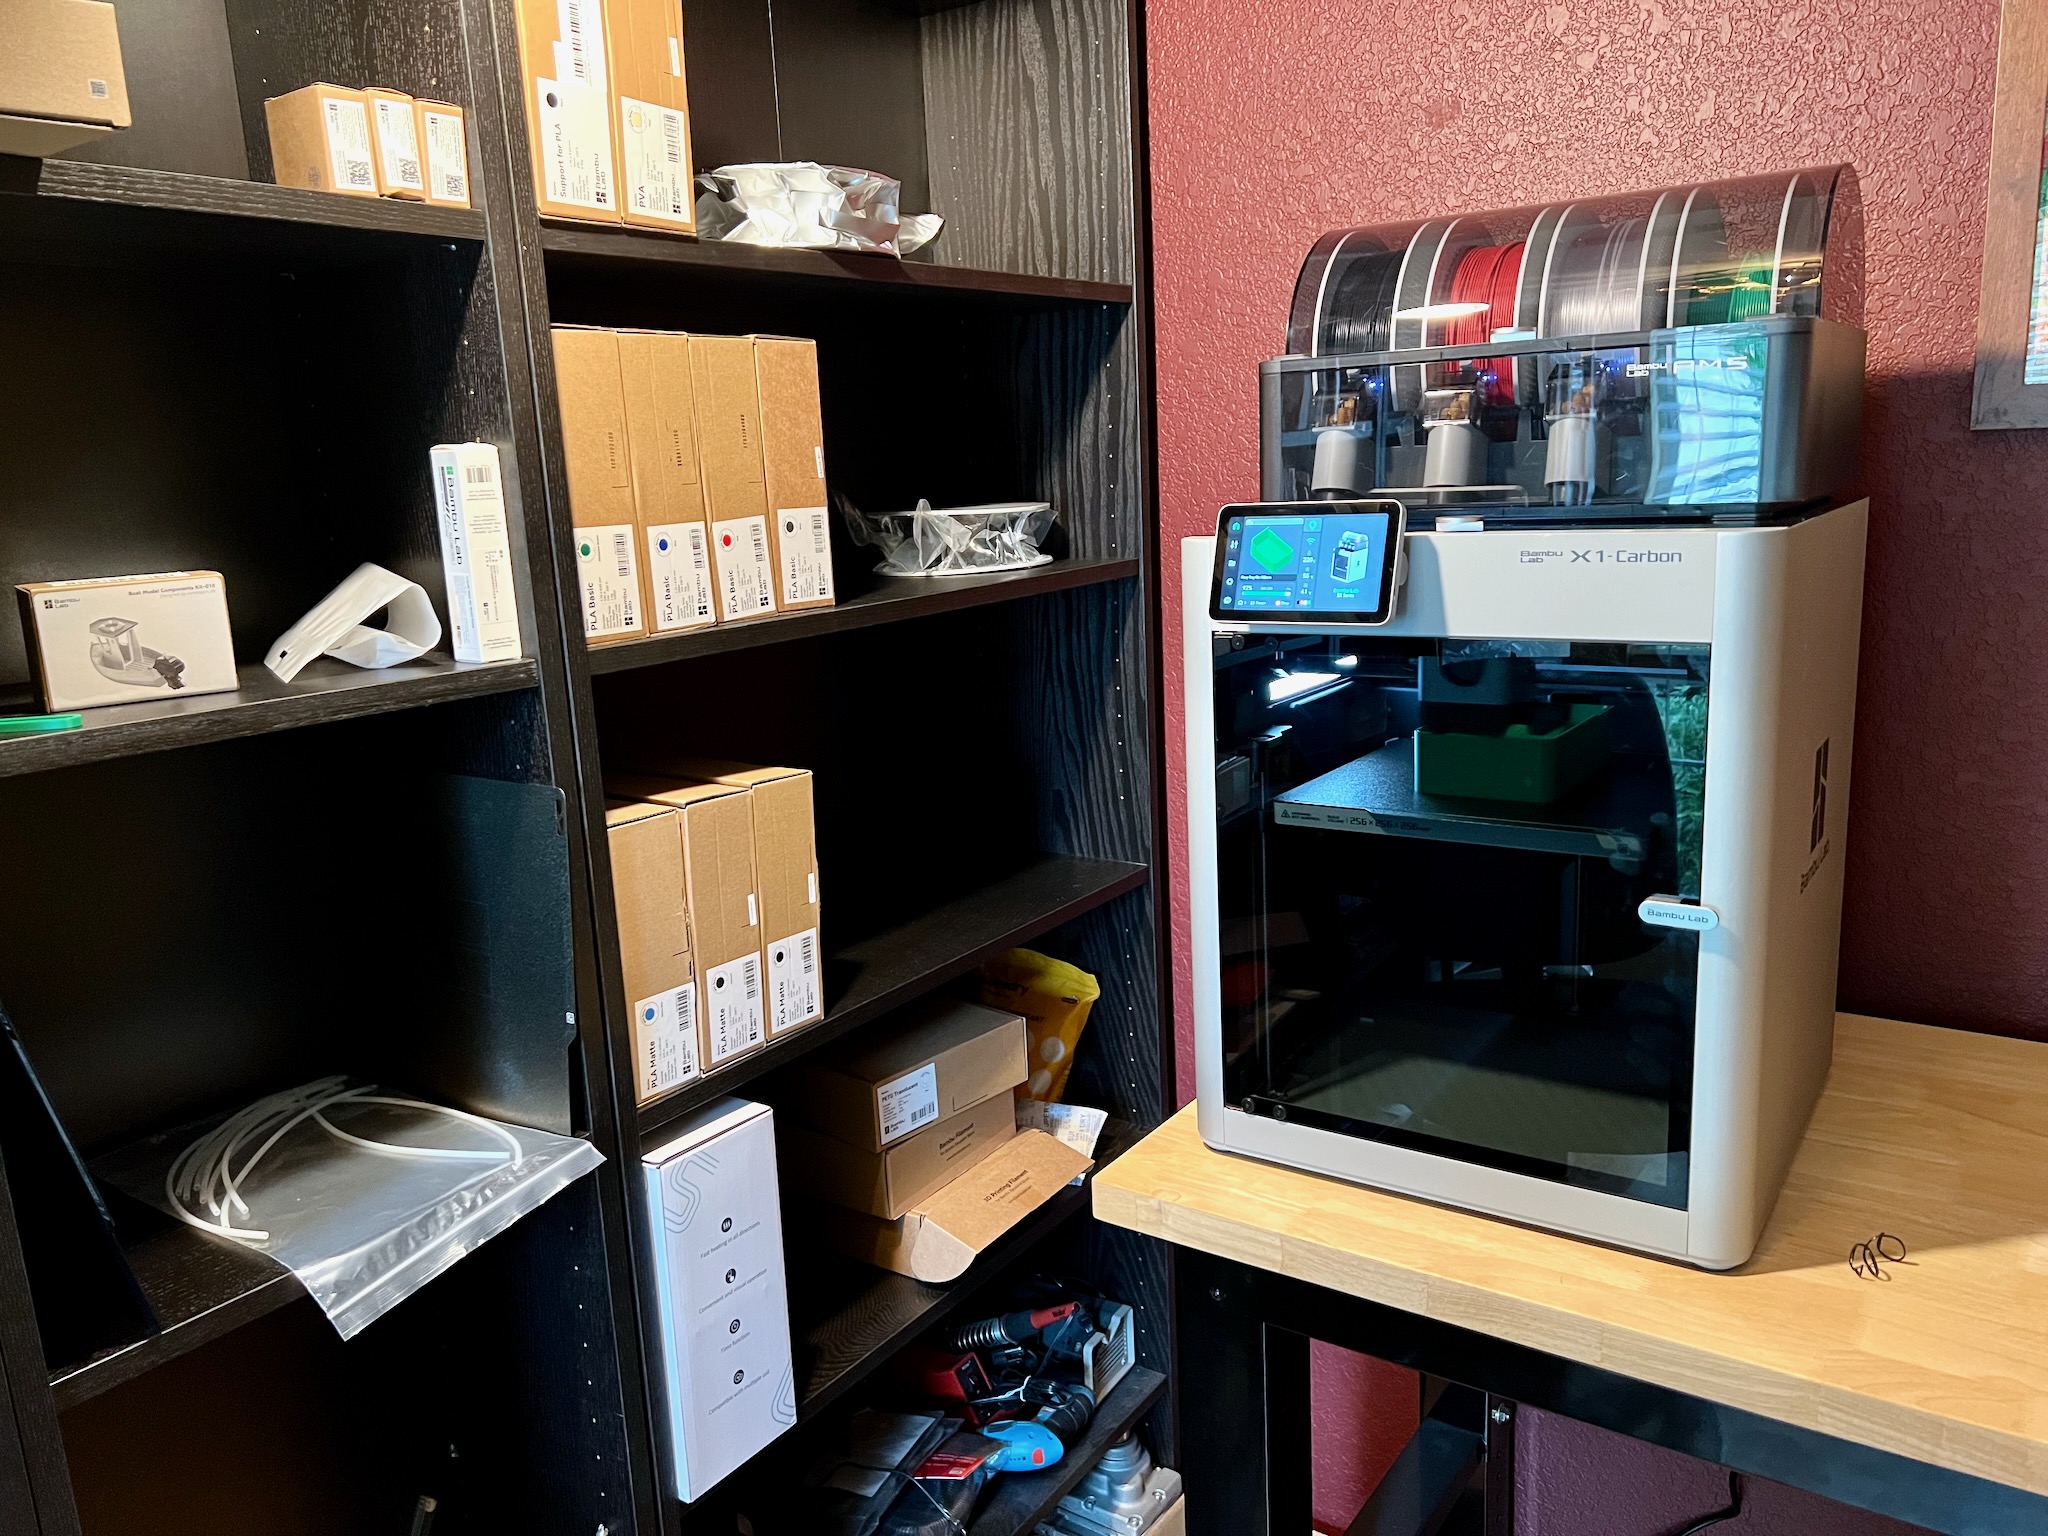
Note that the filament they send is apparently random; in my case, I got green PLA Basic, white PLA support material, and black PLA-CF. These are only 250g starter spools, however; you’ll want to order additional filament with your printer.
After removing the main baggie, the next step is to–
Read the Docs!
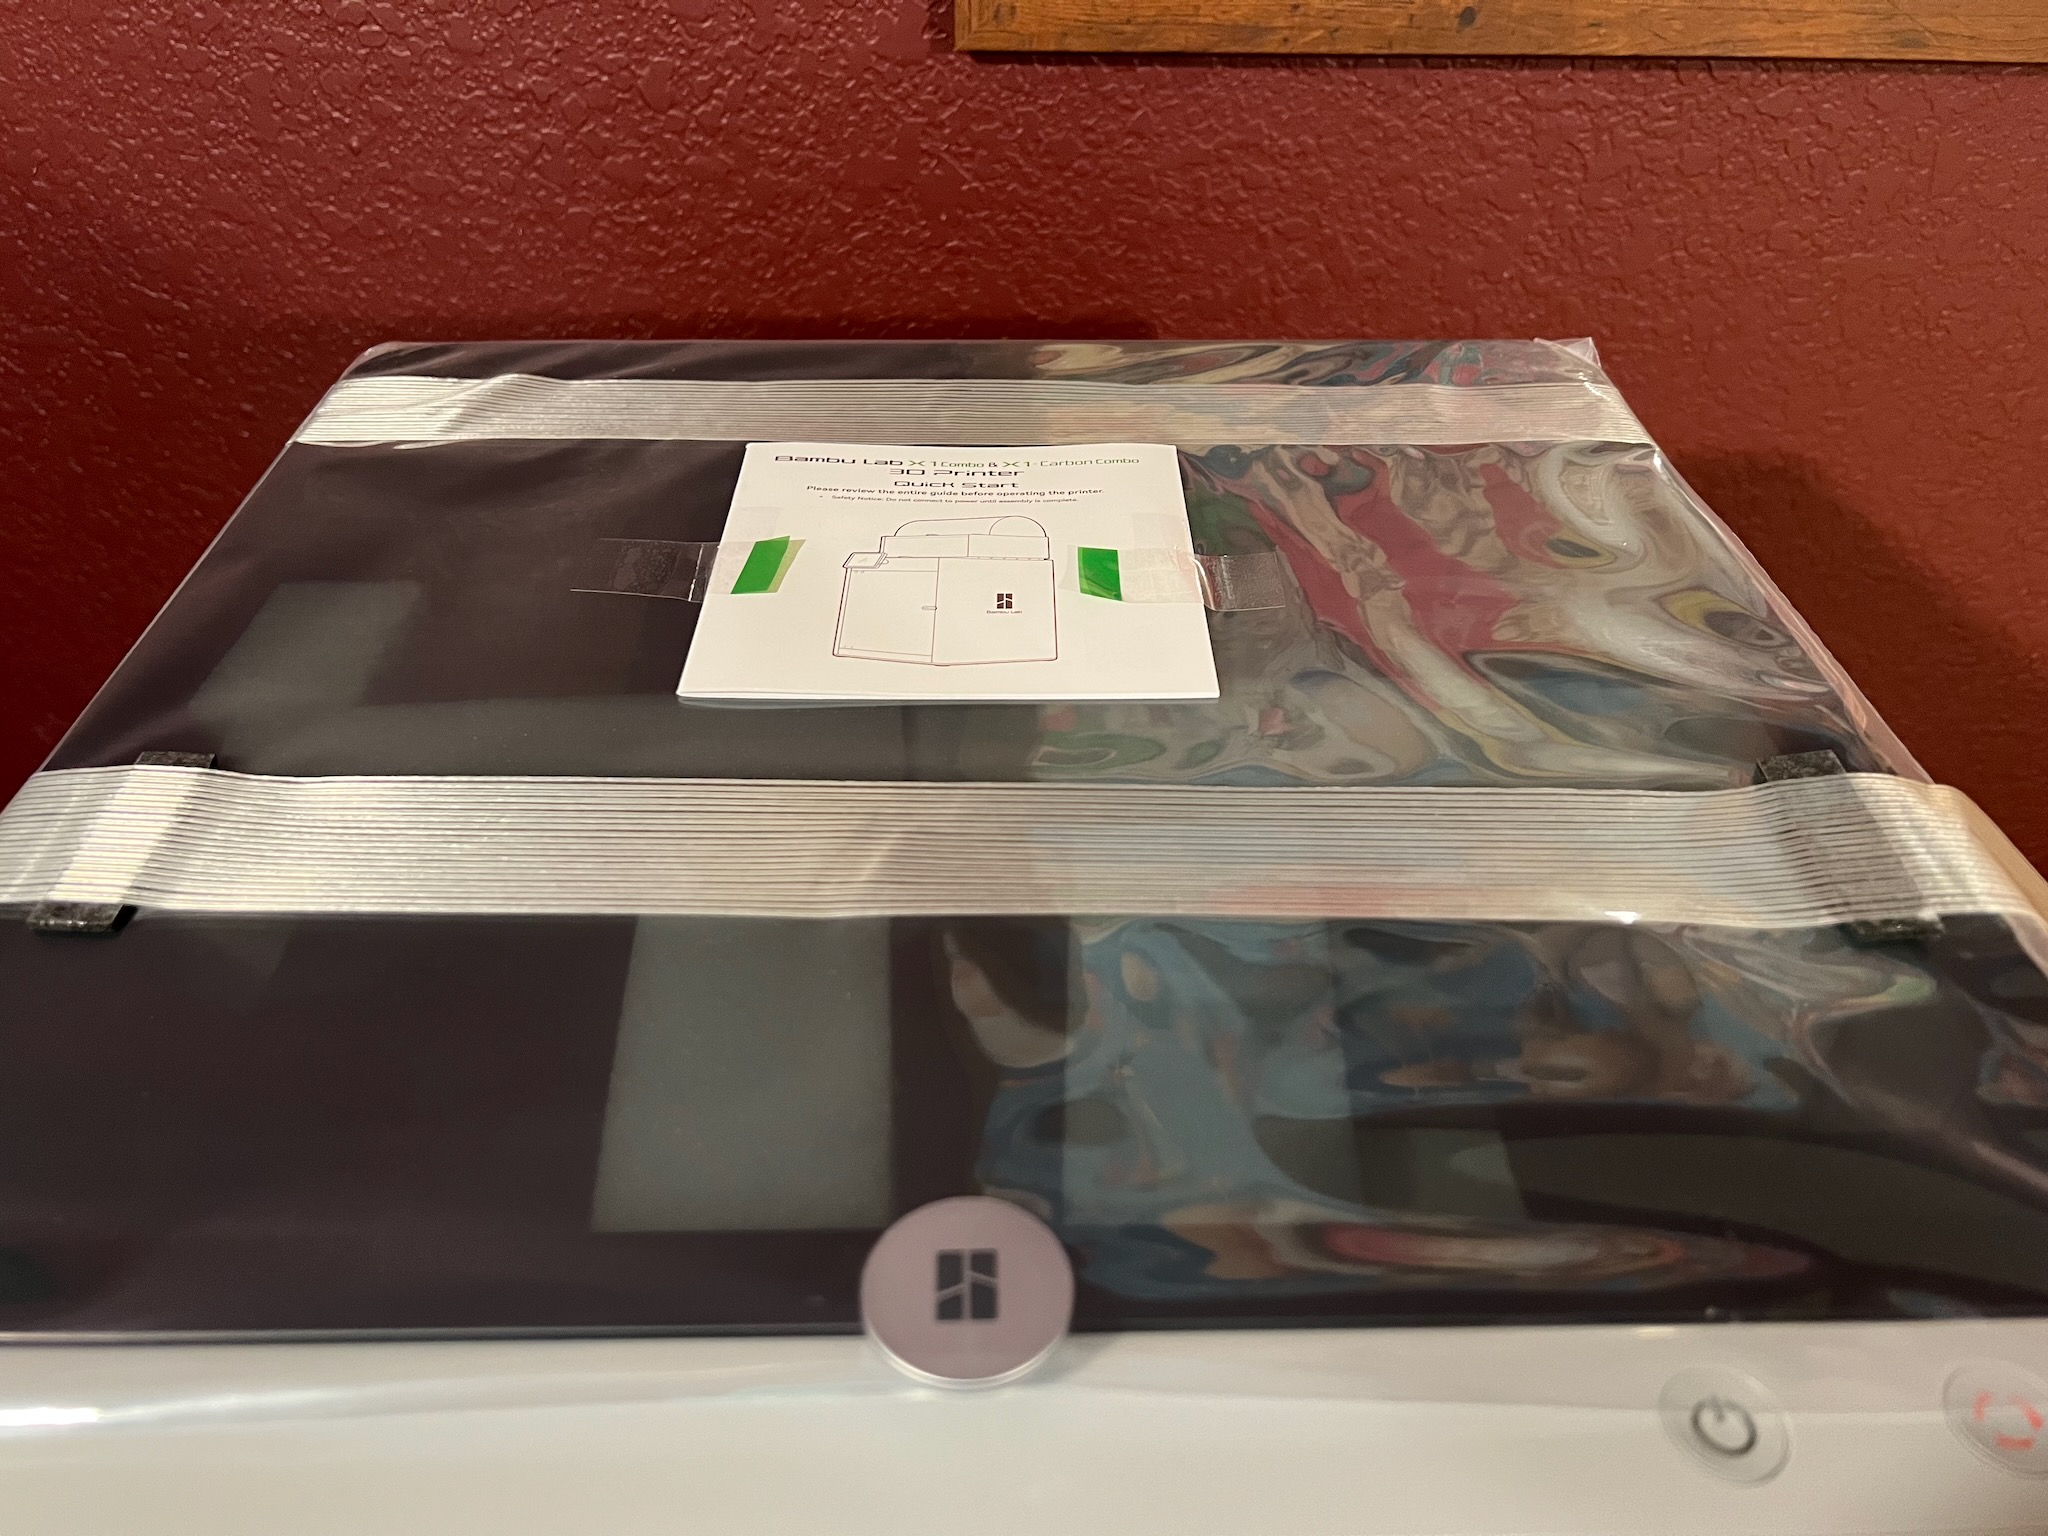
Taped to the top of the unit is a little “quick start” booklet, which talks about most of what you need to do. Read it! That said, it does not cover everything (for example, setting up the AMS). I highly recommend reading through all the “how to set up my printer” docs before continuing:
- The included “Quick Start” booklet
- The Unboxing Page in the Bambu Wiki. Note that this is not the one referenced in the printer docs; that one is not for the combo.
- The AMS Connection Guide.
Once you’ve looked through all that, the steps should start to look fairly straightforward.
Remove Packing Crap: Round One
The glass is all nice and bagged. The annoying thing about that is that the strapping tape holding those bags down does not have little tabs for you to pull. You’ll have to use a fingernail to get that started.
 Once
the glass is unbagged, the next step is to remove the accessories box.
This will provide the allen wrench you need for the following step;
it’s in that box underneath the display unit. You’ll need it to get
the AMS out.
Once
the glass is unbagged, the next step is to remove the accessories box.
This will provide the allen wrench you need for the following step;
it’s in that box underneath the display unit. You’ll need it to get
the AMS out.
The way they pack the AMS, I have mixed feelings about. The cradle is basically wasted plastic; I think I would rather they’d shipped it in a separate box and wasted cardboard instead. Other than the waste, though – and the annoyance of having to unscrew things – it’s pretty solid packing.
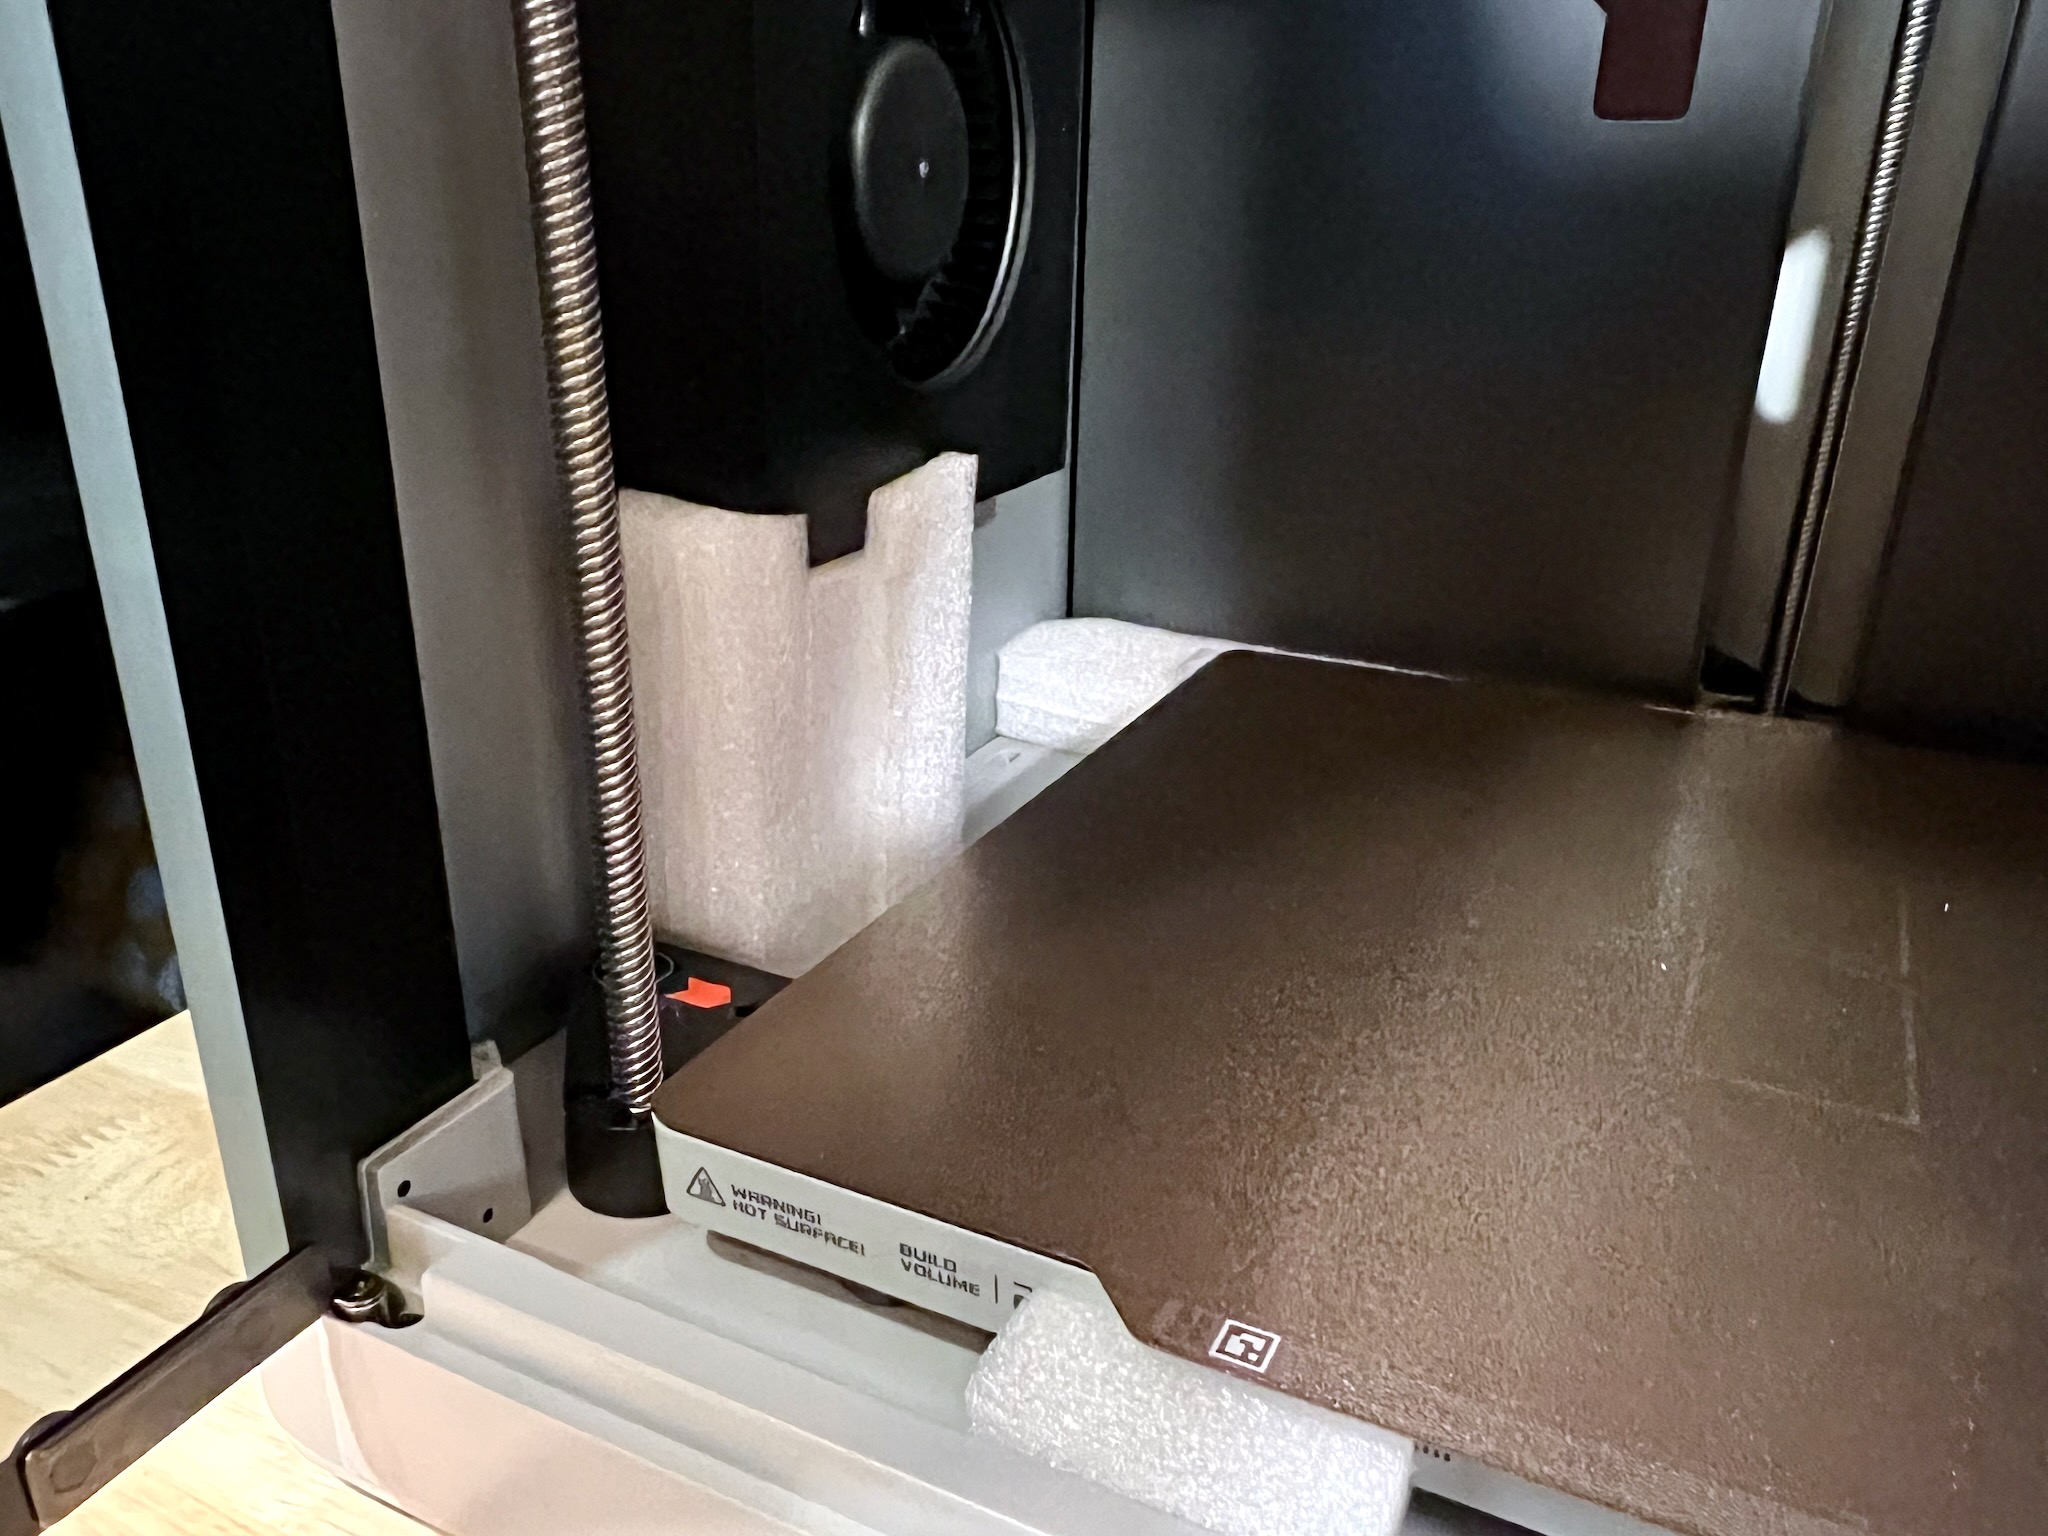
Once that’s out, there’s more crap to remove. Don’t bother trying to get the material from under the print bed; that will come out later, during calibration.
Screwy Setup
 The screws are the one thing I really didn’t like. Disassembling
things to set them up is not something that makes sense to me. As for
difficulty, the AMS-related screws weren’t too bad, but the bed
locking screws were another story entirely.
The screws are the one thing I really didn’t like. Disassembling
things to set them up is not something that makes sense to me. As for
difficulty, the AMS-related screws weren’t too bad, but the bed
locking screws were another story entirely.
Don’t get me wrong; it wasn’t actually difficult, per se, to get them out. They are, however, much less accessible than the others. More importantly, they’re very easy to drop.
I strongly recommend having a telescoping magnet handy. It makes the invitable dropped screw much less difficult to retrieve.
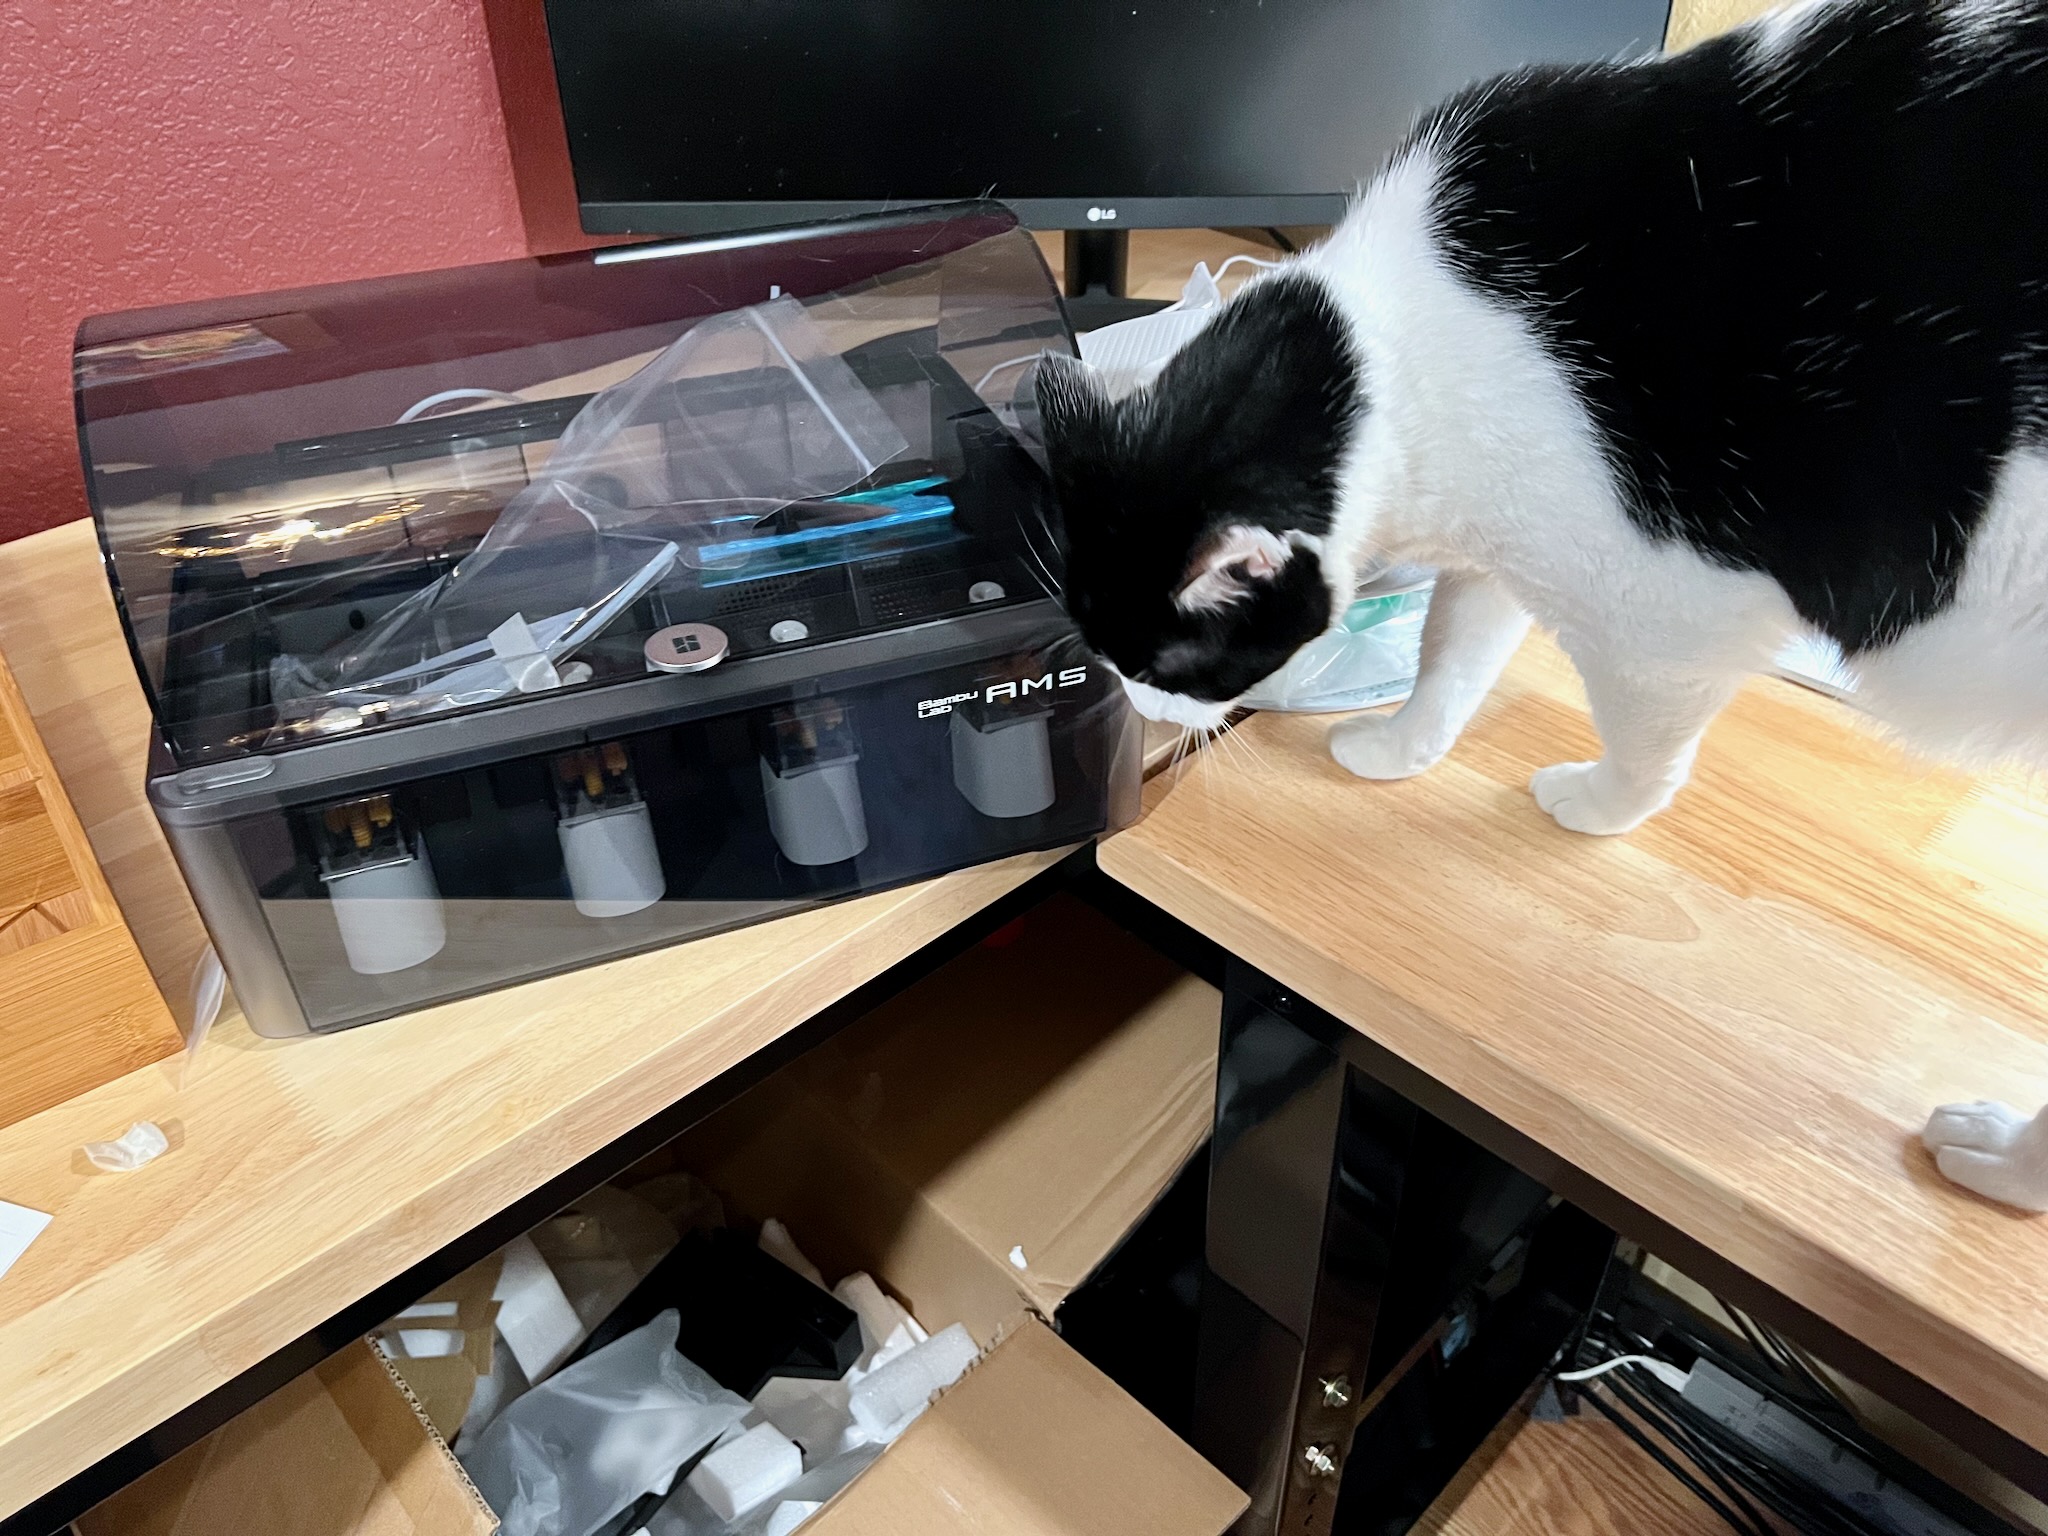
The AMS
 The AMS documentation (referenced above) tells you how to set
everything up. In my case, though, all I had to do was connect the
bus cables, and the one PTFE tube to the buffer. The rest had already
been done.
The AMS documentation (referenced above) tells you how to set
everything up. In my case, though, all I had to do was connect the
bus cables, and the one PTFE tube to the buffer. The rest had already
been done.
Well that, empty the crap out of the AMS (like the included spare tubing), and remove the platic baggies from the dessicant. The AMS install guide covers that.
Note that there’s no power cable for the AMS; the included data cables carry power themselves. Handy, that.
Initial Calibration
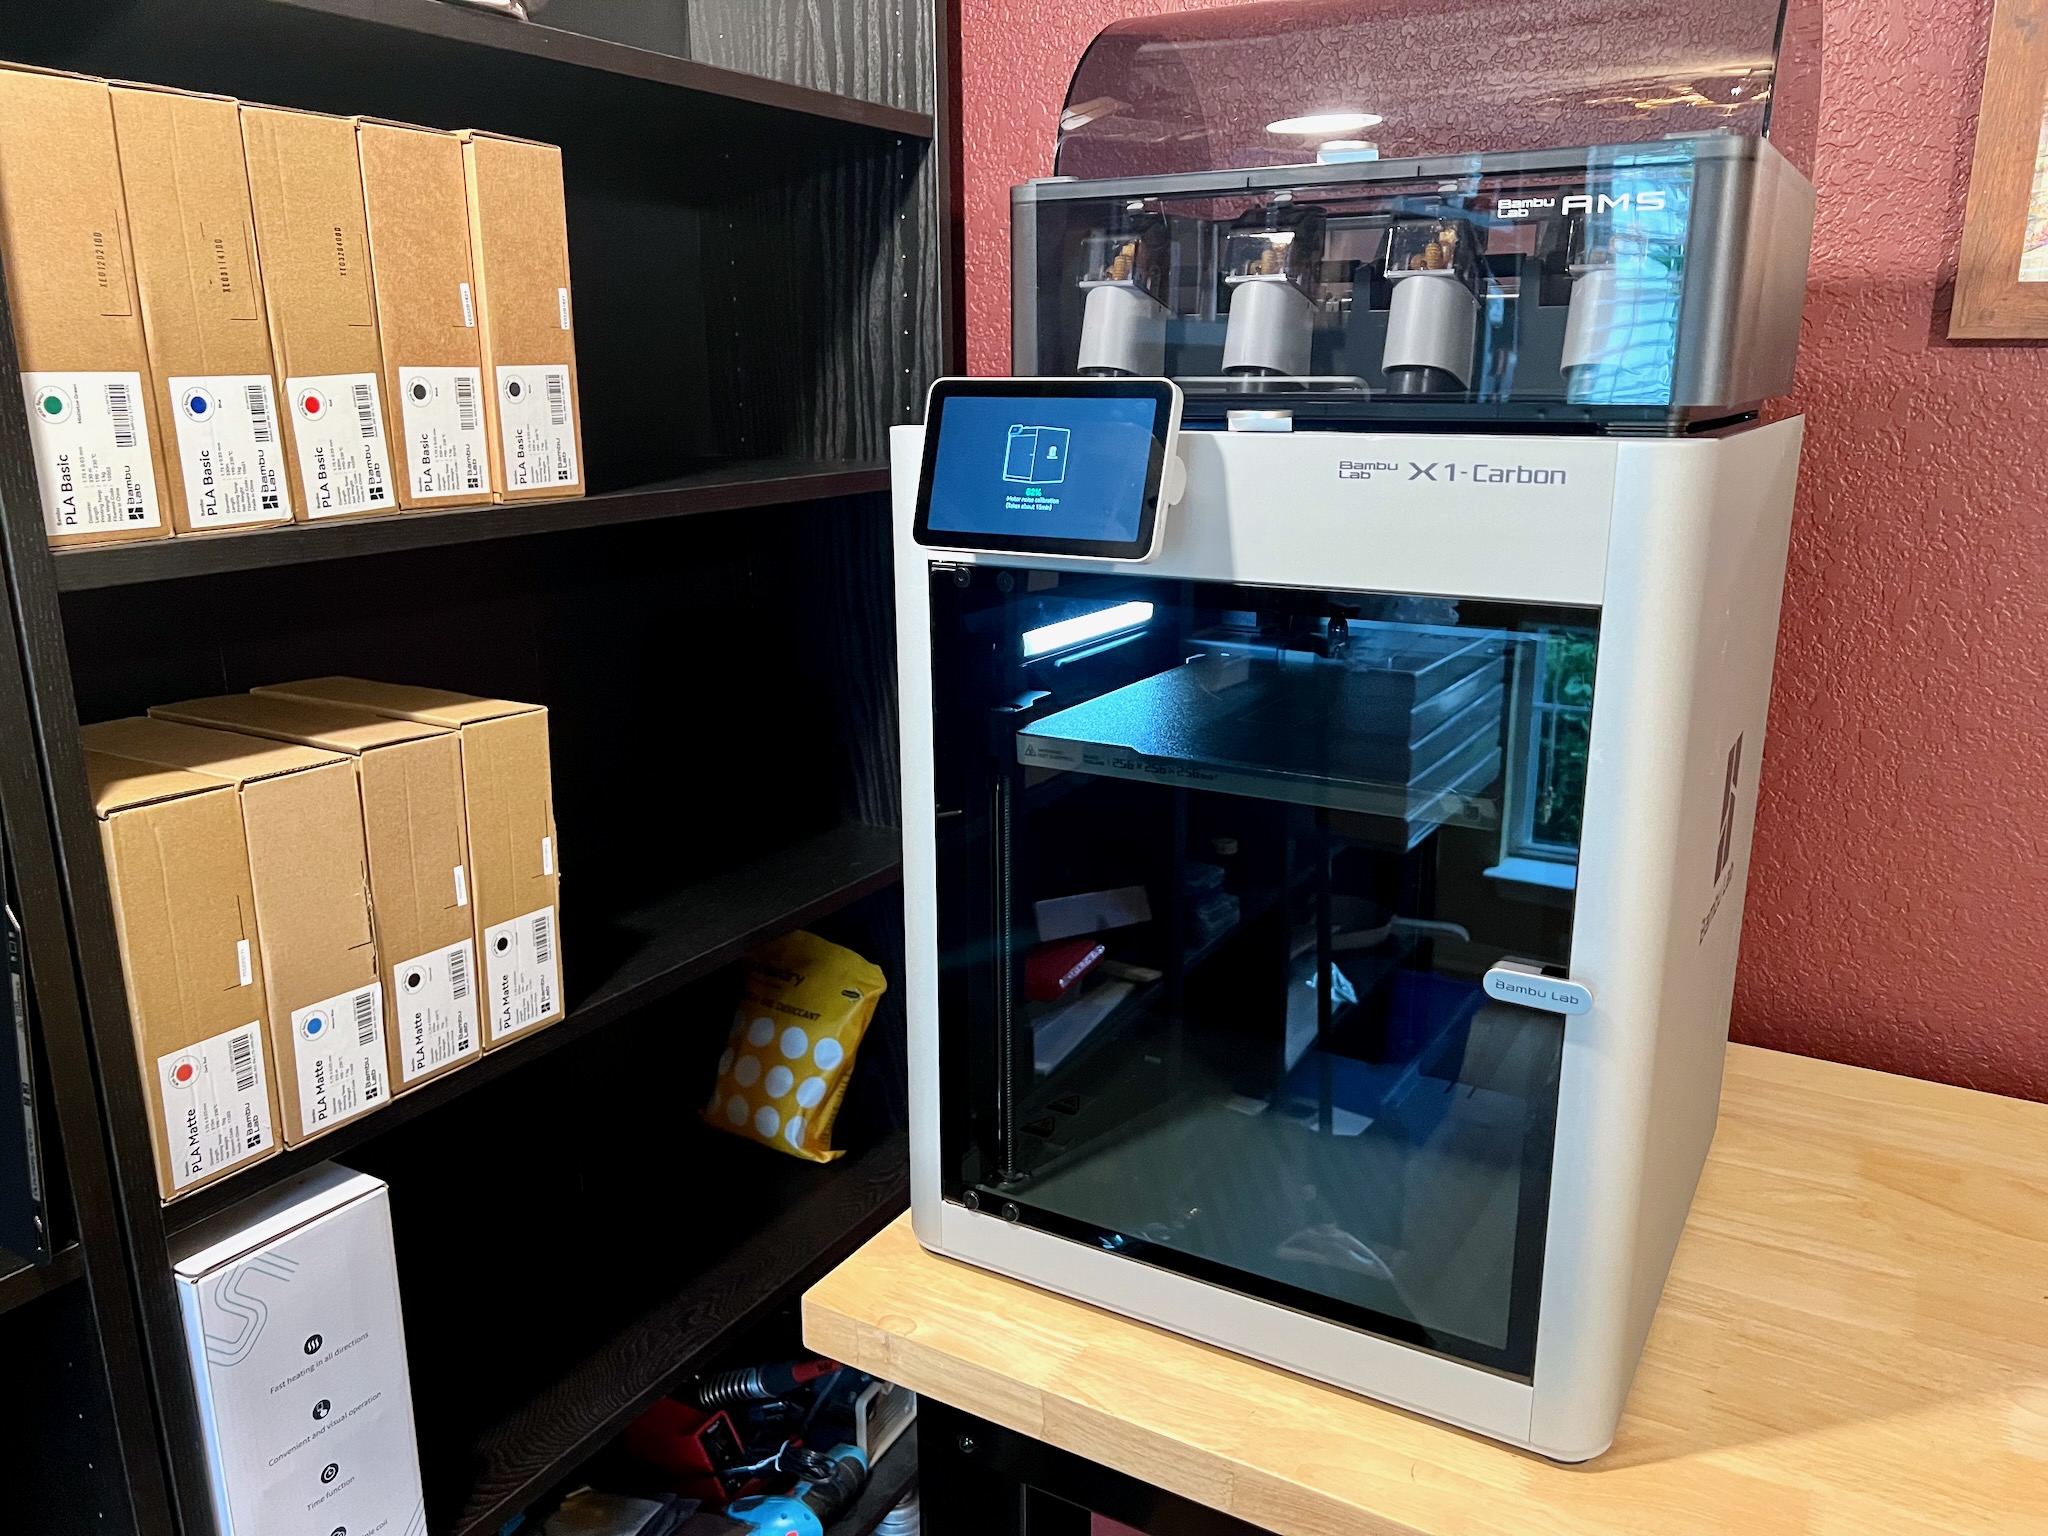 Once you have it all assembled, the next step is to run through the
initial calibration. In spite of what the documentation implies, this
will take in the neighborhood of fifteen minutes. This is largely due
to the noise reduction calibration, which I think is a new thing.
Once you have it all assembled, the next step is to run through the
initial calibration. In spite of what the documentation implies, this
will take in the neighborhood of fifteen minutes. This is largely due
to the noise reduction calibration, which I think is a new thing.
Basically, just turn the thing on, and it will walk you through.
It will do things and make noises that make you think it’s broken. This is normal.
Remove Packing Crap: Round Two
During the initial calibration, the bed will raise up, finally allowing you to remove the packing material down there. Do that as soon as it’s accessible, but without interefering with what the printer is doing.
I was skeptical when I did this – I don’t like sticking my hands in running machinery – but it wasn’t that big of a deal.
Done!
 And
that… was basically it. It took about an hour (including note and
picture taking!). I started at 4:30PM, and finished around 5:30PM. I
was surprised it took so little time.
And
that… was basically it. It took about an hour (including note and
picture taking!). I started at 4:30PM, and finished around 5:30PM. I
was surprised it took so little time.
In my case, I didn’t bother connecting up Bambu Handy or creating a Bambu account. I just skipped that in the setup (other than connecting to my WiFi) and set it to LAN-only mode. Eventually I’ll add a Bambu account so I can update the firmware, but it’s not that important yet.
Before I attempted talking to it over the network, though, I printed a couple of items from the internal storage: the trivial scraper, and the more advanced scraper grip. In both cases I used the textured build plate.
Oddly enough, the textured plate is the only plate it shipped with, which was a surprise.
Of course, this started with loading the spool into the AMS, and that’s where I hit the only significant issue I had during this entire process.
Uncooperative Filament
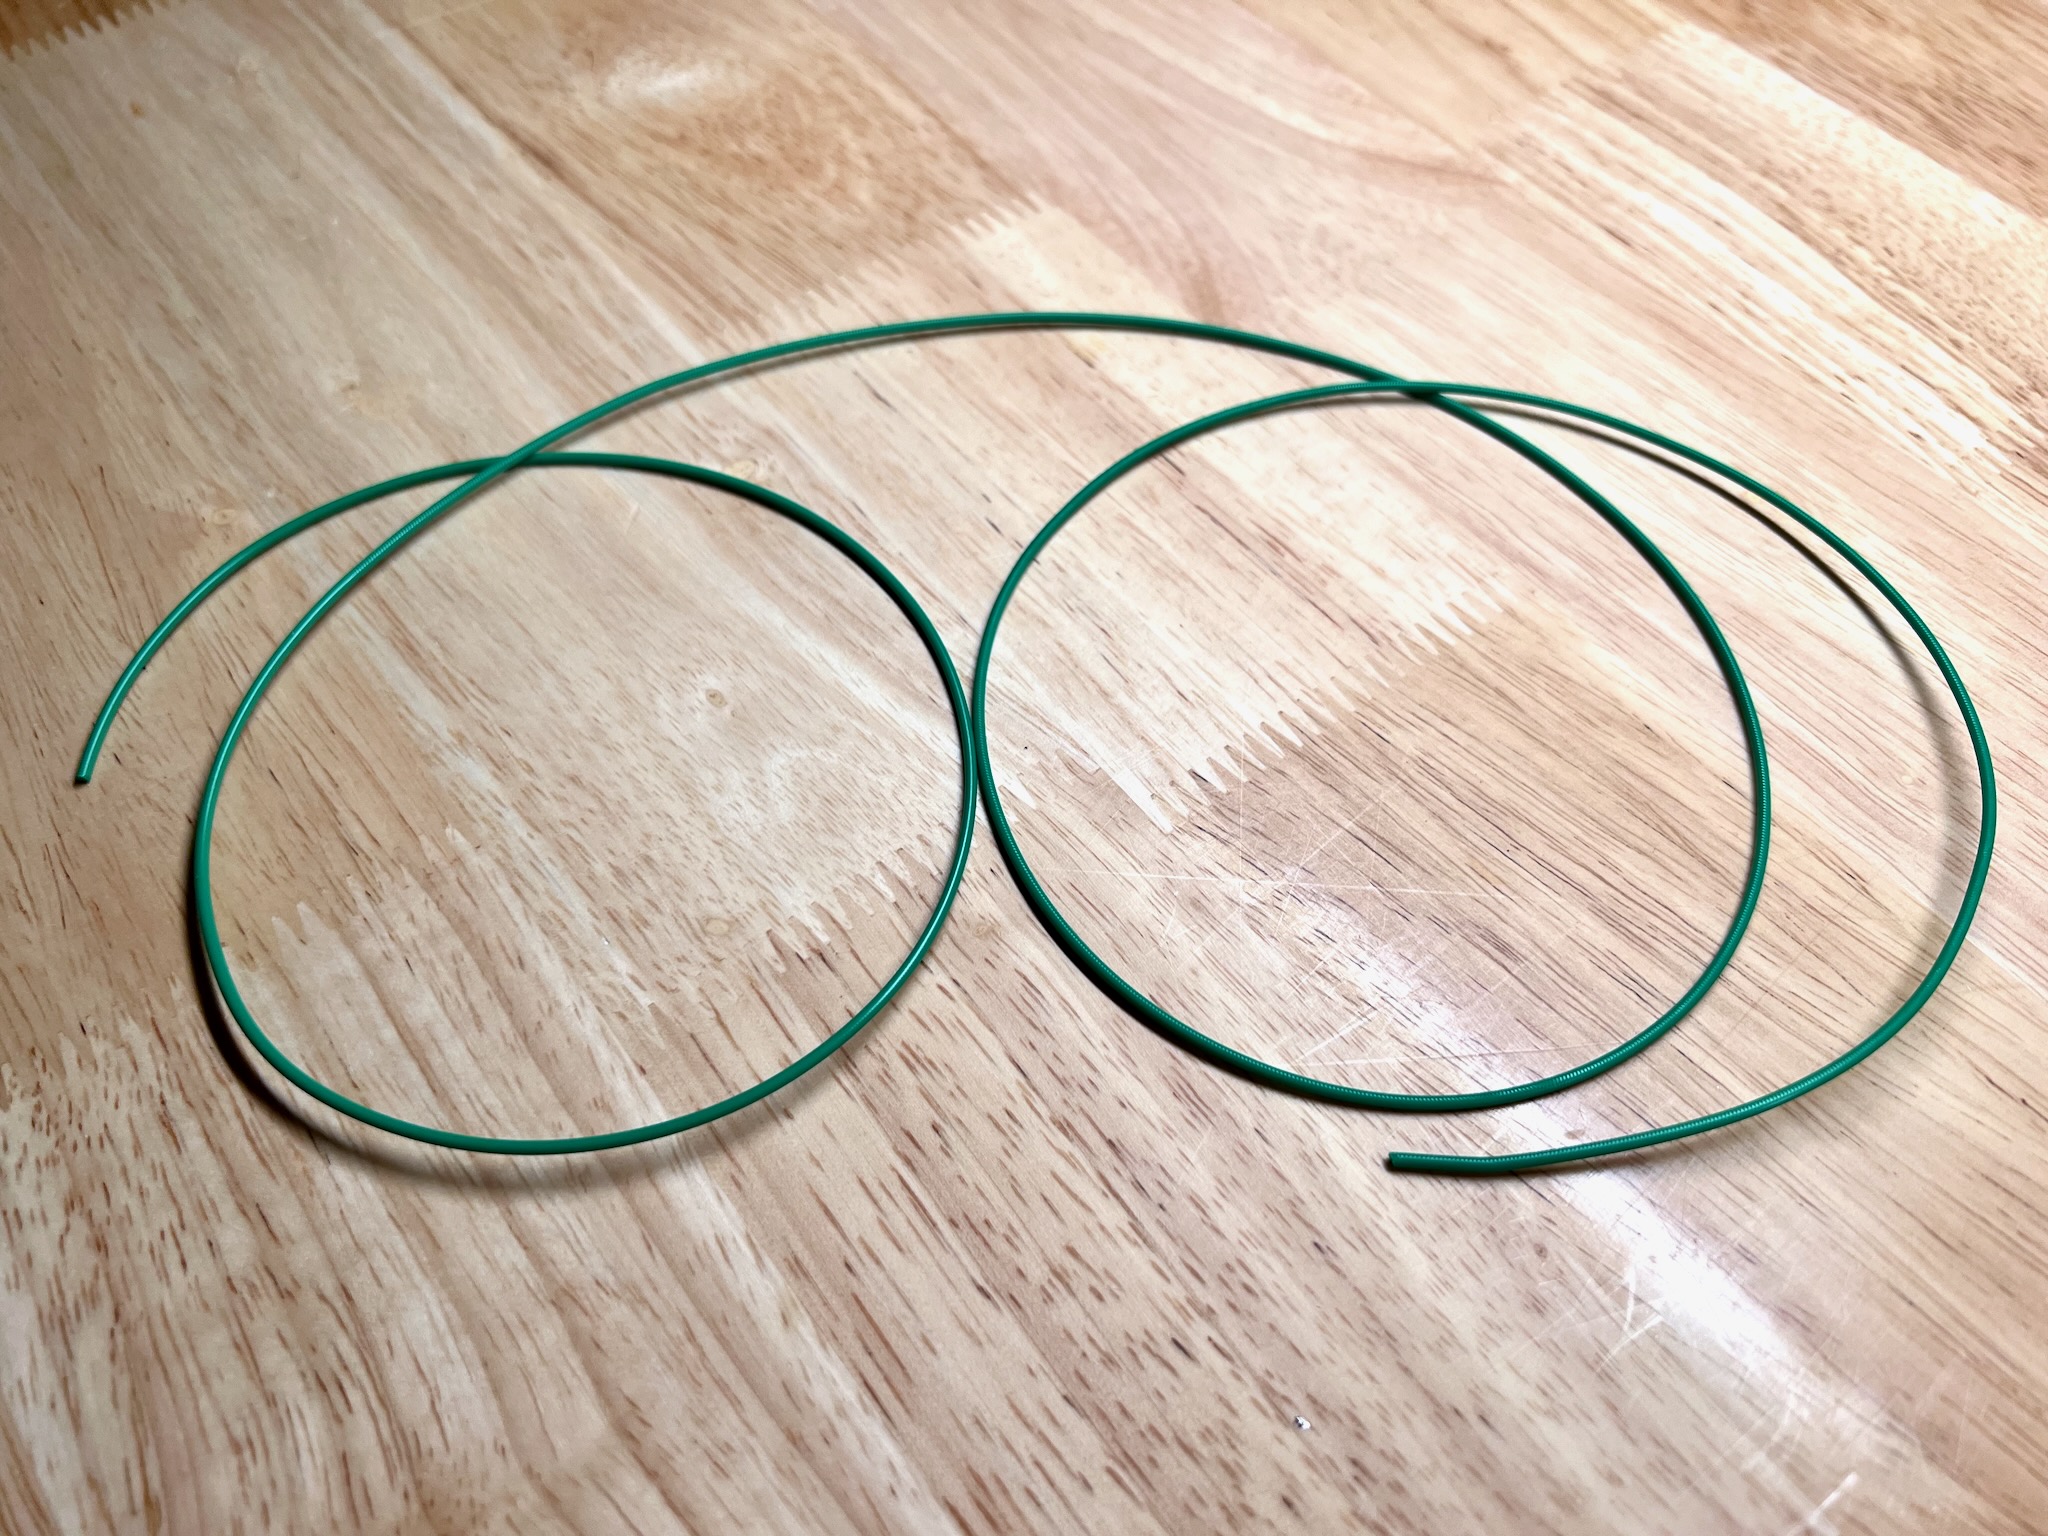 When I initially tried to load the filament into the AMS (following the
instructions, of course), it just… did not work correctly. It did
try to feed the filament in, but for some reason the spool wouldn’t
roll. It kept binding up and pulling the spool right out of the AMS.
When I initially tried to load the filament into the AMS (following the
instructions, of course), it just… did not work correctly. It did
try to feed the filament in, but for some reason the spool wouldn’t
roll. It kept binding up and pulling the spool right out of the AMS.
It was a good thing I had the top open, I suppose…
To make a long story short, this turned out to be a problem with the filament itself. Feeling the filament, I could feel that there was a rough side, where it should have been smooth. This somehow caused no end of trouble with the AMS (and I am apparently not alone in seeing this sort of thing).
The solution was simple: I felt along the filament until I found where the rough part ended, and then cut the rough filament off with a pair of scissors. It was about a meter and a half of filament, all told. Annoying, but not the end of the world.
Once that was done, it loaded right up.
First Print
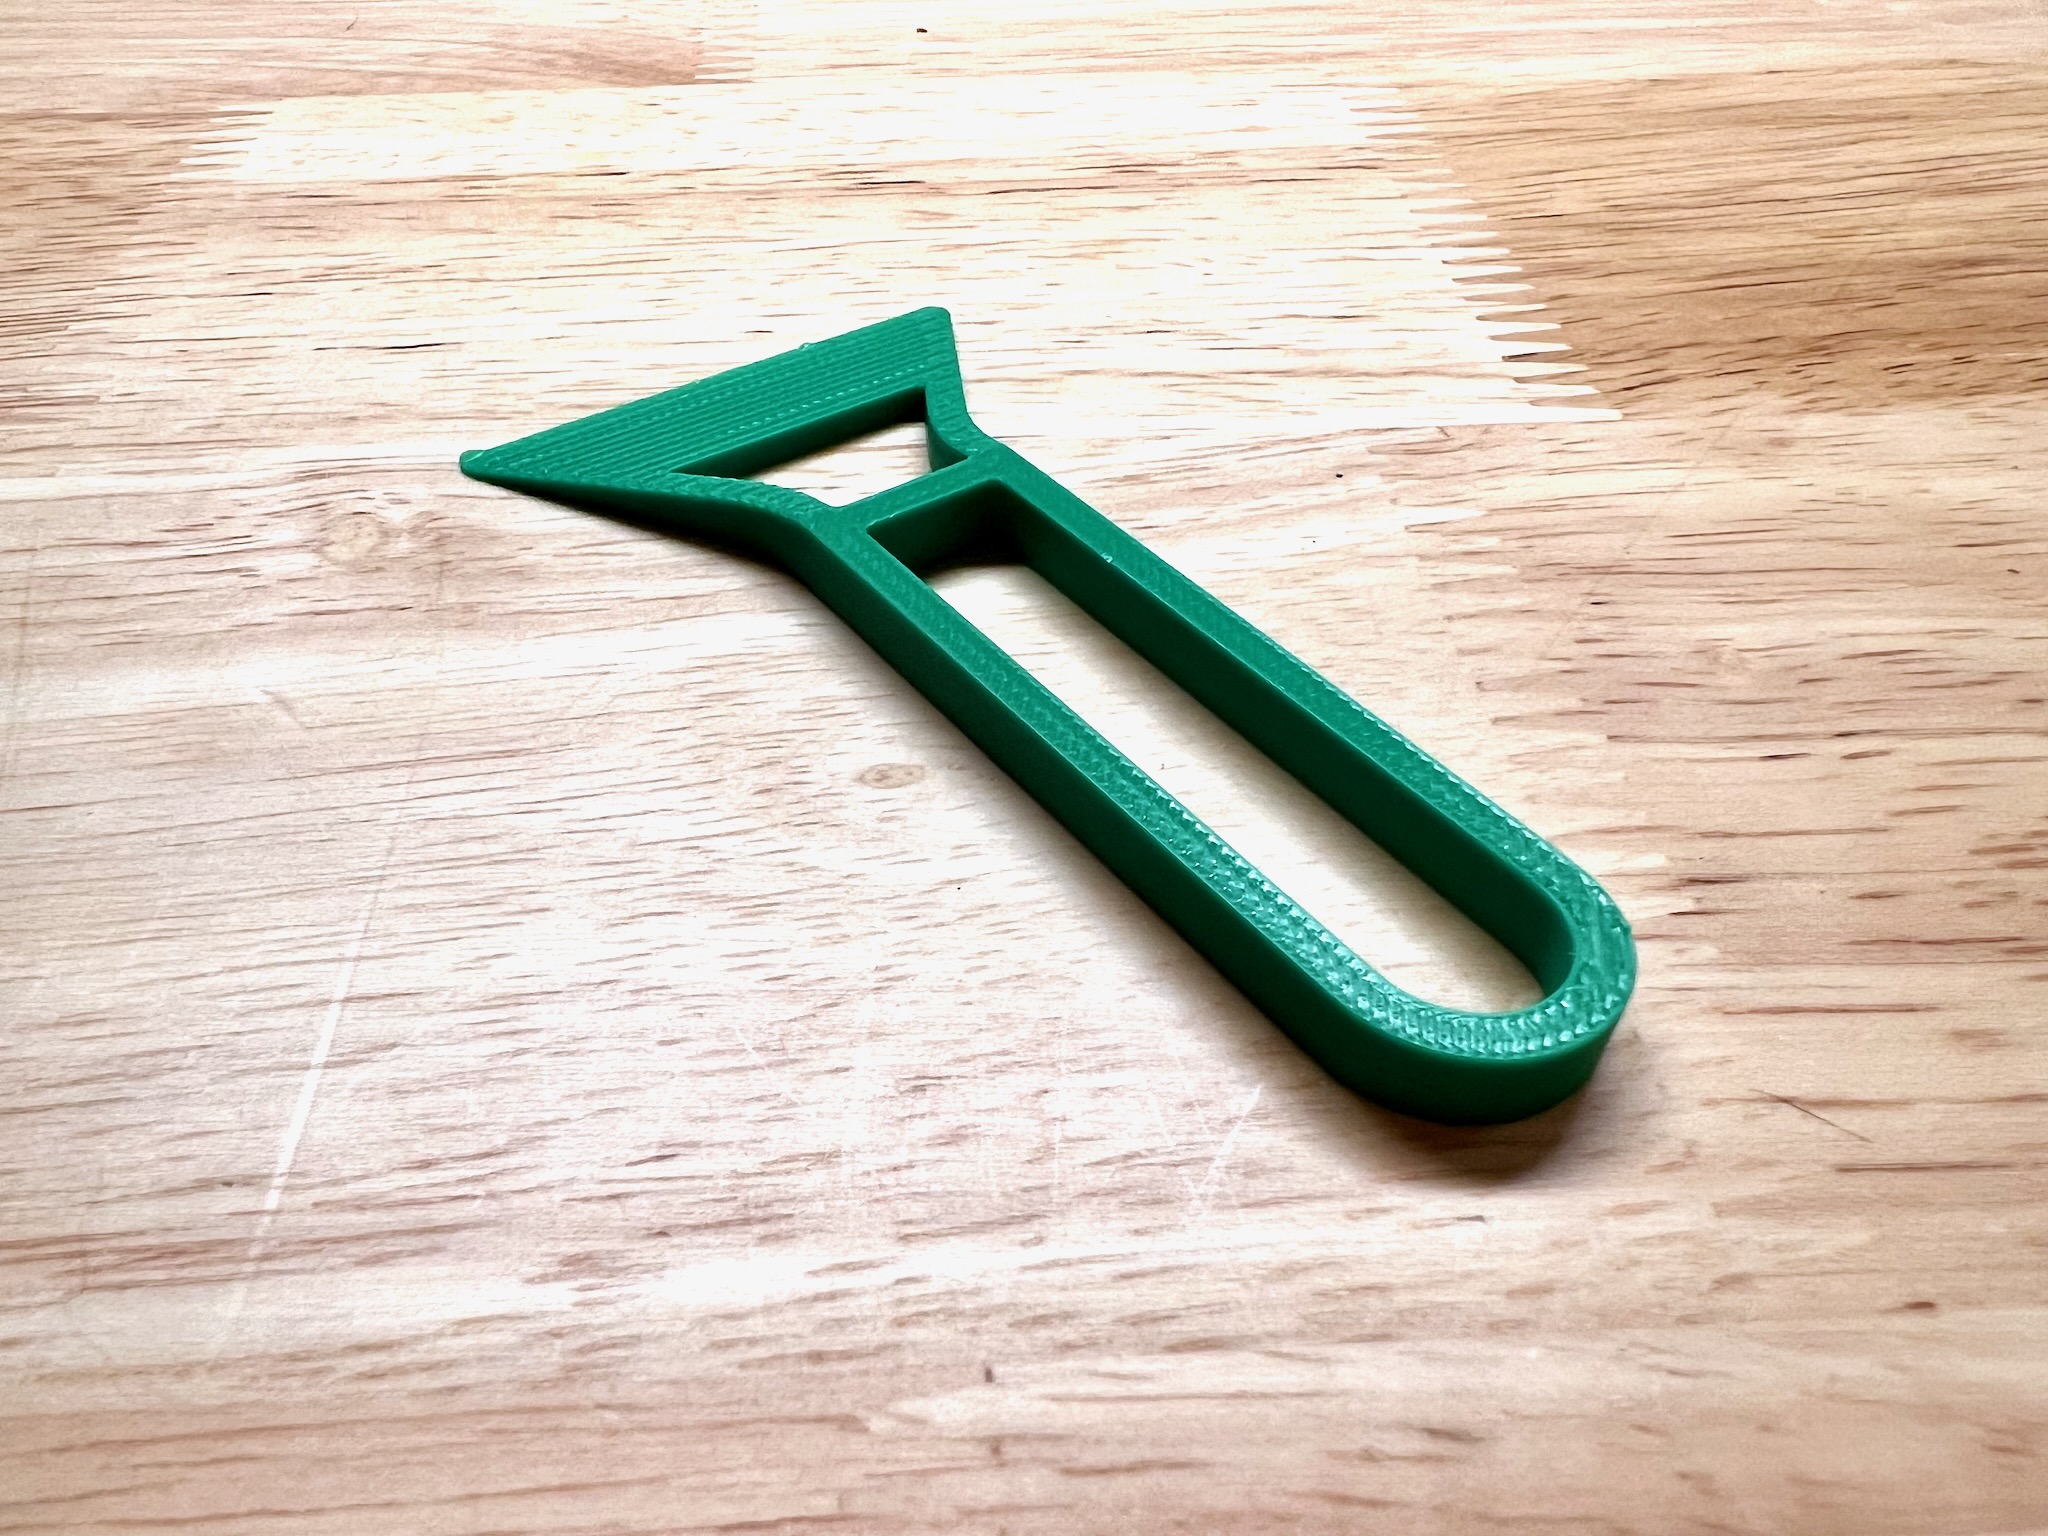 The first thing I printed was a little scraper, which common sense
told me would be needed. This is, as mentioned, included in the
on-board files, and only took about twenty minutes to print (most of
which was bed levelling and the like).
The first thing I printed was a little scraper, which common sense
told me would be needed. This is, as mentioned, included in the
on-board files, and only took about twenty minutes to print (most of
which was bed levelling and the like).
The result?
Success!
It was pretty much a no-brainer of a print, though, so I hardly expected anything less.
The PEI plate makes things easy. Once it cools down below 50C, take it out and flex it a bit until the part releases. Piece of cake. Then scrape the plastic off that it used for calibration, and stick the plate back in for the next build.
Second Print
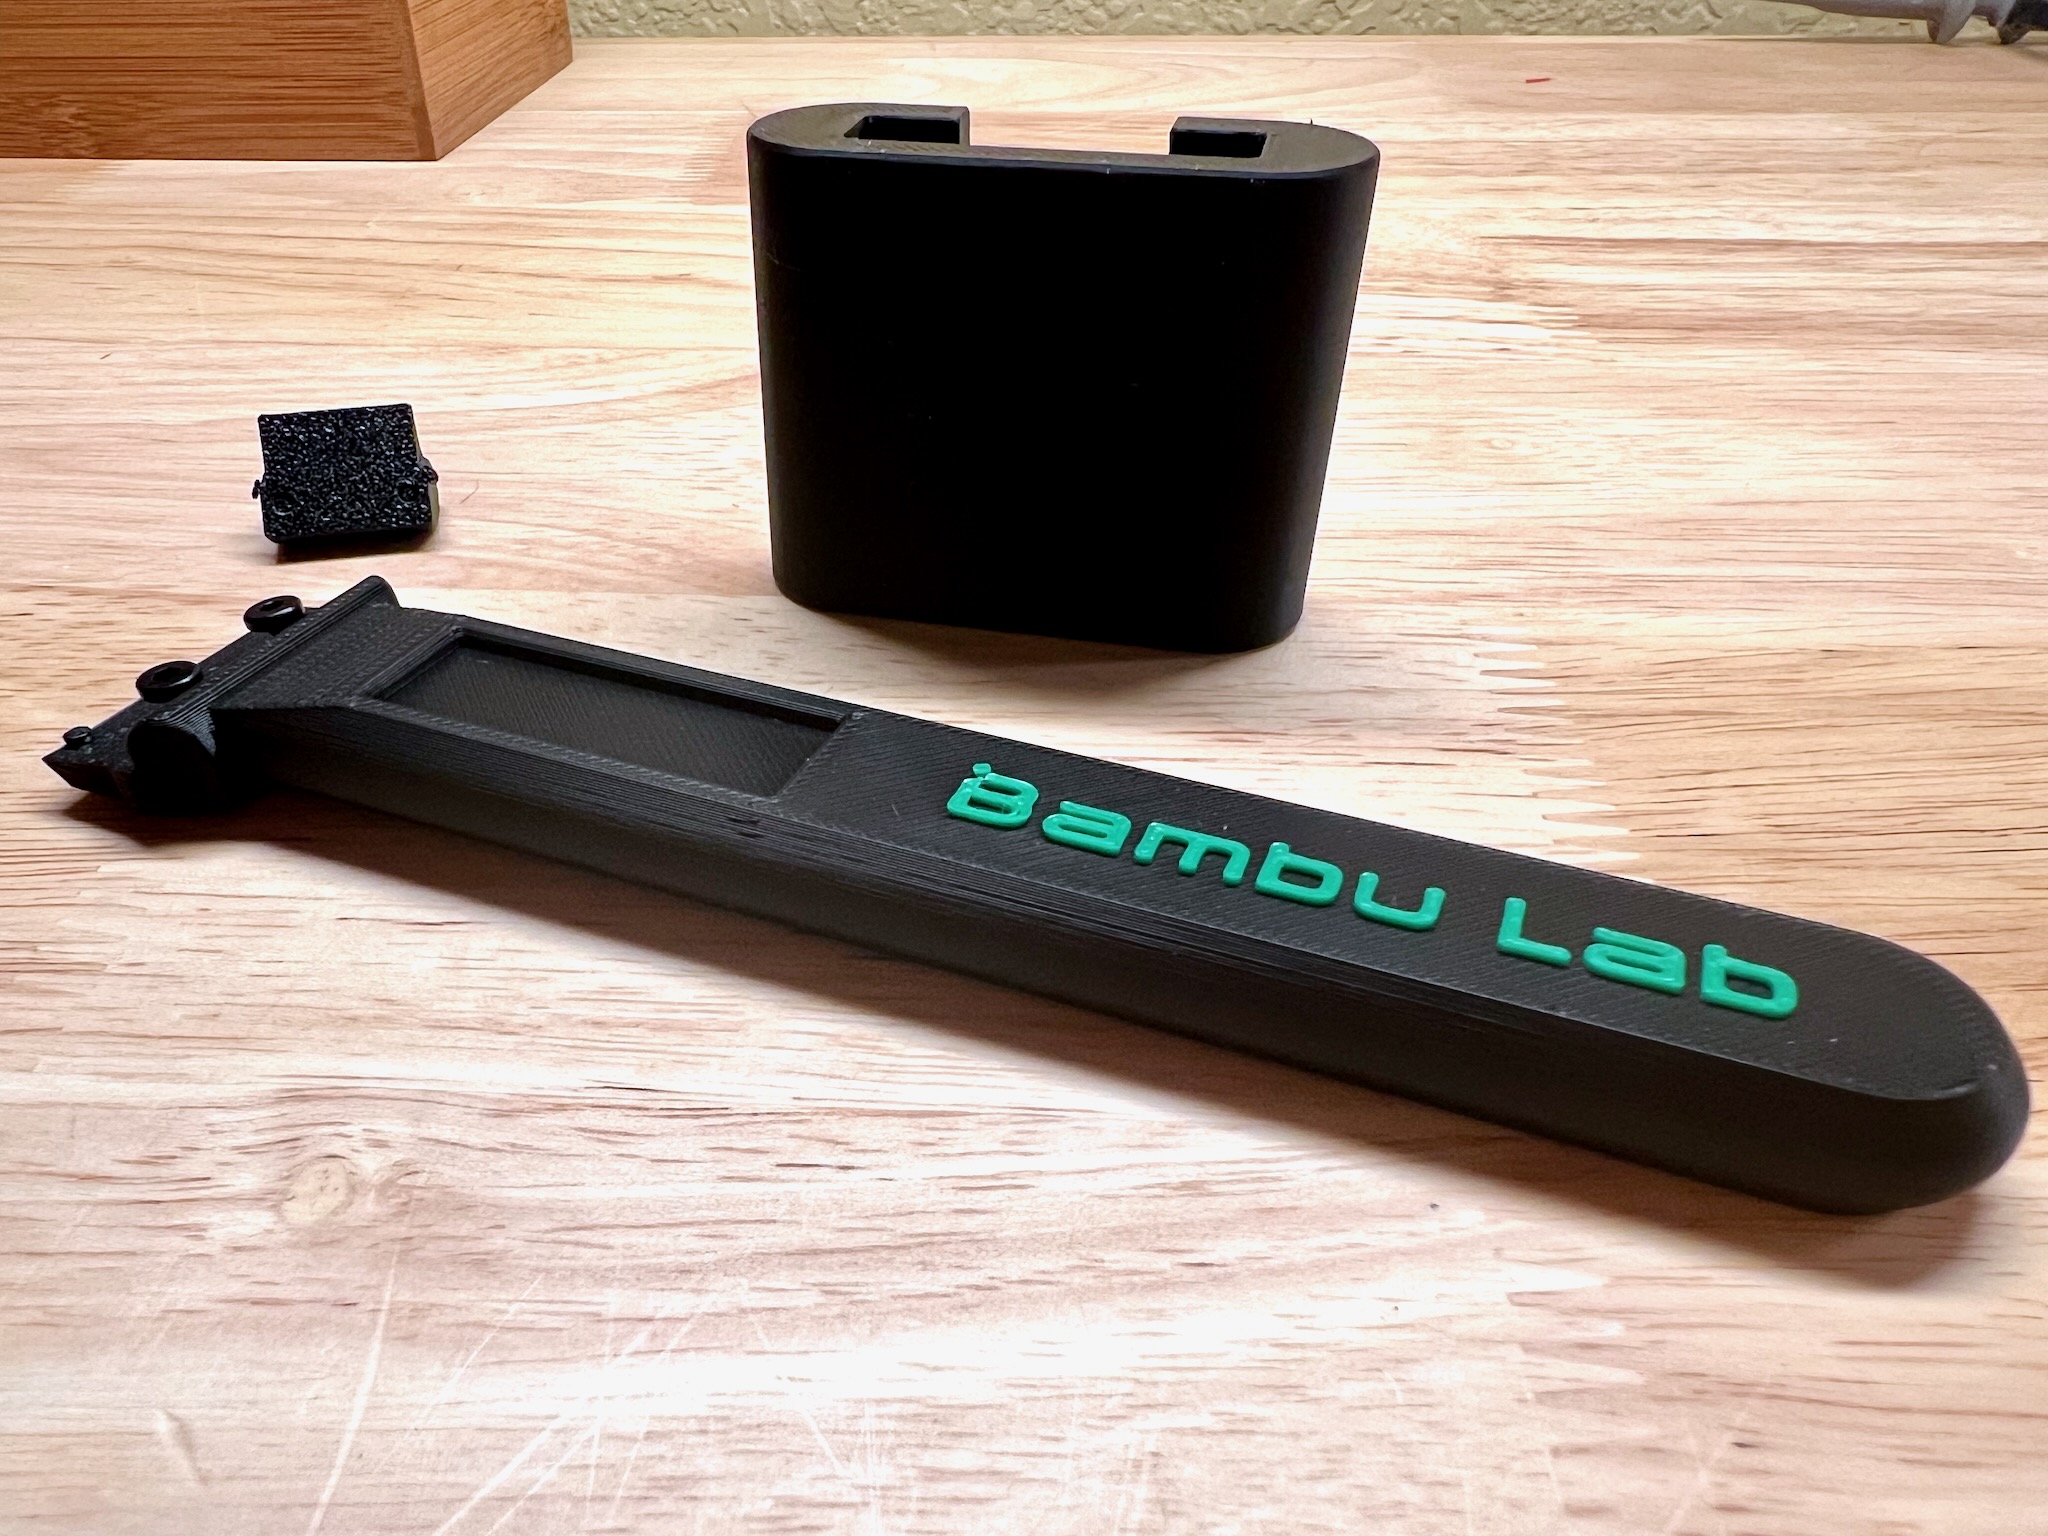 The second print was the more advanced scraper grip. The accessories
box includes the blades and such for it, so I figured, why not? And
it was as easy to print as the other, even using the AMS-aware version
that allowed me to print the Bambu text in a different filament.
The second print was the more advanced scraper grip. The accessories
box includes the blades and such for it, so I figured, why not? And
it was as easy to print as the other, even using the AMS-aware version
that allowed me to print the Bambu text in a different filament.
For this, I actually loaded up the PLA Basic Black I bought and used that for the main body. It worked just as well as the green; no big issue. The green was used for the text. The results were perfect, with one possible exception:
The little block that the screws screw into has marks where the holes should be, but no actual holes.
That is, as far as I can tell, a design flaw in the scraper. I haven’t gotten around to fixing it yet, but I probably will eventualy – either that, or I’ll just get out my drill and drill it…
Either way, the print was again a complete success. I was quite surprised that it was as easy as it was.
Of course, next I needed to install the software and get that working…
A Real Print
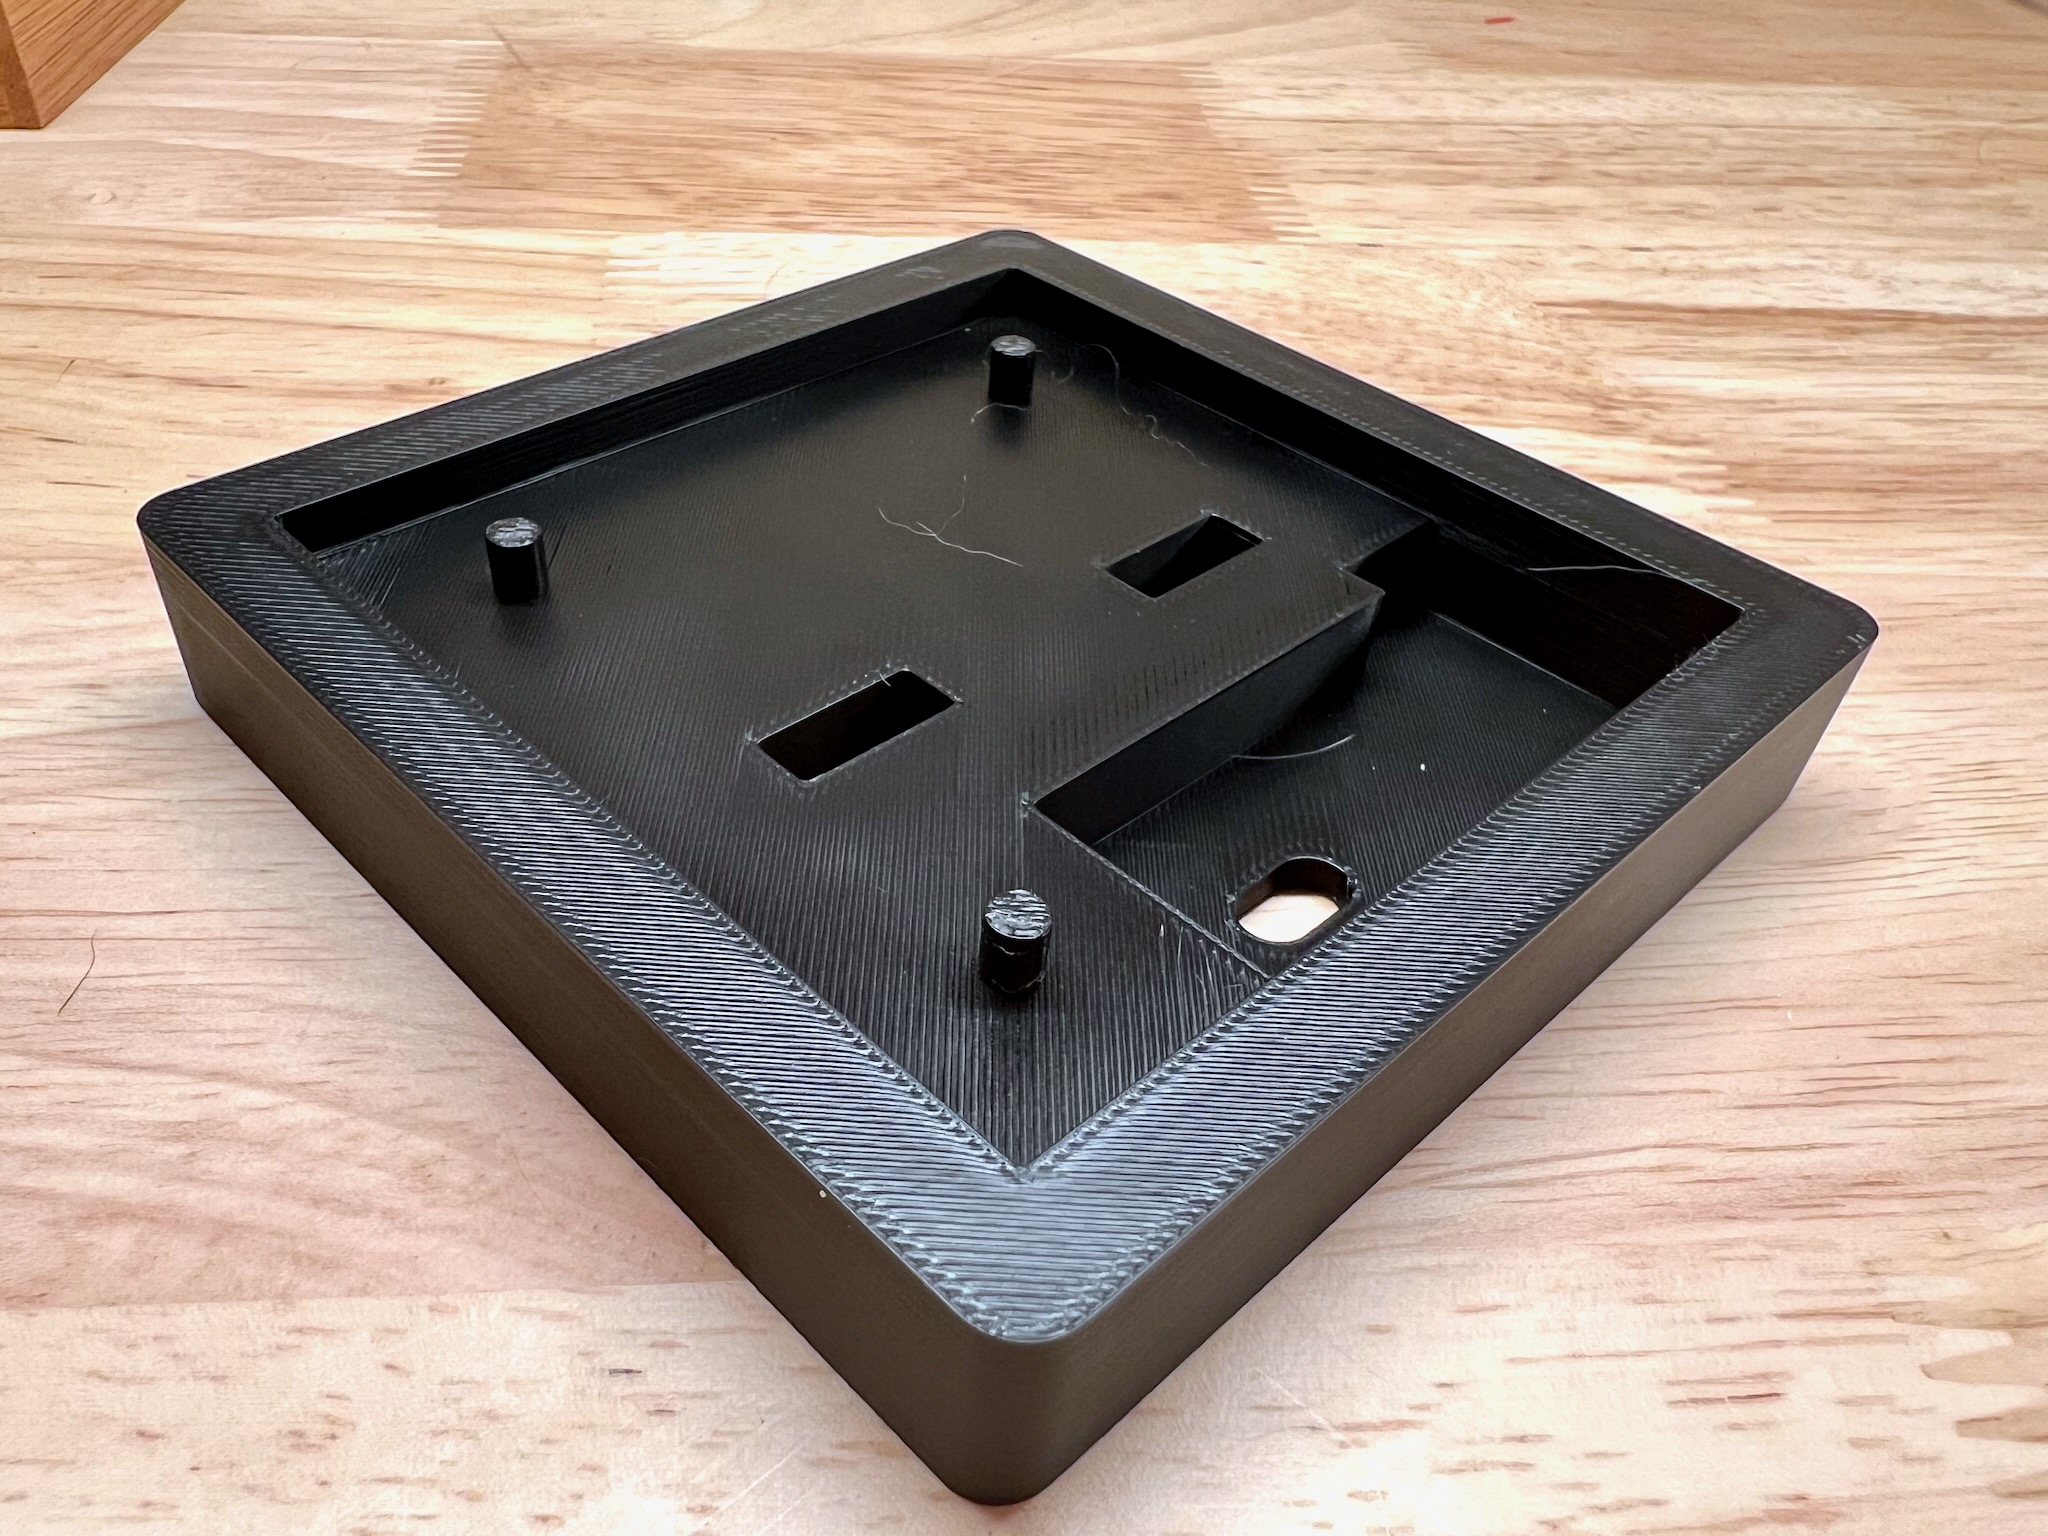 Installing Bambu Studio was easy enough on my Mac. The setup,
however, was… confusing. I’m still not clear on what it was
trying to do.
Installing Bambu Studio was easy enough on my Mac. The setup,
however, was… confusing. I’m still not clear on what it was
trying to do.
When you first fire it up, it asks you to select a bunch of printer models. It doesn’t say why, or what this does. It certainly doesn’t connect you to your actual printer at that point!
And then it does something similar with filament brands and types.
My best guess is that you’re selecting what to make available in various menus, though I really don’t know. There’s no explanation that I could see. I just selected everything and left it at that.
From there, connecting the printer was as easy as going to the device tab and clicking the button to add a printer. It discovered mine all on its own; I just had to enter the access code listed in the printer’s settings (which you can get on the printer’s display). Again, I’m not using a Bambu account; you probably won’t need to do that if you are.
From there it took a little tinkering to figure out how things worked, but it was easy enough to load up an STL, slice it, and send it to the printer. That one was an actual enclosure for the hardware I’m working on, done in PLA Basic in black.
It worked like a charm.
No, Really, It’s That Easy!
Seriously, it was trivial. Bambu has put a printer together that you really don’t have to mess with, at least if you’re using Bambu-branded filaments. The enclosure printed perfectly on the first try, and in only an hour or so.
This is exactly what I’m looking for!
Interface Issues
There is one thing I will note about Bambu Studio, however, and that’s the colors used in the interface (and I tried both dark and light mode). There are spots in there where they have white text on a light gray background, for example. It’s probably hard to read even with good eyesight.
For me, it’s impossible.
This is something that needs to be fixed. I may try Orca pretty soon to see if it works any better on that score. It’s supposed to be a better slicer anyway.
Given that this is the only major “uncorrectable” problem I’ve found, I’m not going to complain too much. Things could be a lot worse.
Final Thoughts
 Based on my experience so far, I’d give this printer a nine out of a
possible ten. There are some minor documentation weaknesses, and the
interface issues noted above, and… that’s really about it. Overall,
the thing Just Works.
Based on my experience so far, I’d give this printer a nine out of a
possible ten. There are some minor documentation weaknesses, and the
interface issues noted above, and… that’s really about it. Overall,
the thing Just Works.
Though you will want to print yourself a “poop bin” for the back. The lack is annoying. You can find plenty of designs for that just by googling.
I’ve already printed half a dozen things so far, and I’m very happy with the results. The only question now is, what else can I design and/or print? I do have some ideas…
Like I said: I’m doomed!