I’ve always been vaguely interested in growing my own food; for some reason, it’s really appealing. Outdoor gardening, however, is generally messy and a huge amount of work. Historically, that has kept me away.
And then I discovered Click & Grow.
The Story
Me and Internet Rabbit Holes; it’s a Thing. Some time ago I randomly fell into one and spent a large amount of time reading about hydroponics (I think I was looking at something to do with LED lighting or some such). That led to looking into the possibilities of hydroponics at home.
And that led me to Click & Grow, among others.
I had no idea this even existed.
Reading about it piqued my interest, and I added it to my list of Things I Might Want To Get Into. Of course, I must remind you about the reason for the name of this site. It wasn’t long before I was thoroughly distracted by something entirely different.
I forgot all about it.
That lasted until something reminded me just before the holidays, and I finally decided to pick one up.
The Spend
 I probably should’ve gotten the little
one that
was on sale for $80 (I think), but being me, I went with the big
$218 Smart Garden 9
PRO.
Now that they’re no longer on sale, they’re $100 and $290
respectively. Note that there is also a non-pro Smart Garden
9; that one
is $230.
I probably should’ve gotten the little
one that
was on sale for $80 (I think), but being me, I went with the big
$218 Smart Garden 9
PRO.
Now that they’re no longer on sale, they’re $100 and $290
respectively. Note that there is also a non-pro Smart Garden
9; that one
is $230.
Of course, that’s not where it ended. My purchase included:
- Exension Arms for the light ($14.95)
- A box of natural reed straws ($11.95)
- A box of replacement wicks ($2.95)
- Herb Shears ($9.95)
- An Herb Saver thing ($21.95)
And then, in addition to the nine plant pods it includes (basil, tomato, and lettuce), I wanted some other plant pods, and went a little overboard (and bear in mind, these prices are for packs of three):
- Dwarf Pea ($9.71)
- Red Sweet Pepper ($9.71)
- Wild Strawberry ($9.71)
- Oregano ($7.46)
- Chives ($7.46)
So a total of fifteen additional plant pods, all of them on sale for the holidays, of course. In total (and including a minor discount code), I spent about $330 on Plant Stuff (including $8 in shipping). Two thirds of that was the unit itself, though.
These guys must be making a boatload…
The Arrival
Shipping took just shy of a week, which is pretty good for the holiday season (for anyone who isn’t Amazon). The only hiccup was that FedEx delivered the two boxes on two different days, but only the first one got a delivery notification. Their tracking didn’t even indicate that there was another box on the way, which made me think that the order had been messed up somehow.
I sent an email to Click & Grow support on Saturday after the first one arrived, and the second package arrived Sunday, so I sent another email to tell them it was resolved. I got a friendly note back on Monday thanking me for letting them know and offering to answer any questions. They seemed nice, but I really didn’t talk to the support people.
The unit’s packaging was pretty solid (with an origami-assembled cardboard box in a nice pretty sleeve; I meant to take pictures, but totally forgot!). I have no complaints about that. Alas, it had to sit until after Christmas before I could get around to actually putting it together.
The Setup
Assembling the thing was fairly straightforward.
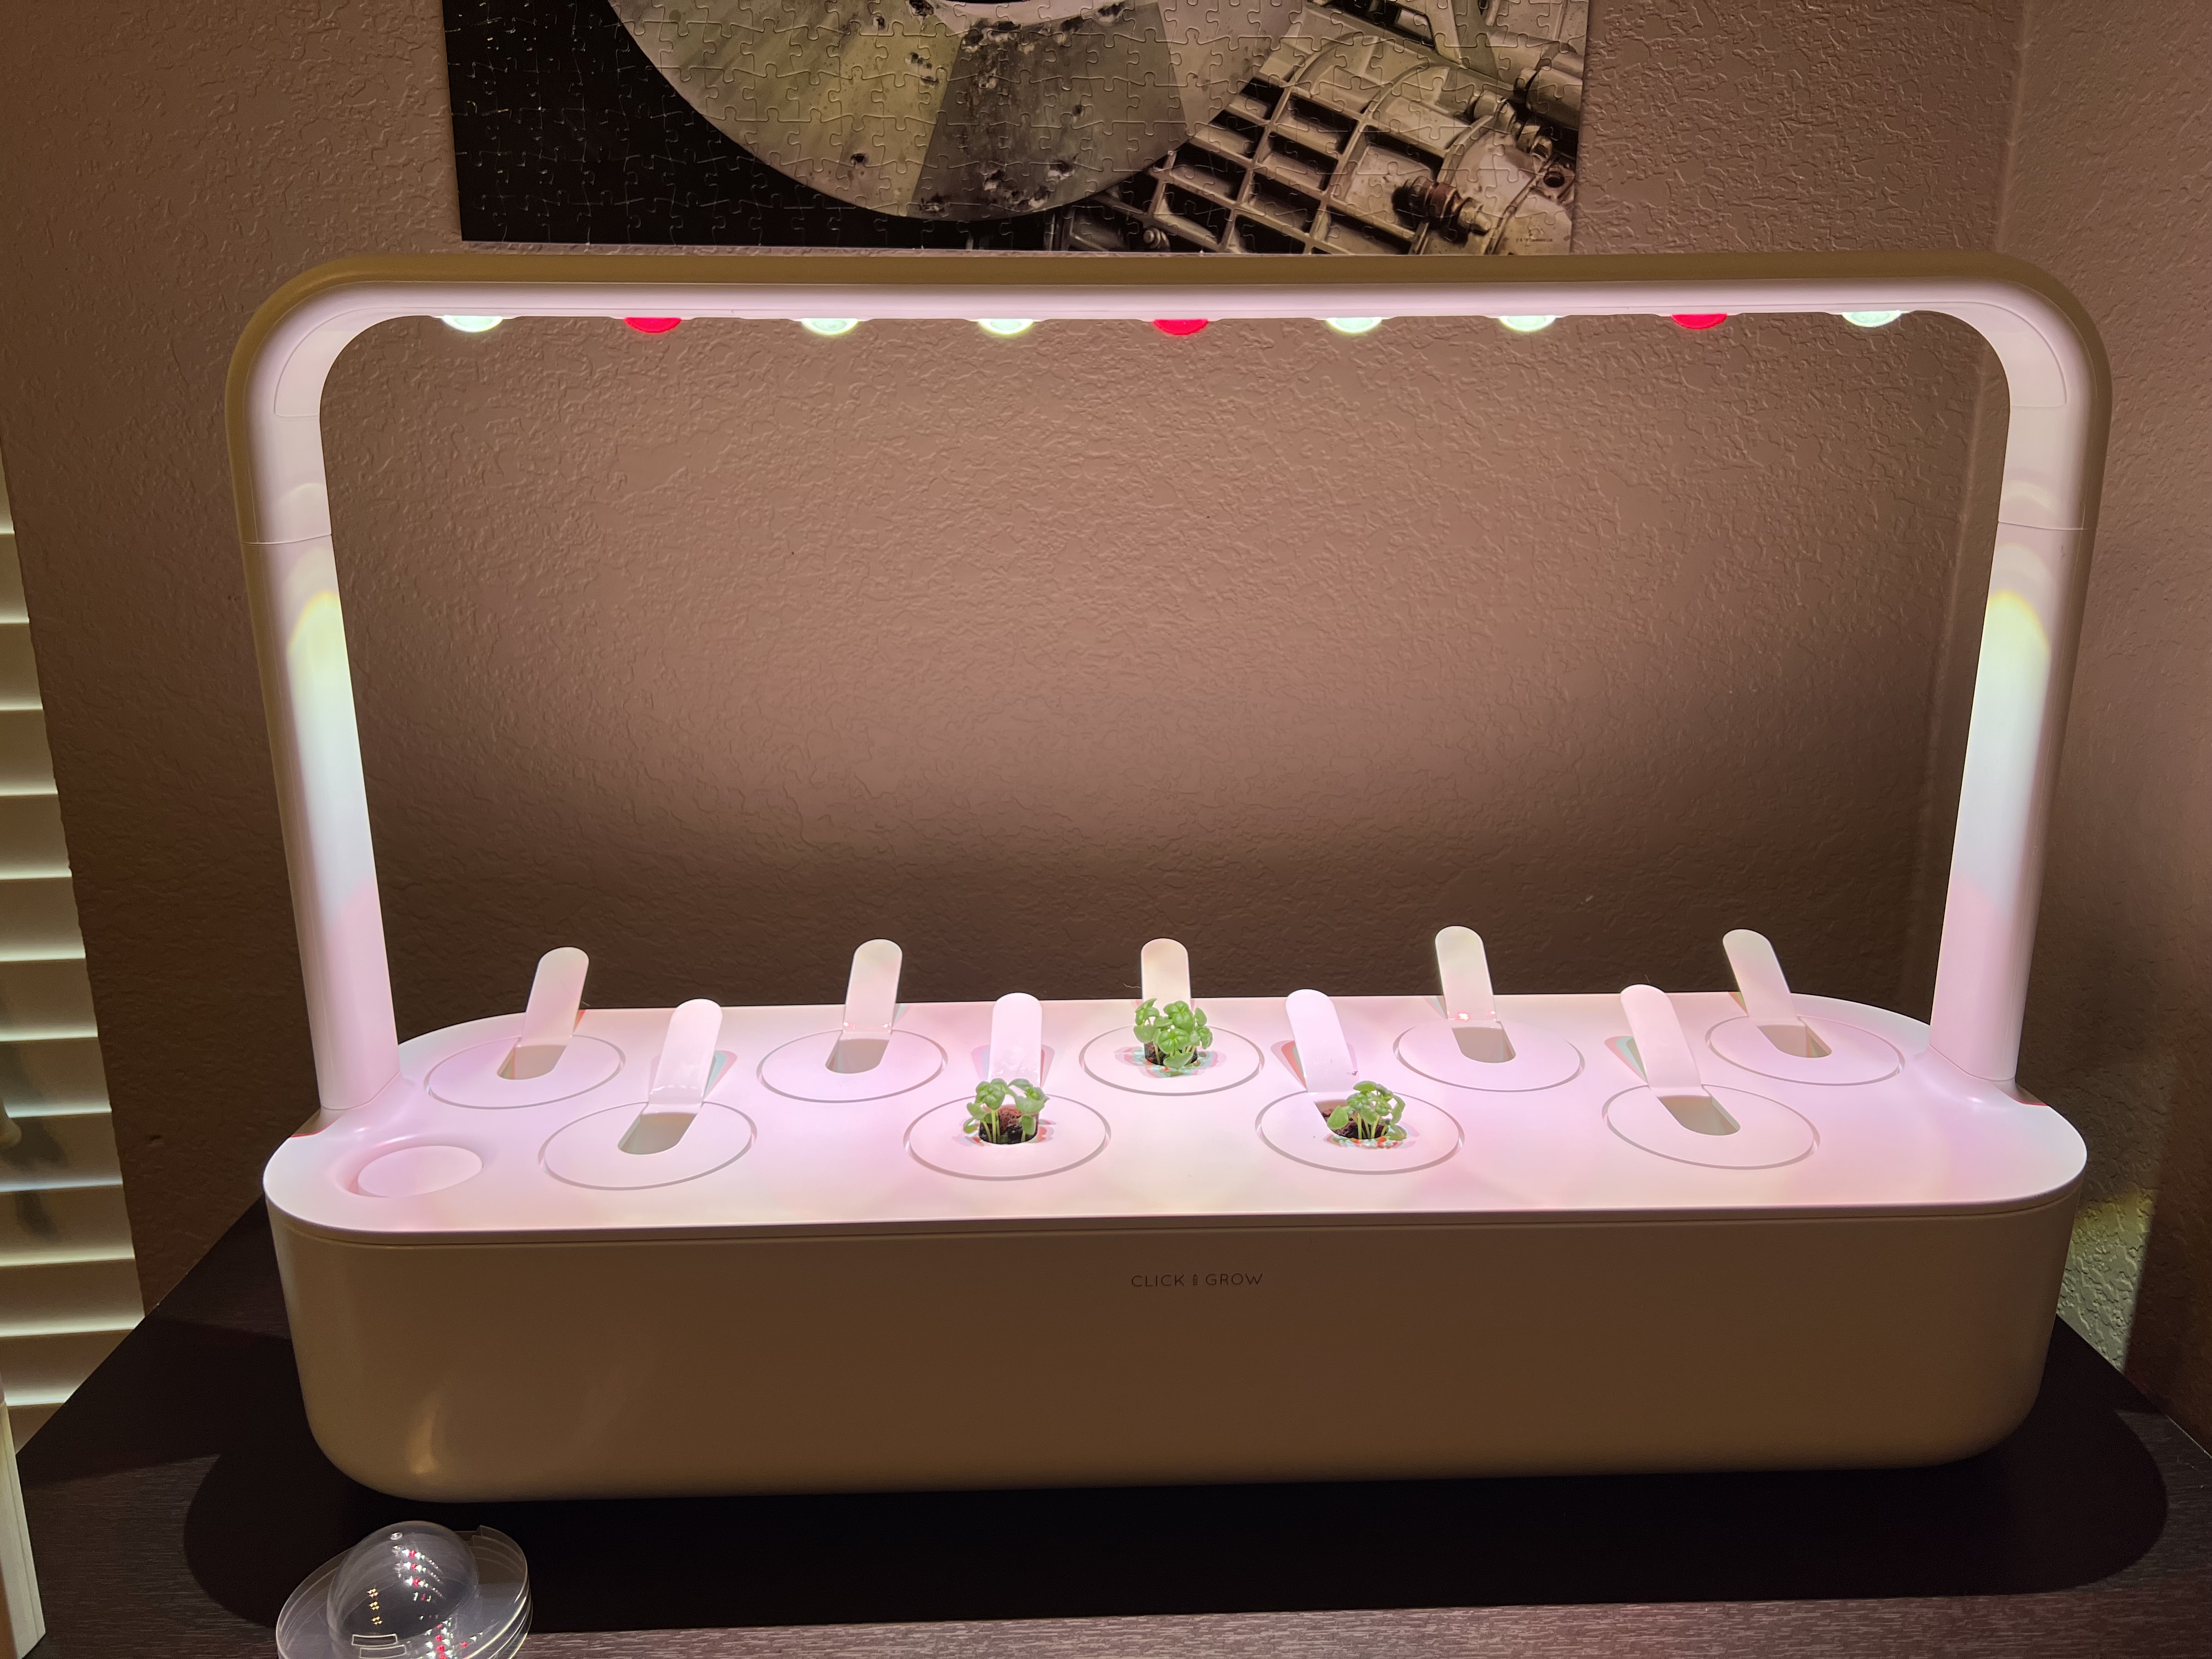
I had to remove a bunch of stickers on the ends of the light assembly and from the associated area on the base, and then stuck the light on it and put the little plastic plant cups in it with their caps on. That was pretty much it. It was supremely easy.
The biggest problem was finding a place for it.
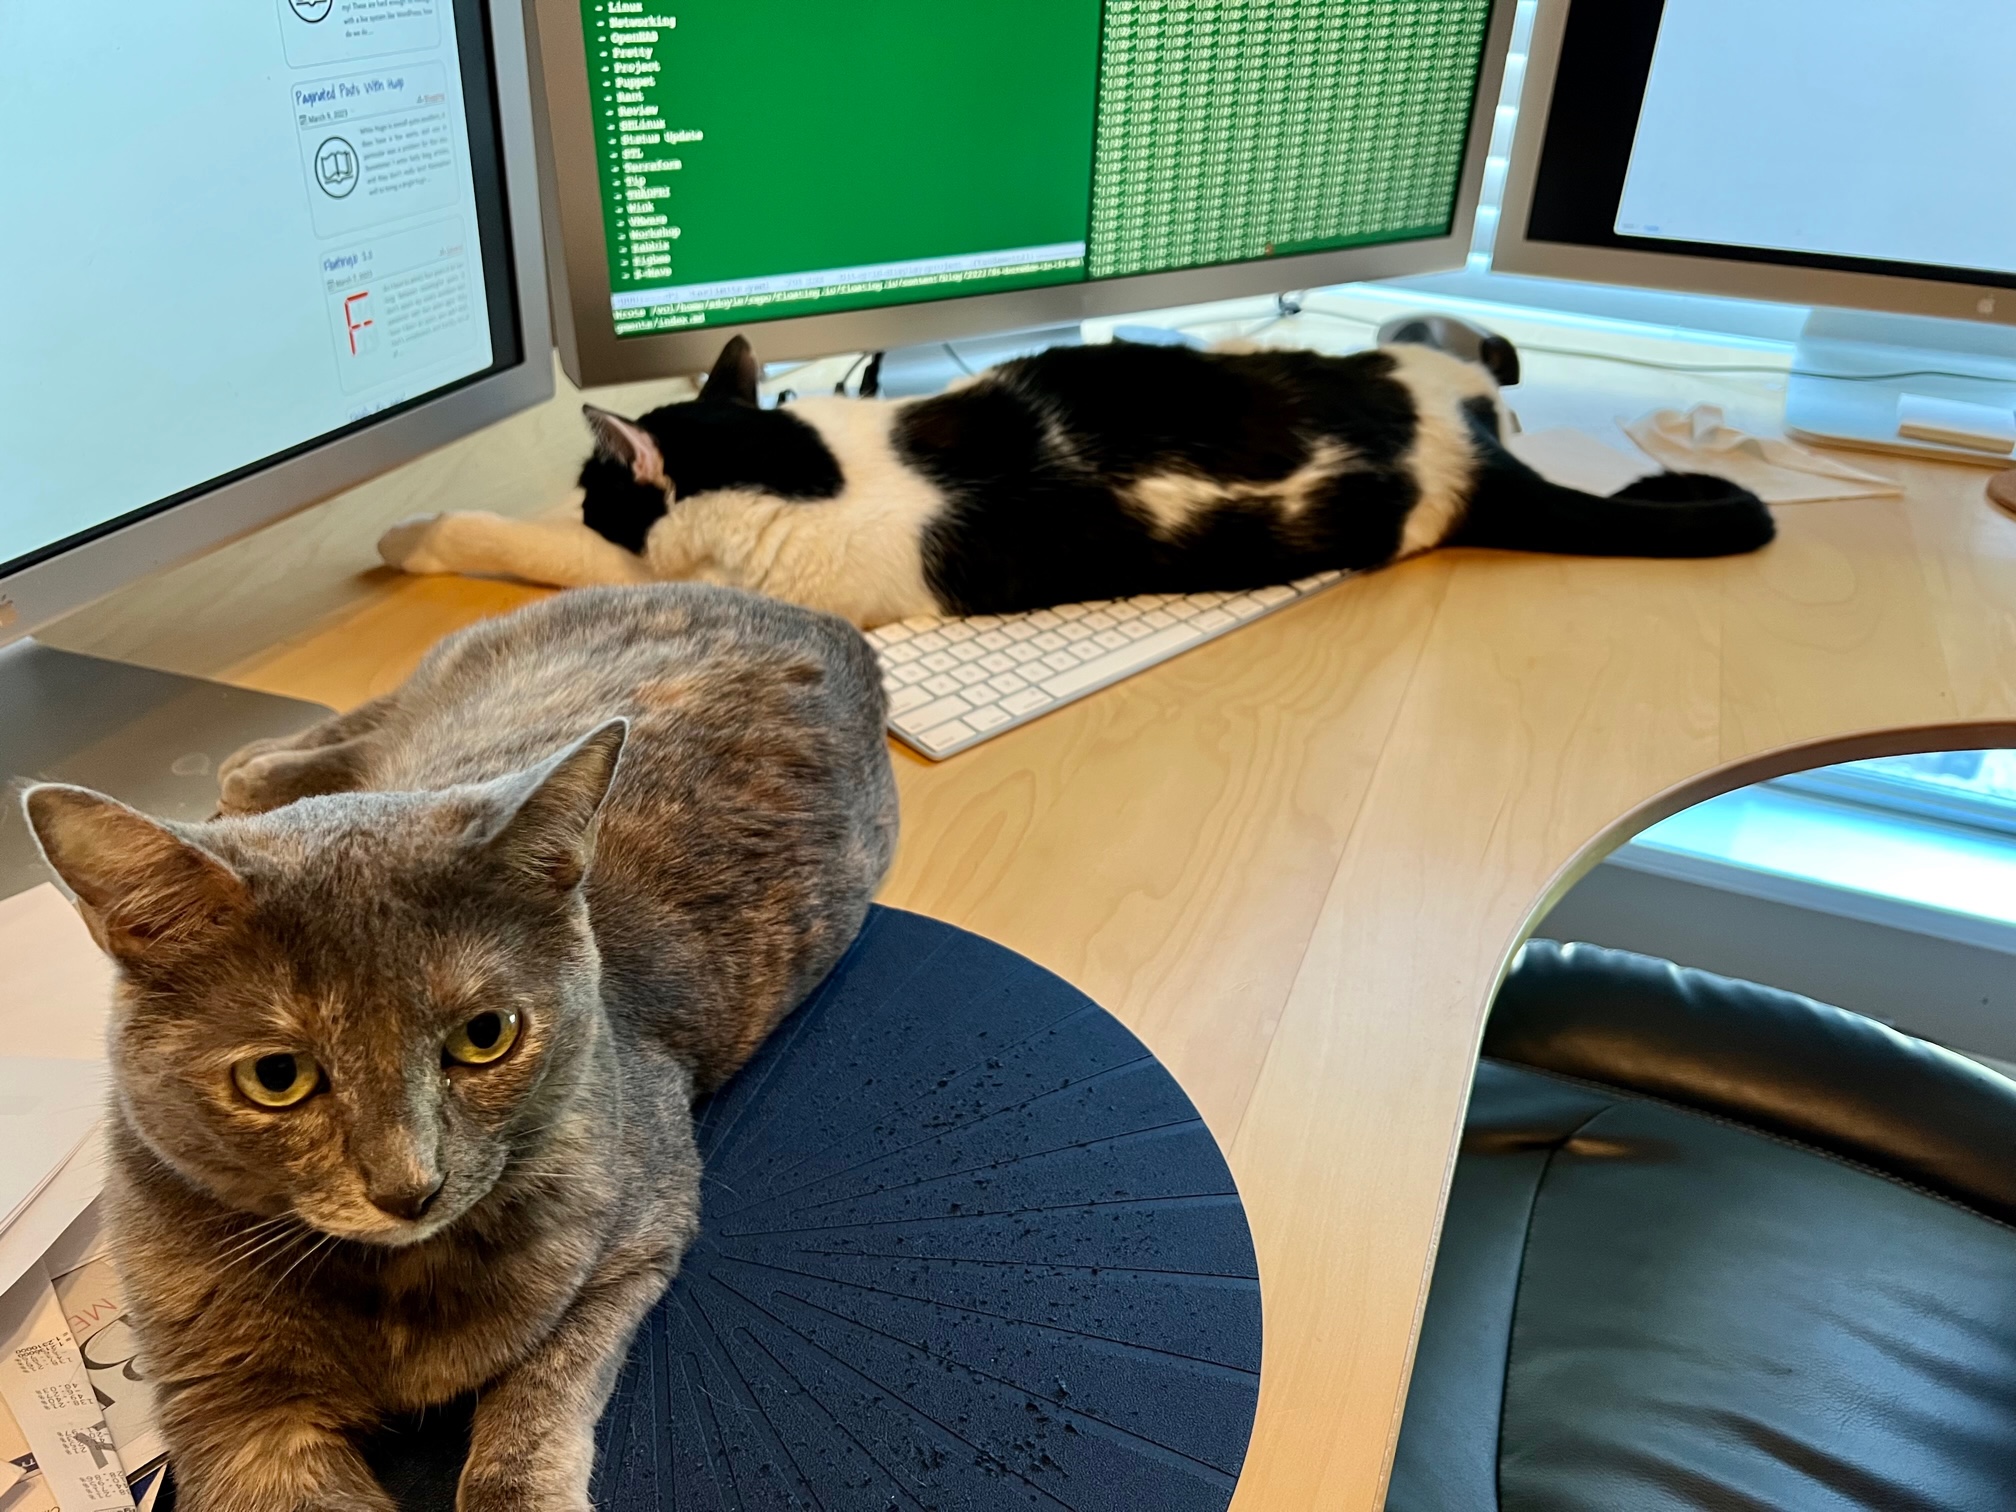
I originally planned to put it in my kitchen, but the lights are extremely bright, and I can’t close my bedroom door at night or my cats go ballistic. It therefore got relegated to the back office. Not ideal, but it works for now.
That’s something to watch out for: make sure you have a place for it where it won’t disturb you. It’s like daylight under those bright LEDs, and I really don’t need the lights in my office anymore unless I’m trying to read (and maybe not even then). If you’re sensitive to that sort of thing, then you’ll want to put it somewhere that the light will be blocked off.
All told, it took just a few minutes to set up and get it situated. Really, there’s not much to write about there. I spent far more time deciding on a place for it than actually working with it.
The App
The Click & Grow iOS app is used both to track your garden’s progress, and to alter the lighting schedule. It’s a fairly simple thing, and I have no real complaints about it. You simply add your garden, pair your lights (which is easy), and off you go.
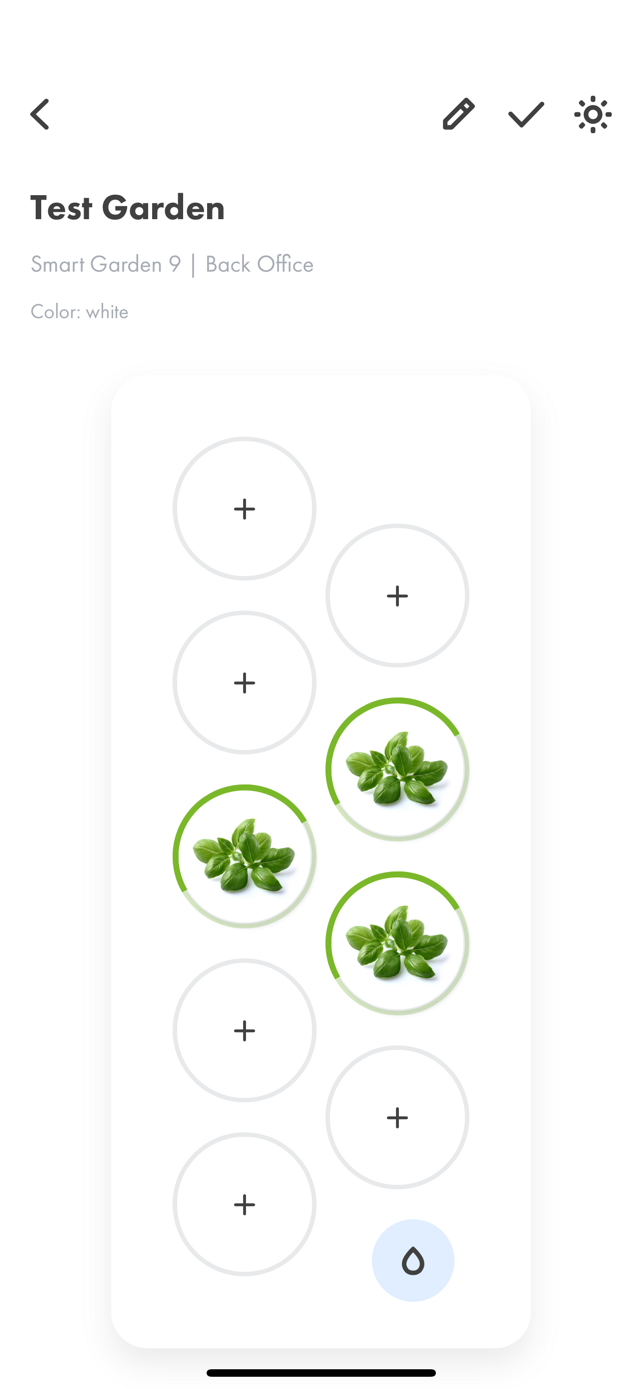
It will also allow you to set which slots contain what, and then it will track their progress, though there’s no actual feedback from the garden. It simply tells you things like how long they’ve been in there and how long they have to go before they should be ready to harvest.
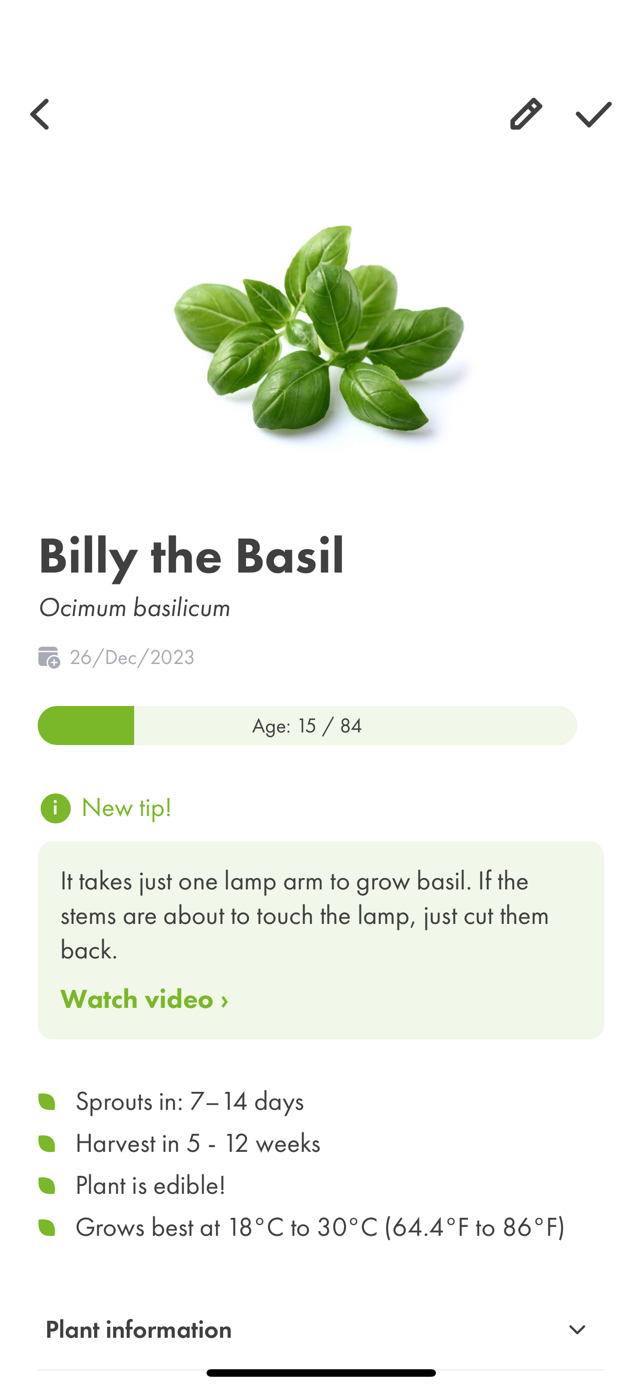
The convenient thing about it is that you can click on the plant and see useful information. This includes the temperature at which it best grows, how long it should take to sprout and before harvest, etc. I’ll probably use the app just for that.
I think you can use this even without the PRO version; you just won’t be able to use the light controller. If memory serves, that was optional.
The System
Click & Grow isn’t actually hydroponic. It uses something called CPI (Capillary Precision Irrigation) instead. Basically, the little plant pods have a wick sticking up through the bottom and extending down into the water beneath the pod.
Somehow, this waters the plants.
I will admit that I was pretty skeptical when I learned how it worked, but my skepticism proved unfounded. As unlikely as it seems, it really does work well (at least so far).
And the best part is, it’s virtually maintenance free. Just add water every two or three weeks!
The Caveat
There was one thing, though, that completely escaped me when I decided to start down this path. I’ve never done my own gardening before, let alone indoors, so it didn’t occur to me until my Mom mentioned it. And by then it was too late.
All those plants I ordered pods for?
Most of them are poisonous to cats.
Insert vehement cursing.
This is something you need to pay attention to if you have pets. For me, I had to google around to find out which ones were poisonous to them and which weren’t. Click & Grow’s site has convenient information on the plants, but this issue is not discussed.
Something to mention to them at some point, I think; it would be nice if pet-related warnings were displayed on the plant pod pages along with all the other handy information.
I’m currently thinking about how to deal with that. I have a few ideas on how to mitigate it, but that’s for another day.
The Garden
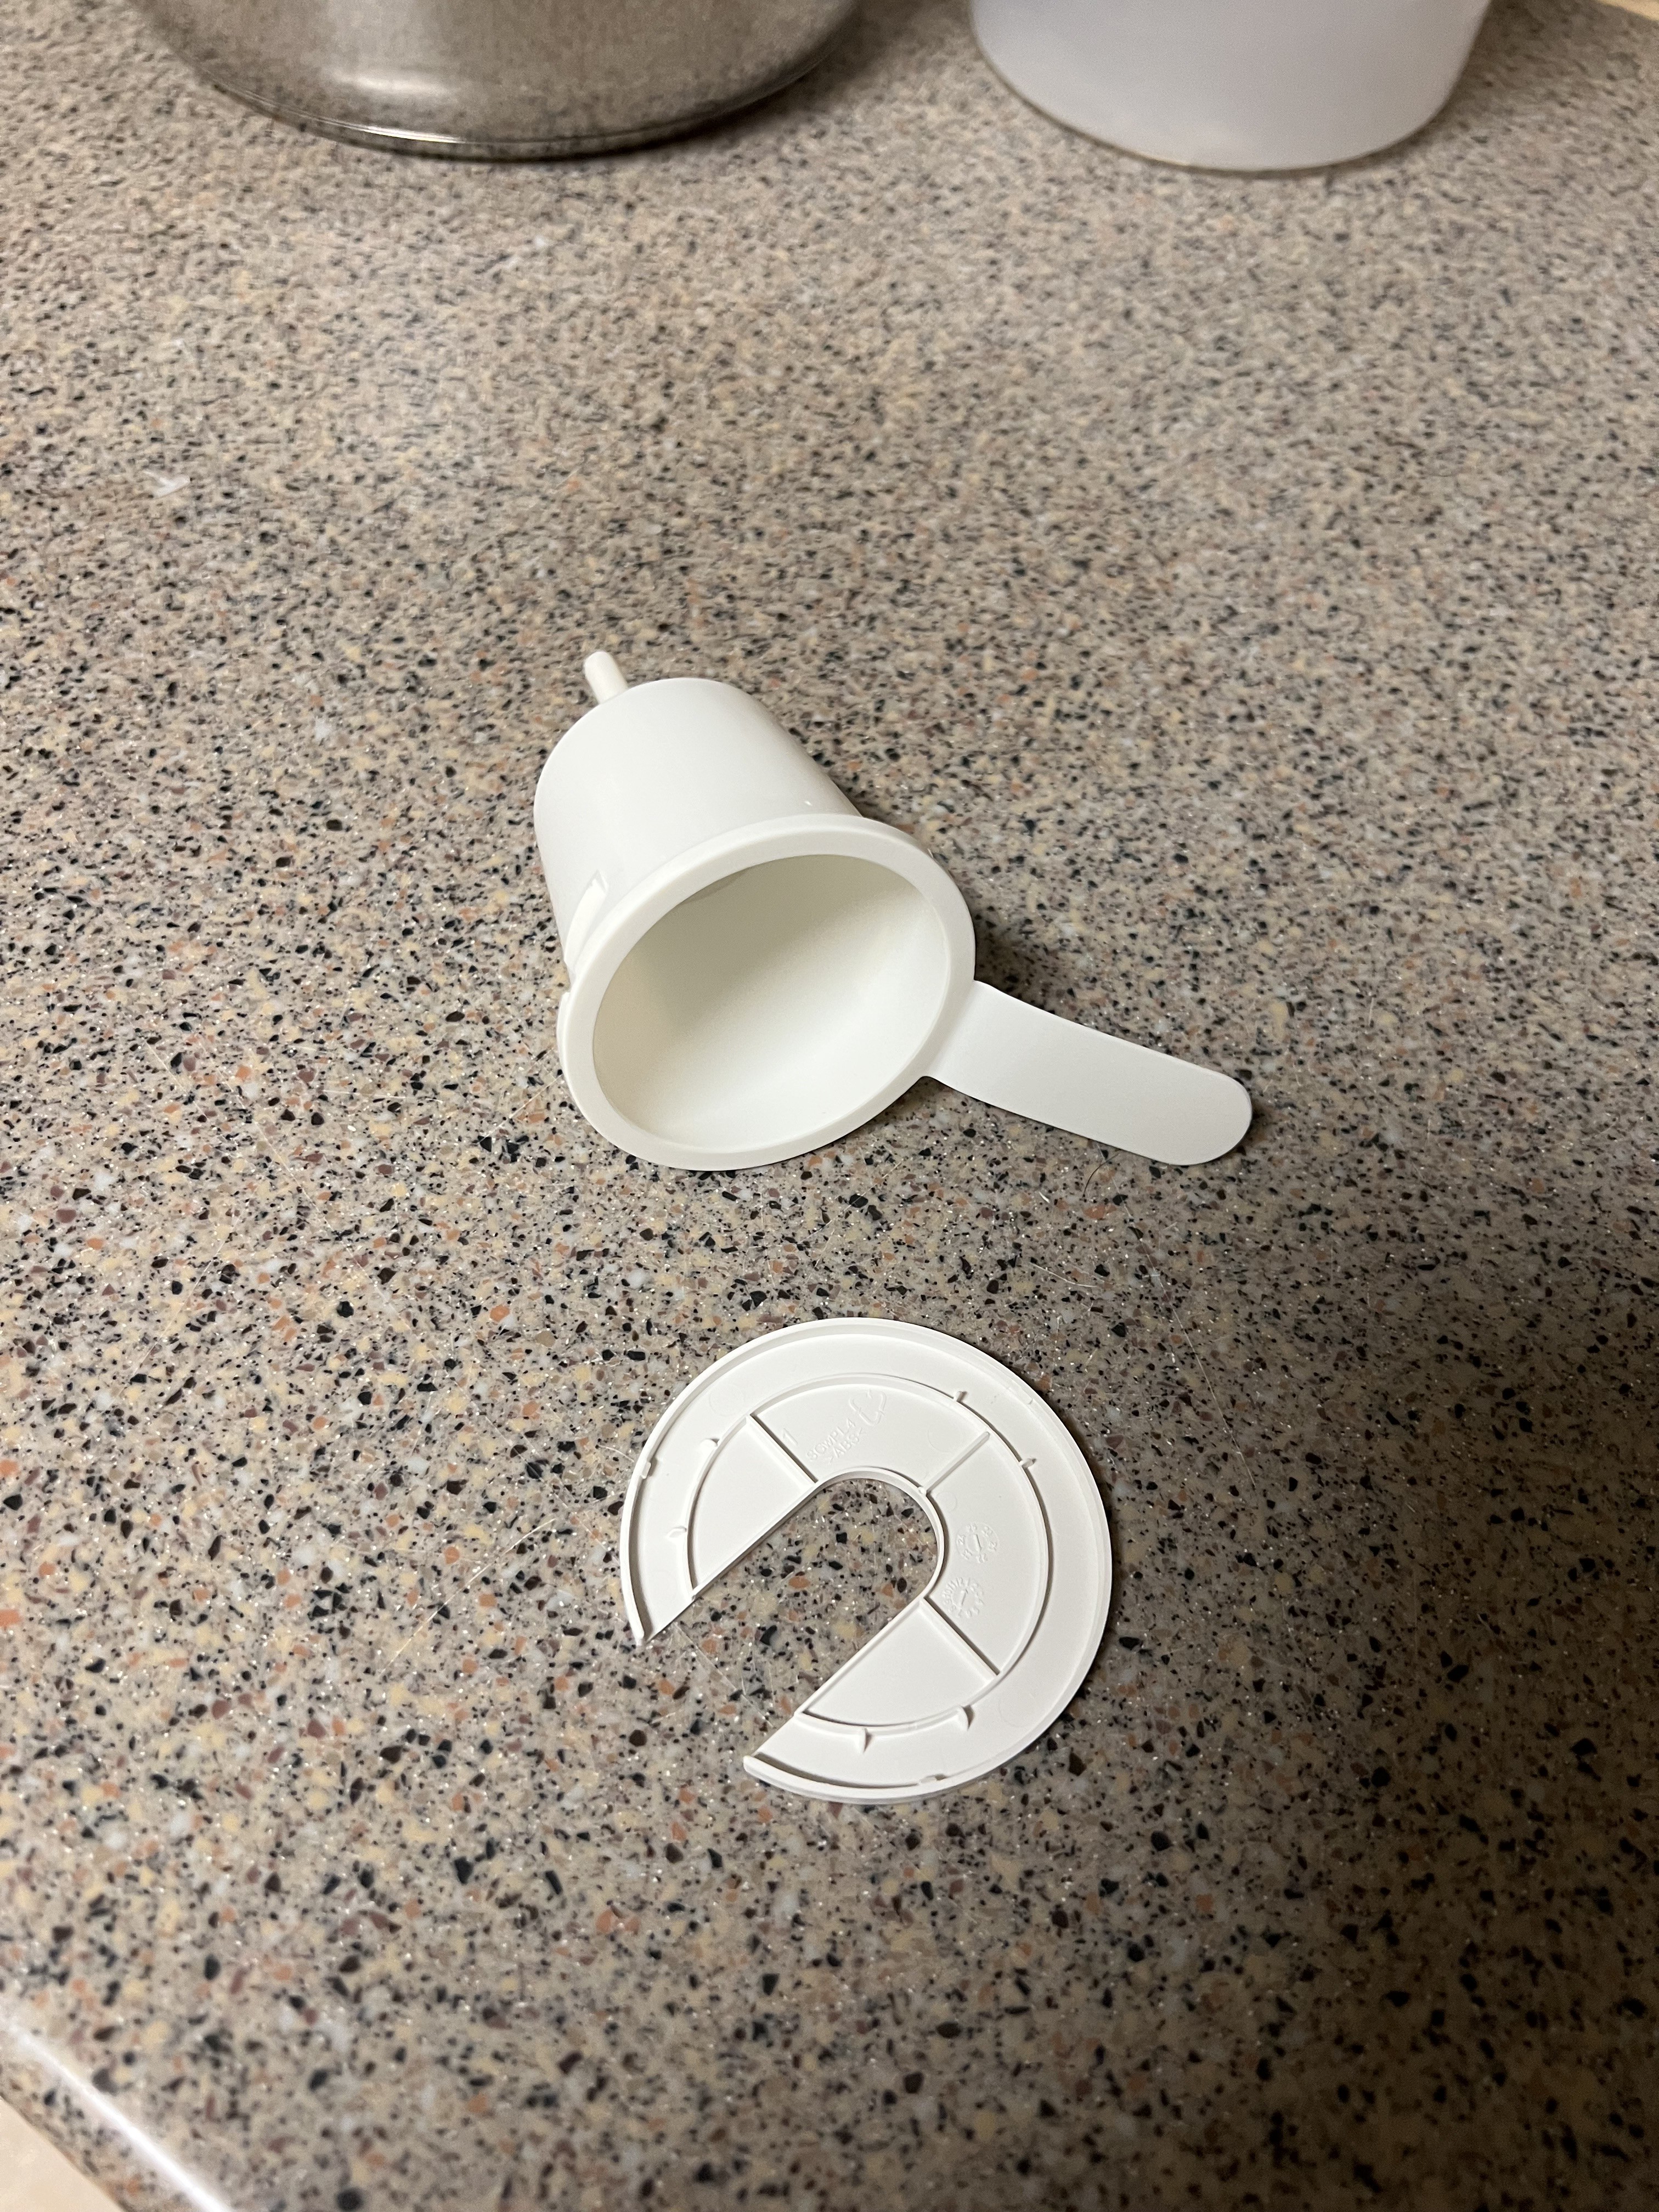
So now I had my garden all set up, and it was time to “plant” some things. I settled on doing just three pods to start, and chose the basil since (a) I have a use for it in various things I cook, and (b) it’s not poisonous to the cats. So I filled it up with water (which is quite easy, though make sure you don’t use soft water for this!) and pulled out the pack of basil pods.
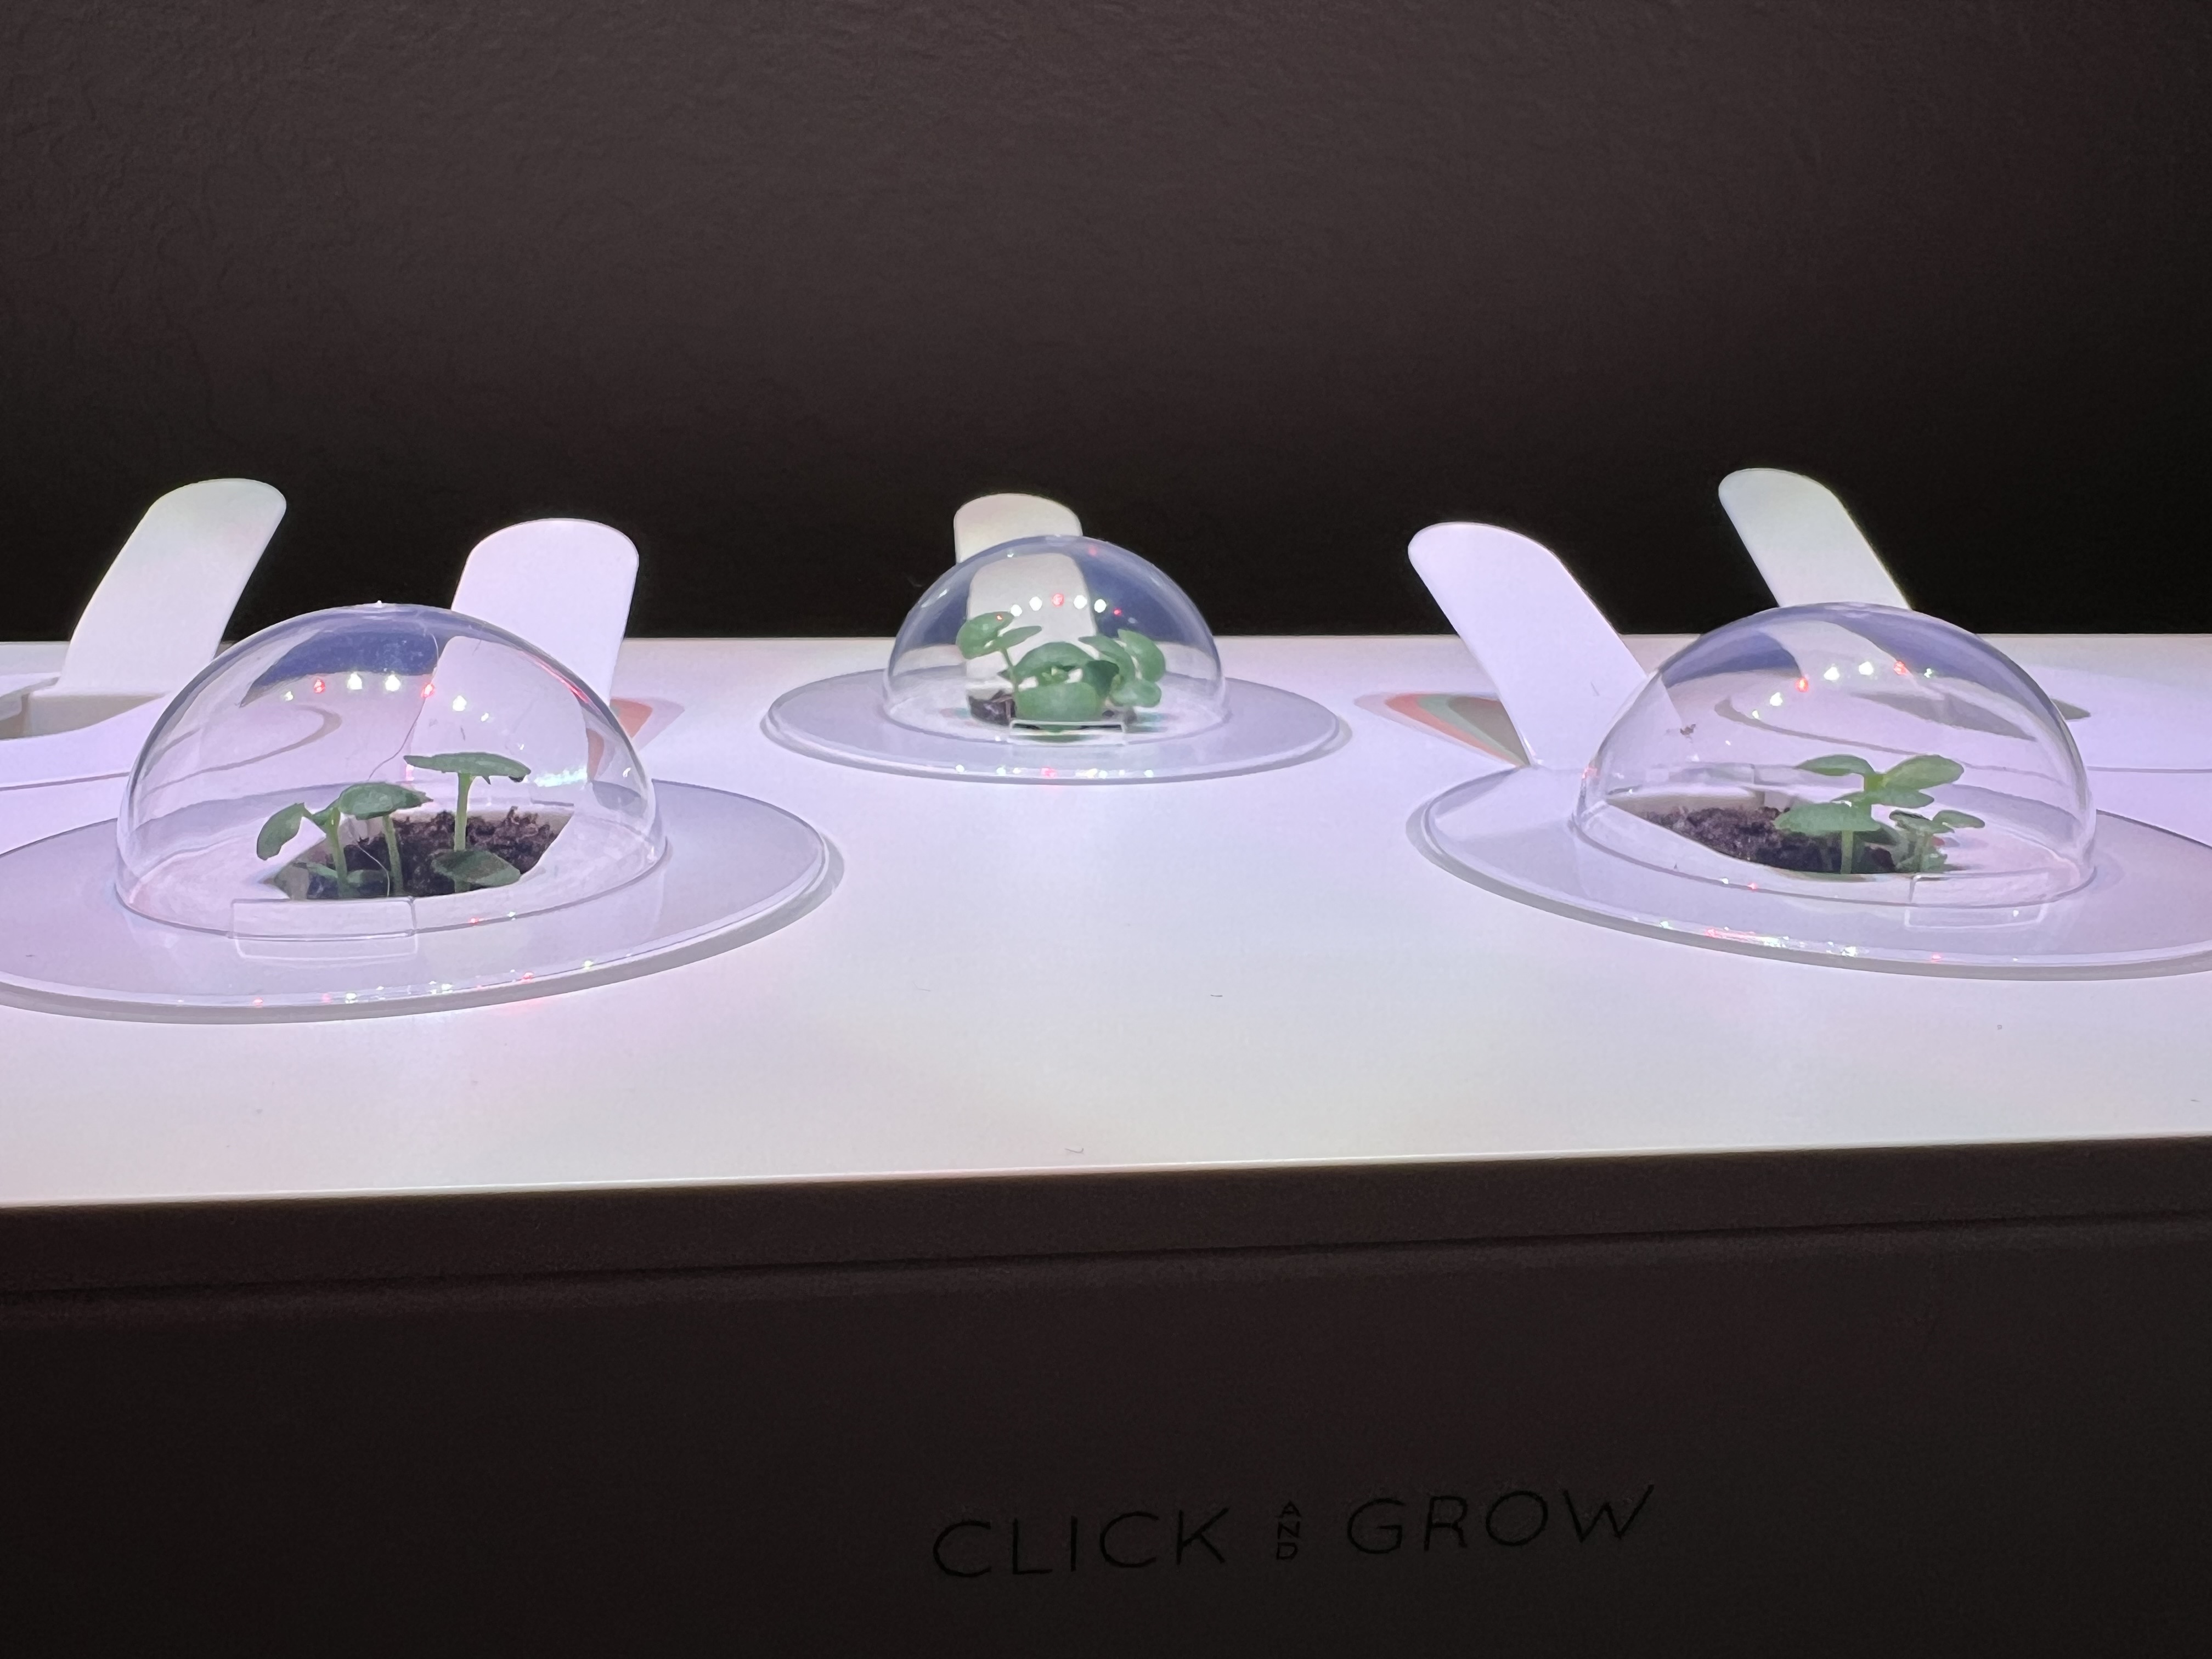
Talk about easy: you open the package, pop the top off one of the plant pods, and move the little dirt cone from the package to the plant pod. Then you put the top back on, put it in a slot in the unit, and add a little plastic greenhouse dome (included with the garden) to help the seeds germinate.
And then you simply wait.
The Sprouts
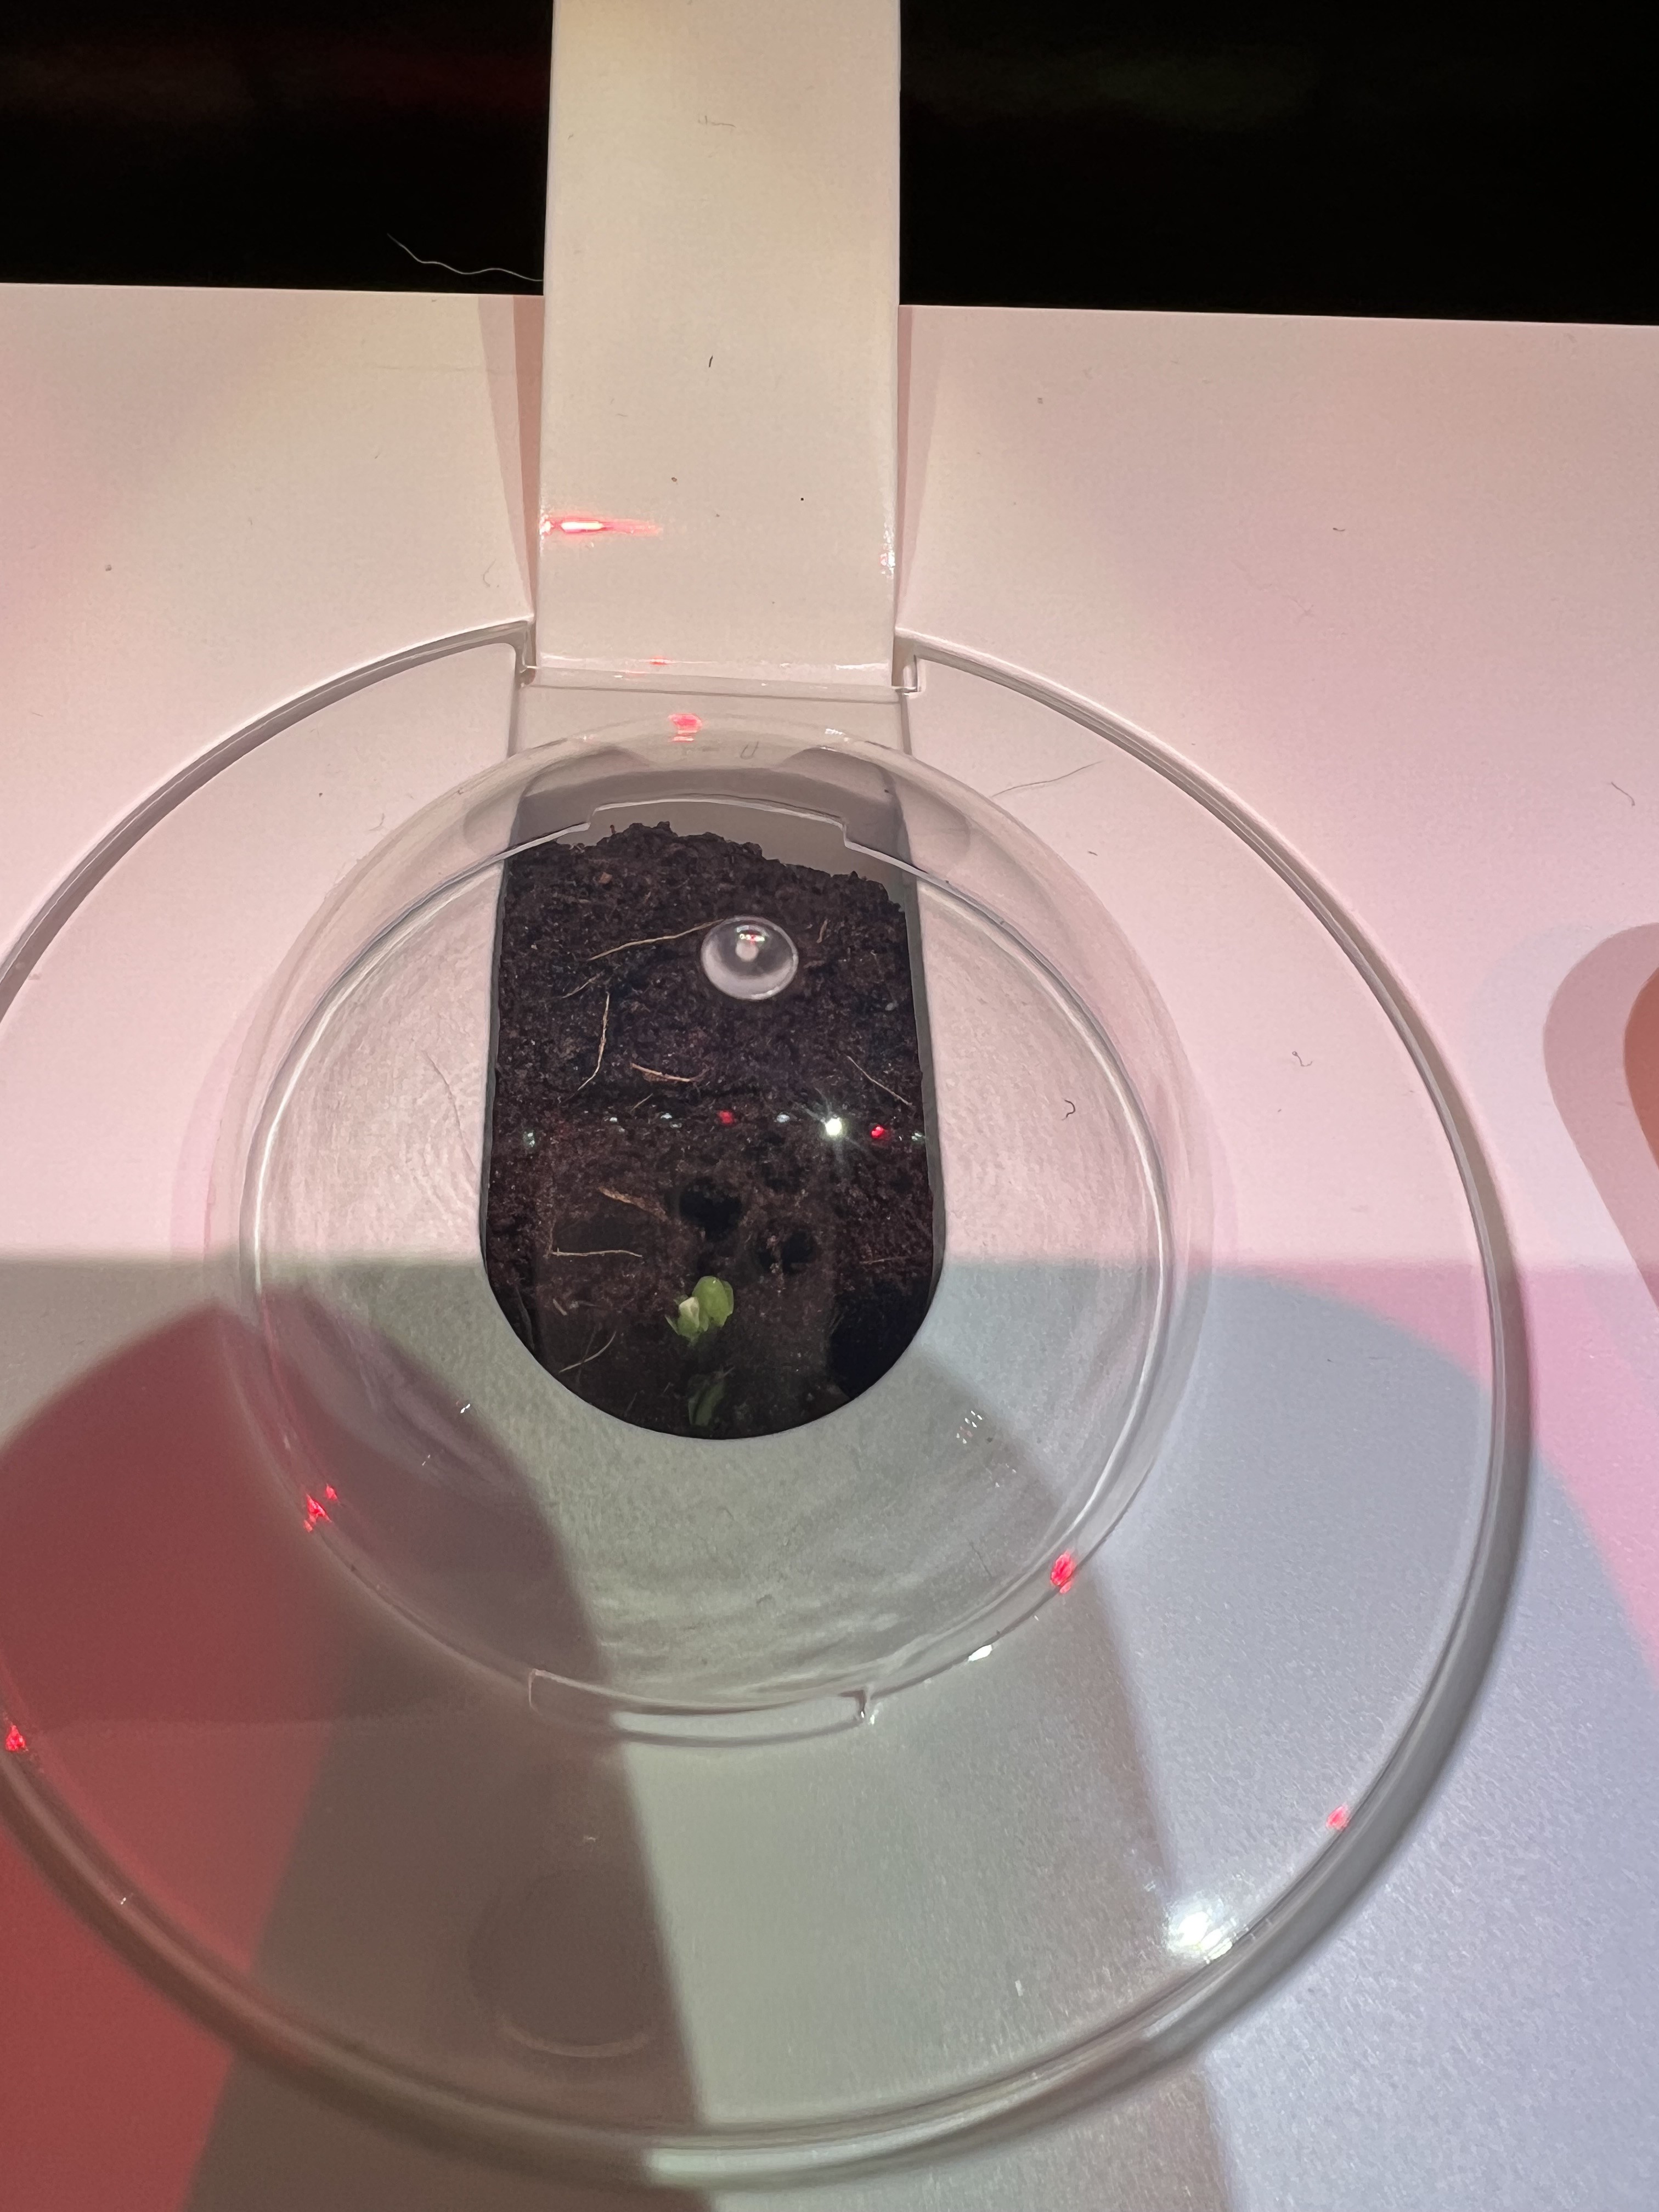 The package said five to seven days to sprout, but all three of mine
sprouted in three. There are apparently multiple seeds in each plant
pod, because multiple sprouts appeared. I was quite happy with that.
The package said five to seven days to sprout, but all three of mine
sprouted in three. There are apparently multiple seeds in each plant
pod, because multiple sprouts appeared. I was quite happy with that.
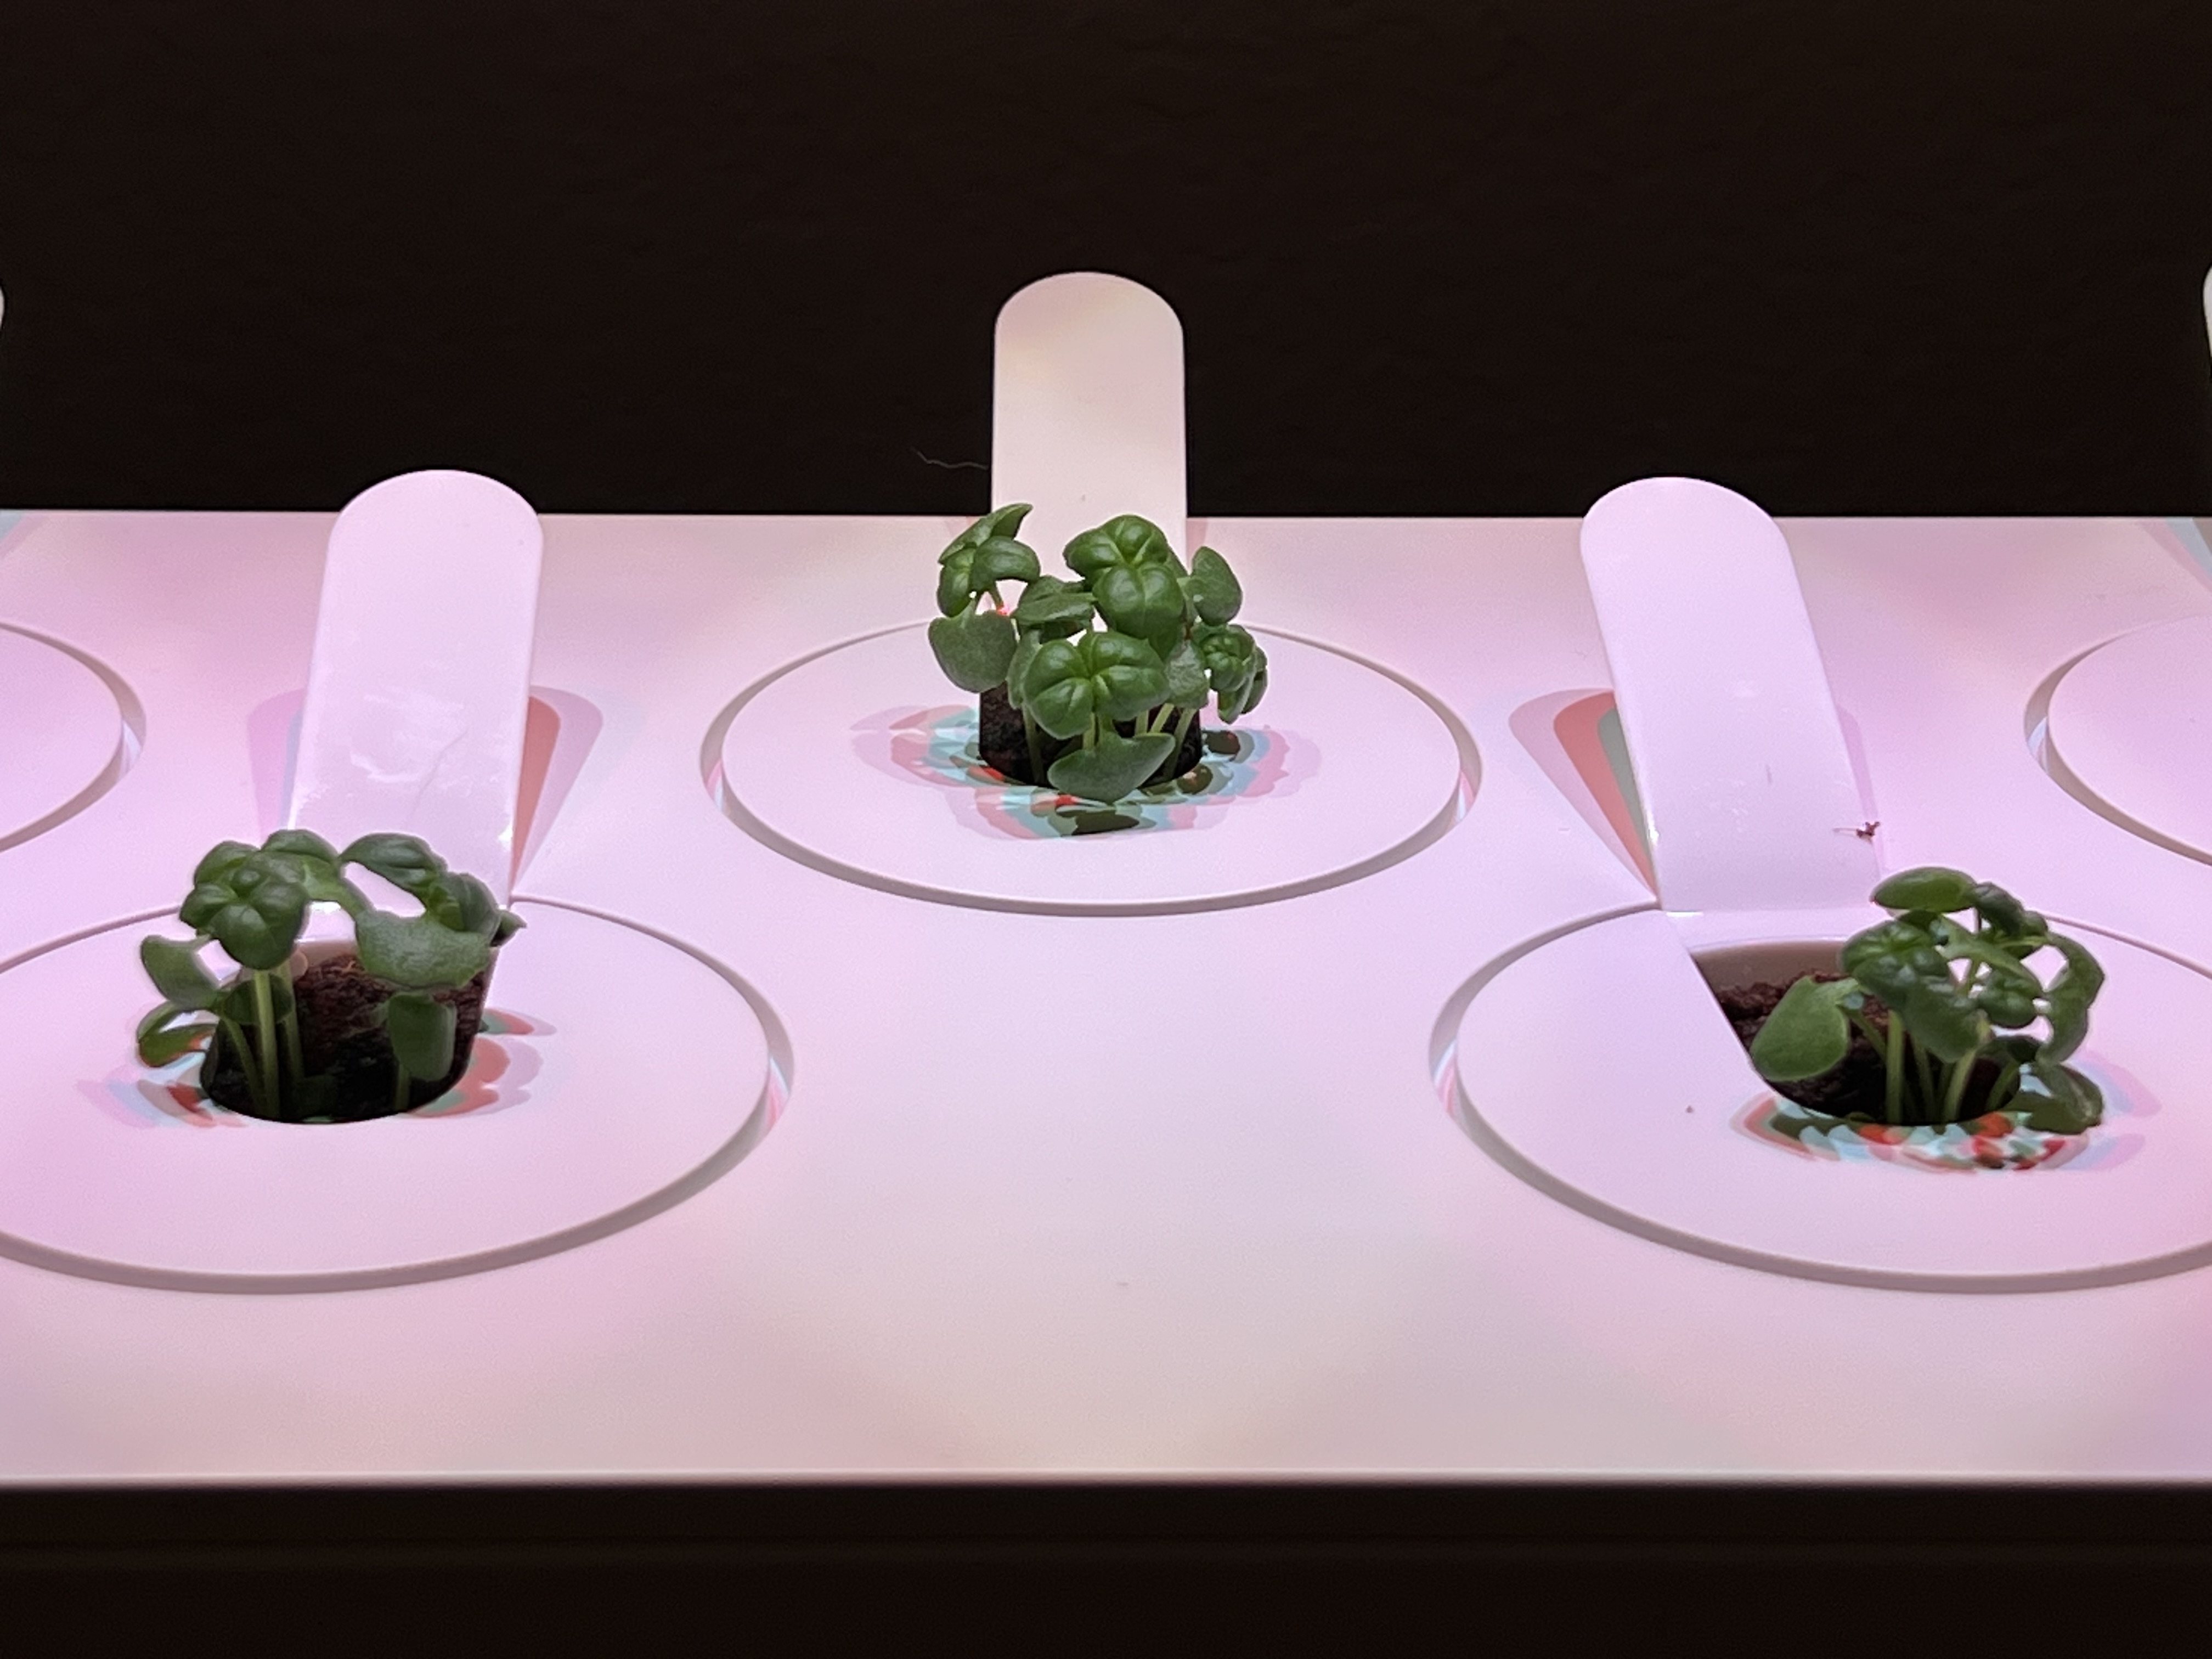
I removed the little plastic domes somewhere around the one week mark (which you’re supposed to do so they can keep growing bigger). That didn’t seem to change anything, other than to give the plants more room. They kept on growing at about the same rate.
It’s been two weeks now (where did the time go?), and they’re happily growing right along. According to the packaging, they should be ready to harvest in somewhere between five and twelve more weeks. I anxiously await the chance to try out some fresh basil!
The Minutae
 To recap, you need to be aware of the following (at least) if you’re
going to get into this:
To recap, you need to be aware of the following (at least) if you’re
going to get into this:
The lights are very bright. This makes sense, as it needs to provide “daylight” to the plants. Make sure you have a good place for it where it isn’t going to disturb you or your sleep.
If you have pets and they can reach it (or leaves and such that may drop off your plants), make sure that what you plant is safe for them. The last thing you want is to cause distress to your furry friends!
I refuse to plant catnip. It will teach them bad habits!
Soft water is not recommended because the sodium content will inhibit plant growth. The inside of my house is on soft water, so I have to get my water from an outdoor tap. I’m thinking about using bottled instead; the unsoftened tap water around here is so hard that it practically makes rocks if you let it evaporate. I have a feeling it will eventually foul up the garden and it will have to be descaled if I keep on with it.
Those are what I’ve found so far. I’m sure I’ll blather on in a future post if I find any other gotchas.
The Gripes
That $60 bump for the “PRO” version is (so far) my biggest complaint. All it seems to add is the ability to schedule the light. Given that ESP32 modules are a couple of bucks and perfectly capable of that sort of thing, $60 seems like a totally unjustified markup.
I had to have it though, because I didn’t want to sit around tinkering with it to get it on the right schedule; my understanding (possibly incorrect) is that the non-PRO version just starts the timer when you plug it in, so you have only one time each day that you can set it properly!
Personally, I think they should just offer one model and give it the Bluetooth functionality. Done right, the hardware likely wouldn’t be any more expensive. Either that or they should actually add some other features to justify the increase in price…
My only other annoyance so far (and it’s a minor one) is that you have to fill it slowly and carefully. You do so by pouring water over the little float that monitors the level, and it won’t allow a very high flow rate. There’s no easy way to grab the float and pull it out so you can add water (at least, not without removing a plant).
Beyond that, it seems like a fairly solid product.
On the accessories, though, the story is a bit different.
The herb saver I ordered is kinda chintzy, especially for twenty bucks. It’s super thin plastic, feels like it’s going to easily break, and is difficult to open and close. The little rubber plug falls out at the slightest provocation.
I am not impressed. We’ll see if that changes when I get around to using it.
The shears are similary overpriced. They’re tiny, and certainly don’t look like a $10 tool. Actually, it looks more like something that would be included as a random free bonus. We’ll see how they work when my plants are ready to harvest.
In short: other than the supplies specifically for the garden, you’re probably better off getting your tools and random accessories elsewhere.
The Future
 So I have somewhere between three and ten weeks left before I can
harvest my basil. For now, I’m just going to wait it out. I really
do want to see what kind of difference actual home-grown fresh basil
makes in cooking.
So I have somewhere between three and ten weeks left before I can
harvest my basil. For now, I’m just going to wait it out. I really
do want to see what kind of difference actual home-grown fresh basil
makes in cooking.
In the mean time I’ll be continuing to consider what I want to do to keep the cats out of it so I can plant the rest of my plants. The two others that are possible without that (the lettuce and… the strawberries I think?) require temperatures that are just not what exists in my office.
I’ll keep you posted.
Pun fully intended!