Every once in a while I like to do a round of maintenance on my homelab. This generally includes cleaning everything up, modernizing where I can, and so on. The beginning of 2024 seemed like an excellent time, but also a bit more urgent than normal.
My vSphere licenses were expired, and so was my VMUG subscription.
Now, I could have just renewed my subscription and gotten everything back to normal again easily, but VMware has been annoying me on multiple levels:
Their software has become bloated and obnoxious, and their interfaces are a bit clunky (though at least they moved to HTML5 instead of the Flash monstrosity they tried for a while!).
vSphere has been surprisingly unreliable; vCenter likes to crash on occasion, as does the ESXi user interface. I then have to go restart them. It happens often enough that it annoys me. Admittedly I’m on an older version, but see the last bullet point in this list.
I don’t like paying a hundred bucks a year to run my homelab.
I don’t like subscription software in general, and VMware has now discontinued all their non-subscription offerings in the enterprise space. I have philosophical issues with supporting an organization that goes this route.
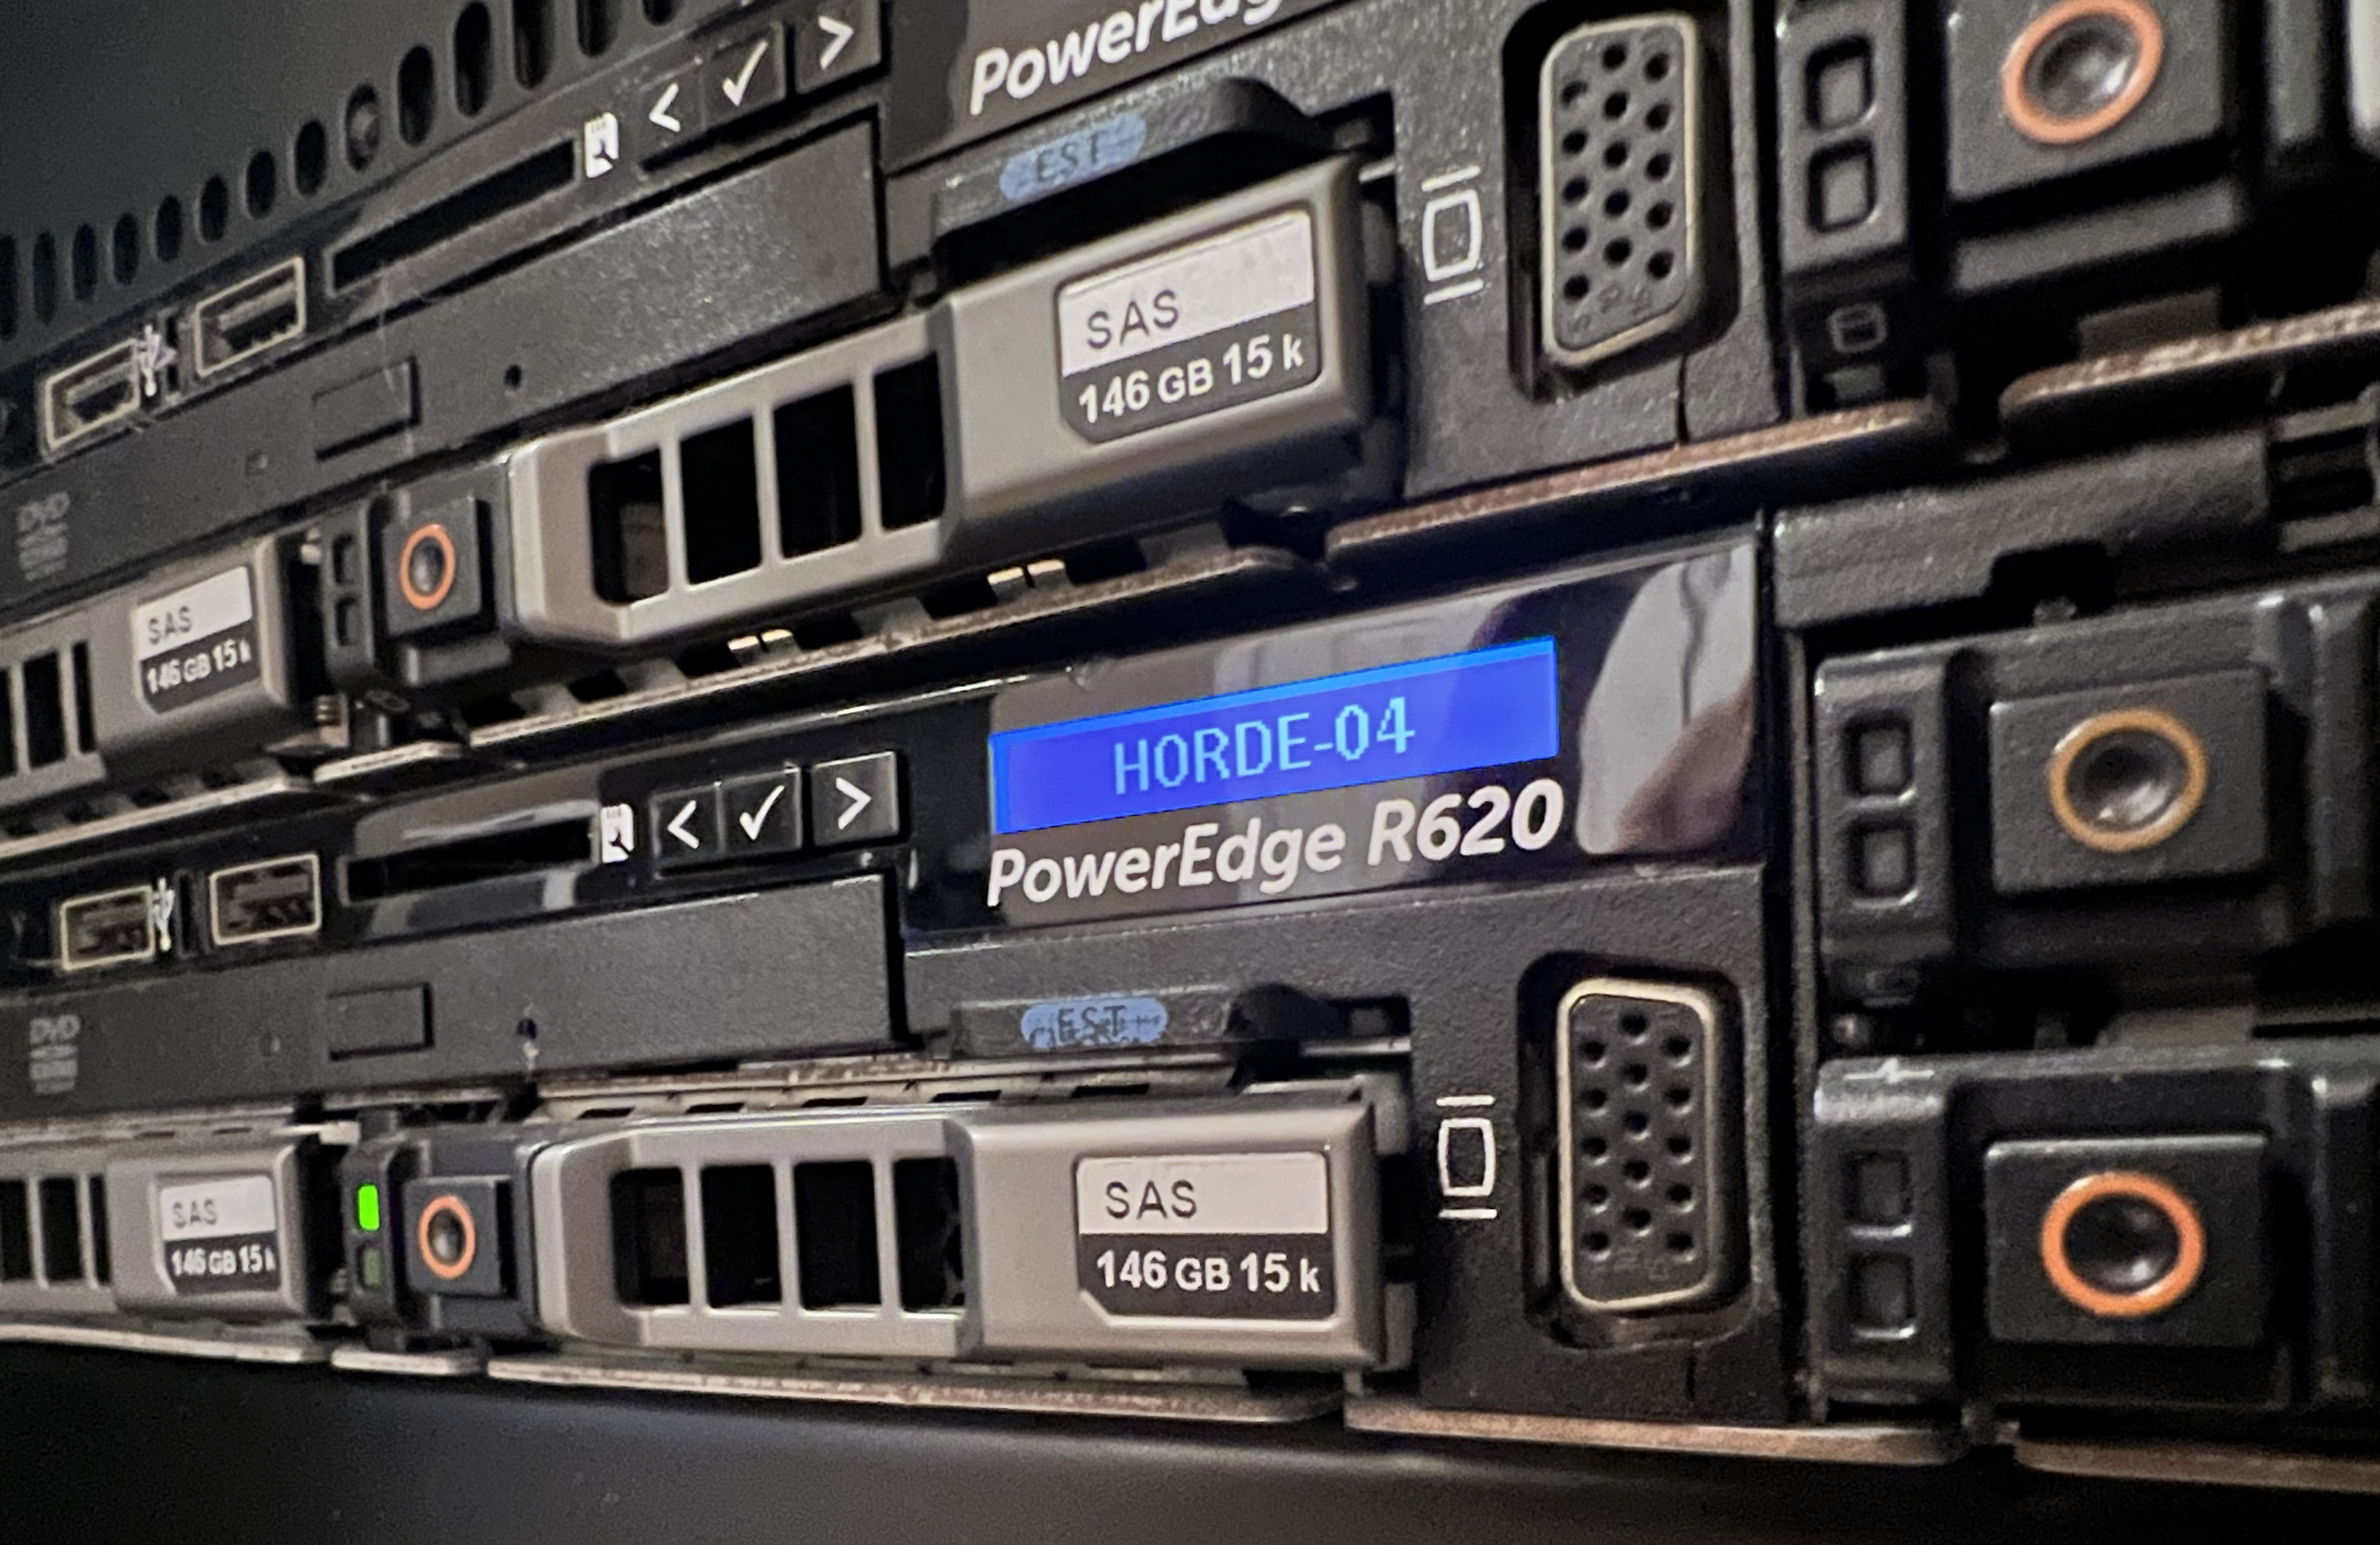
Their support for legacy hardware absolutely sucks. I have perfectly good Dell R620’s that VMware no longer supports. Yes, they’re ten years old, but they still work just fine and there’s no reason to replace them!
And so, with my licenses expired, I finally decided it was time to cut and run. There had to be a better option that didn’t mean spending more money, didn’t there?
Enter Proxmox.
Step 1: Install Proxmox
Proxmox is open source (AGPL I believe), and attempts to fill the same general space as vSphere. This seemed like a good target. Installing it was easy enough: simply follow the instructions to make a bootable USB key, plug it into my currently unused Supermicro server, and boot it.
The rest was fairly self explanatory.
At first glance, the UI looks very similar to VMware, though it has it’s advantages and disadvantages (more on that later). All in all, it was fairly easy to set up just by following a bit of logic. Once installed, I only had a few tasks to accomplish:
Add an NFS datastore for VM and image storage.
Fix the DNS settings.
Add a distinct VLAN-aware bridge for my VMs. This host has two network adapters; one for administration and storage, and one for VM use, the latter of which is an 802.1q trunk that my VMs live on.
Disable the enterprise update repository since I’m not paying for the thing.
And… that was pretty much it. I was ready to start fighting my way through making my tooling work with Proxmox. I use terraform, and I was a little skeptical of connecting it up to this thing.
I shouldn’t have bothered worrying…
Step 2: The Terraform Connection
While it took a bit of research, there is actually decent support for Proxmox (the basic functions at least) in Terraform. If you google around a bit, you’ll find two providers:
The telmate provider, which is the one you’ll see the most about via google for some strange reason. It offers exactly two resource types, and is very limited.
The bpg provider, which is less well known but headed in a much better direction. It supports far more than the telmate provider does.
I went with bpg because it’s being actively developed and it already seems to have overtaken telmate in functionality. It only has room to grow, too. There are bugs, but I’m guessing that’s true of the telmate provider as well.
To connect it up with Terraform, I added a terraform user and associated API Token via the Proxmox admin UI, and then set up the provider block:
provider "proxmox" {
  endpoint  = "https://horde-01.s.gtu.floating.io:8006"
  insecure  = true
  username  = "terraform"
  api_token = var.proxmox_api_token

  ssh {
    username = "root"
    password = var.proxmox_root_password
  }
}
Note that the API token is in the form of
username!tokenname=key, so mine looks like
terraform@pve!terraform=uuid-goes-here. This was not
actually all that clear from the documentation, and took some
tinkering to get correct.
I gave that account and token every permission under the sun for now, since I’m not yet certain of how thoroughly I’m going to manage proxmox itself via terraform.
The ssh settings allow the provider to work around certain limitations in the proxmox API by shelling directly into the proxmox host. I’m not sure how I feel about this (or even which operations qualify). We’ll see if it continues to work well when I get around to creating an actual cluster…
Step 3: A New Image
Of course, the image I was cloning around in VMware was set up for VMware, so that required some small adjustments. I did, however, decide to stay with Rocky 8 for this round; I’ll make the migration to 9 a separate project.
The general changes were:
Update to Rocky 8.7 because I had it handy in my local yum mirror
Use the
qemu-guest-agentpackage instead of@guest-agents. Based on the content of that package group, that was actually a useless change, but at least I know I have the right thing installed…Swap out all of the sdX disk references to vdX in the kickstart file. I’m using the VirtIO drivers, which are supposed to be the fastest. I have no complaints so far.
Remove IPA and autofs (I decided to ditch FreeIPA; more on that later) and add the now-missing nfs-utils package.
Remove the
cloud-init-vmware-guestinfopackage.Add
sshto the end of thecloud_init_modulessection in/etc/cloud/cloud.cfgdue to differences in the clone/build process. In short, this forces it to generate the required ssh host keys on first boot.
And that was it! All I needed to do was manually boot up a VM in my lab VLAN to build the image, and I would have it ready to clone.
Right?
Yeah, no.
Interlude: Slight Differences
I’ve mentioned before that I use PXE and Kickstart to build my images. This is certainly not “modern”, but it is very effective. This required a hack in my DHCP config to support pxelinux configuration properly.
My DHCP configuration was insufficient to make my first VM boot properly.
It turns out that the default BIOS used by Proxmox uses iPXE, which is
a slightly different beast – and oh, so much better! In short, I no
longer need tftp in my environment. Instead, I just set
filename "boot-config-url" in my DHCP config, and iPXE does the
rest!
It’s so much easier!
So I slapped a config file in a directory on the same web server that serves up my yum repos:
#!ipxe

dhcp
kernel http://yum/yum/rocky/8.7/BaseOS/x86_64/kickstart/images/pxeboot/vmlinuz
initrd http://yum/yum/rocky/8.7/BaseOS/x86_64/kickstart/images/pxeboot/initrd.img
boot vmlinuz initrd=initrd.img bootdev=eth0 net.ifnames=0 biosdevname=0 ip=dhcp inst.ks=http://yum/kickstart/fio-proxmox
I then pointed the DHCP filename parameter at it, and voila! It booted right up, grabbing the specified kernel and initrd image, and passing the appropriate command line. Of course, that only got me so far: after a while, the thing just plain died.
Turns out that they’ve managed to make Anaconda require even more memory than it used to. I now have to create my image-builder machines with 4GB of RAM just to do the install.
And with that adjustment, I had an image built. Much like in VMware, I just right-clicked the VM in proxmox and selected “Convert to template”, and I was done.
Step 4: Convert Terraform Setup
With an image now available, the next task was to make my terraform setup work with Proxmox and my new image. Fortunately, I was smart about how I did things; all of my VM specs are module invocations, and the module deals with the details. For example, my original admin host before the change:
module "services-admin" {
  source = "git::ssh://git@gitlab/terraform/fio/vm?ref=v2.0"

  hostname    = "admin"
  domain      = "s.gtu.floating.io"
  puppet_role = "fio::role::admin"

  cpu_count   = 8
  memory      = 4096

  datacenter  = data.vsphere_datacenter.gtu
  folder      = vsphere_folder.services-infrastructure
  network     = data.vsphere_network.vlan0010
  datastore   = vsphere_nas_datastore.sd-fio-vmware-01
  image       = data.vsphere_virtual_machine.image-rocky8
}
This made updating things fairly easy. I checked out the VM module (locally in the terraform repo for convenience), created a new branch, and then set up a new invocation for a new admin node:
module "s-admin-01" {
  source = "./modules/vm"

  hostname       = "admin-01"
  domain         = "s.gtu.floating.io"
  network        = local.network_services
  puppet_role    = "fio::role::admin"

  cpu_count      = 8
  memory         = 4096
  root_disk_size = 32

  datastore      = local.datastore_main
  image          = local.image_rocky_87_0
}
This was coupled with some minor definitions for the datastore, image, and network ID:
locals {
  network_services      = 10
  # ...

  datastore_main        = "proxmox.01"

  image_rocky_87_0      = 100
  image_scientific_77_0 = 102
}
The network ID is just the VLAN tag associated with the VLAN in question; the datastore is the name of the datastore in proxmox. The images are the VM id of the template in question. I couldn’t find an easy way to extract the latter based on the name, not that I tried very hard.
And with that in place, I had to go edit the module to make it work with proxmox:
Fix code that obtained the IP address to specifically nab eth0 (I use old-style device naming in my VMs for predictability):
  locals {
    # This is bad.  It's a limitation of the provider, though.
    interface_index = index(proxmox_virtual_environment_vm.vm.network_interface_names, "eth0")
    eth0_address    = proxmox_virtual_environment_vm.vm.ipv4_addresses[local.interface_index][0]
  }
This is annoying, but I found no better way around it, unfortunately. The VMware provider provided a rather nifty
deafault_ip_addressoutput from the VM, but that isn’t available in the bpg provider. Not sure about telmate.Update the module outputs to use the correct data:
  output "ip_address" {
    value = local.eth0_address
  }

  output "vmid" {
    value = proxmox_virtual_environment_vm.vm.id
  }
Fix a few other random vmware data references for their equivalent Proxmox references.
Create a new cloud-config block to handle cloud-config the rather decent Proxmox way rather than the ugly, hacky vSphere way:
data "template_cloudinit_config" "cloud-config" {
  gzip          = true
  base64_encode = true

  part {
    content_type = "text/cloud-config"
    content      = var.cloud_config
  }
}

resource "proxmox_virtual_environment_file" "cloud-config" {
    content_type = "snippets"
    datastore_id = var.datastore
    node_name    = "horde-01"
    overwrite    = false

    source_raw {
      file_name = "tf-ci-userdata-${var.hostname}.${var.domain}.yaml"
      data      = data.template_cloudinit_config.cloud-config.rendered
    }
  }

  resource "proxmox_virtual_environment_file" "cloud-metadata" {
    content_type = "snippets"
    datastore_id = var.datastore
    node_name    = "horde-01"
    overwrite    = false

    source_raw {
      file_name = "tf-ci-metadata-${var.hostname}.${var.domain}.yaml"
      data      = <<-EOT
        { "local-hostname": "${var.hostname}.${var.domain}" }
      EOT
    }
  }
Note that these are stored as snippets on your datastore, so you’ll need to mark your datastore as allowing that via the UI.
Swap out the
vsphere_virtual_machinewith a more appropriateproxmox_virtual_environment_vm:resource "proxmox_virtual_environment_vm" "vm" { name = "${local.prefix}.${var.hostname}" tags = [ var.consul_server ? "consul-server" : "consul-agent", "terraform", ] # TODO: node_name = "horde-01" clone { vm_id = var.image full = false # TODO: } # # Note that the agent MUST come up within the agent timeout, # or things will break. Take this into account for images. # agent { enabled = true } dynamic "disk" { for_each = (var.root_disk_size == null) ? [] : [1] content { datastore_id = var.datastore interface = "virtio0" size = var.root_disk_size iothread = var.root_disk_iothread } } # TODO: TEST ME! dynamic "disk" { for_each = (var.data_disk == null) ? [] : [1] content { datastore_id = var.datastore interface = "virtio${disk}" size = var.data_disk iothread = var.data_disk_iothread } } cpu { type = var.cpu_type cores = var.cpu_count } memory { dedicated = var.memory } migrate = true on_boot = false # TODO: # dynamic "usb" { # for_each = toset(var.usb_devices) # # content { # mapping = usb.key # } # } network_device { # TODO: bridge = "vmbr1000" vlan_id = var.network } initialization { meta_data_file_id = proxmox_virtual_environment_file.cloud-metadata.id user_data_file_id = proxmox_virtual_environment_file.cloud-config.id } depends_on = [consul_keys.puppet-enc] }This is obviously an early version; there’s still more to do to finalize the module into something that will be flexible enough to work for the long term. I also have questions surrounding clustering and what host to point things at, but I’ll deal with that once I actually build it into a cluster (if I ever get around to that; it’s not needed right now).
Most of this is pretty basic: it sets it up for a linked clone of the image to make cloning nice and fast, and uses (by default) the
HostCPU type for performance. I’ll eventually swap this out for the recommended value (X86-64-v2-AES) when I put it into a cluster so I can do live migration.
All in all, it was a fairly easy conversion.
So now I had a working terraform module to build virtual machines in Proxmox. Time to move on…
Step 5: Upgrade GitLab… Again.
The last time I upgraded GitLab was back in March, and I didn’t upgrade it all the way to the latest version if memory serves. That meant that it was time to get it all current again.
Fortunately, GitLab makes this easy. You download the new RPM, install it, and wait until the background tasks complete before you upgrade again. The only exception to that was a required database upgrade to PostgreSQL 13, but that was easy enough since I was rebuilding servers anyway.
Thankfully, all of the Let’s Encrypt stuff was already managed by puppet, so I didn’t have to remember how to use certbot again.
The one downside to GitLab upgrades is that you can’t just upgrade to the latest if you’re too far behind. There’s an “upgrade path” that you have to follow to ensure that everything gets updated properly. In my case, it was six different upgrades to get to the latest version.
Thankfully, there’s a tool to help you figure it out.
Of course, GitLab 16.8 was just released. I was up to date for all of… 6 days.
Go figure…
Step 6: Migrate All The Things
From here it was mostly just generic sysadmin-style busywork. I had a
couple dozen VMs that needed migrating, and (fortunately!) in the last
round I puppetized it all so that I can just rebuild things. The only
catch was having to target my terraform apply’s, because I still had
a bunch of vSphere crap in the terraform state, and my vCenter server
was dead.
Yeah, terraform’s error management leaves something to be desired.
So for each host I would stop whatever service it was running, build a
new one on a slightly different hostname, and fire it up. Once it was
verified as functional, it was time to terraform state rm the
offending original host (I couldn’t destroy them because – no
vCenter!). Then I’d shut the original host down permanently.
There were only two catches.
One was something I had completely forgotten about, and missed puppetizing in the last round: my UniFi server that runs bits of my network. It’s an ancient version, and I have no particular desire to upgrade it (mostly because I’m afraid of what will happen). That led to a round of spelunking, rpm packaging, and other crap, as well as the creation of a Scientific 7.7 image to run it on because it conflicts with half of Rocky 8…
That task was more annoying than anything else, but ultimately successful. The host now has its data directory on an NFS mount and is all RPMified and puppetized so I can rebuild it whenever I want. That makes me feel better.
The other thing was figuring out how to pass USB through for my openHAB server.
That proved interesting.
Interlude: Proxmox and USB Passthrough
Due to (deliberate) limitations in the Proxmox API, you can’t simply connect a USB device to a host by ID or port. Instead, you have to create a mapping at the cluster level, and reference that mapping. That can be done either by USB port or by device ID.
Setting up this mapping was easy enough in the UI, and so now I had an
item called zstick that referred to my Aeotec Z-Stick.
Unfortunately, there’s a bug in the bpg provider right now; you can’t actually specify by mapping, because it insists on having the device ID, which is invalid. You can’t have both.
I have an issue pending in GitHub for that, so we’ll see where it goes. There’s also a feature request for direct mapping support, which is also relevant.
I eventually just gave up and added it by hand in the UI. I’ll have to revisit it when the provider supports it properly.
Step 7: Free Myself From IPA
I have long used FreeIPA to handle single sign-on across my homelab, but I’ve been increasingly annoyed with it. The entire thing is a Rube Goldberg contraption of immense proportions. Even just backing up and restoring it can be questionable, and forget about upgrades; those can be deeply annoying.
The list of IPA headaches goes on and on… and on.
Over the last nine months my installation started to exhibit problems (such as an inability to replicate anywhere, so I was down to one non-redundant node), and I finally had enough. Rather than bother with fixing it, I decided to remove FreeIPA from the environment entirely.
My replacement?
Puppet.
Adding the groups and users in Puppet was easy enough, though ssh keys
made things somewhat interesting. In the end, I decided to use a
centralized location for puppet to put ssh keys (which I then
discovered I’d already set up for part of my provisioning process).
This is easy to do: in /etc/ssh/sshd_config, just change your
AuthorizedKeysFile line to read like this:
AuthorizedKeysFile .ssh/authorized_keys /etc/ssh/authorized_keys/%u.keys
From there, you can just add a username.keys file that
works just like the normal one. Your user can even still manage their
own authorized keys without mucking it all up. In my environment,
puppet maintains the entirety of /etc/ssh/authorized_keys.
Add the relevant keys to puppet, teach it to deposit them in the appropriate directory (and with the appropriate ownership and permissions!), and you’re done. Piece of cake!
I also had to disentangle IPA from a few other things, though:
- My DokuWiki instance
- Grafana
- GitLab
- My currently non-puppetted Raspberry Pi nodes that run DNS, DHCP, and now newly Consul
- My QNAP NAS
I worry that I forgot one in there somewhere, but I think I got them all. It’s annoying not to have single signon for these things, but such is life. I would rather deal with managing a few different accounts than continue to deal with IPA, at least for now.
Each service had its own way of dealing with separating it from LDAP, but all in all it was surprisingly painless.
Interlude: Adventures in Automounting
Of course, I was using autofs fairly extensively with FreeIPA to manage all my various NFS volume mounts, and that was a big loss. My initial thought was to simply run autofs and have puppet manage the configs, but then I discovered an easier way.
I am loathe to say it.
Really, I am.
I used systemd.
Yes, you read that right. Systemd has a fairly simple automount
mechanism that (so far) works surprisingly well. Instead of managing
/etc/auto.master and friends, you simply add your mounts to
/etc/fstab as normal, but add an additional mount option:
x-systemd.automount.
And that’s it.
So in the end, a typical automount in my environment looks like this
in /etc/fstab:
sd:fio.prod.logs /vol/fio/prod/logs nfs rw,nfsvers=3,nofail,x-systemd.automount 0 0
So I added all my automounts to puppet using that particular option, and off I went. It has been trouble-free so far. There’s also a timeout option you can set to get it to dismount things after they’re idle for a while, but I haven’t bothered with that yet (though I probably will eventually).
Of course, I had to remember to create all the mountpoints…
Step 8: Kubernetize
As I mentioned a while ago, the site itself now runs in Kubernetes. I have not, however, mentioned the other things I moved there. Most notably my wiki (formerly Confluence but now DokuWiki), all of my internal batch jobs, my monitoring infrastructure, and more.
That had to be migrated as well, though it was reasonably easy. The only reason it took any time at all is that I ditched Argo CD in favor of terraform and GitLab. That meant that some things had to be adjusted to be deployed into my newly rebuilt k8s environments.
Thankfully, I’m using k3s rather than a full kubeadm-based system. It’s much easier to manage, and at my scale I really don’t need actual clusters (though my puppet classes do support building them).
In the end, I have three environments:
- The existing AWS production environment
- A local production environment
- A CI environment, mostly for GitLab runners and review environments.
Setting up CI was new; I had my CI runner on a dedicated VM before, but Kubernetes makes things a bit easier to manage. Moving that was actually a breeze; terraform simply installs the GitLab Kubernetes Agent and the GitLab Runner using helm. I also leverage the gitlab terraform provider to gather the pieces I need there, rendering the whole thing entirely automated.
I was originally going to put GitLab itself in there, but everything I read about running GitLab in Kubernetes told me it was a bad idea for my use case. For now, Omnibus remains the way.
Step 9: Share and Enjoy!
And that… was pretty much it!
All in all, it took about week for everything, from ground zero
knowing nothing about Proxmox, to having all of my stuff in it and
modernizing half of it while I was at it. The only thing left was to
run a bunch of terraform state rm’s to clean out the cruft left over
from the now-defunct vSphere setup.
So that is, as they say, that. I still have some minor cleanup to do (mostly just annoyances like old puppet classes that are no longer used, that now need to go away), but all in all the system is back into a state where it’s reasonably up to date and maintainable.
Except that UniFi server, but at least I can rebuild that one now…
Proxmox Notes
Gotchas I noticed about Proxmox while I was going through this process:
Proxmox lives on port 8006 for HTTP. You cannot reconfigure it to use 80 or 443. Annoyingly, you’ll just have to live with it (or hack it, take your pick).
Proxmox will complain at you about not being licensed when you log in. This is normal, and cannot be disabled without altering Proxmox itself as I understand it. Such is life; I can live with it.
While the Proxmox UI is pretty decent, there are a few minor things that I miss from VMware. Most notably:
VMware showed current CPU utilization in a column in various host lists. Proxmox does not do that so far as I can find.
In fact, I can’t find a place where I can see a view of all the CPU utilizations of all the VMs anywhere in the UI. Maybe I’m missing it, but I don’t think it’s there. Now I’ll need a grafana graph to pull it from prometheus and node_exporter. It’s on my list.
It does not appear to have the concept of Folders for organizing things. Apparently you have to use Pools for that, but it seems to me that such might have other implications.
The Proxmox UI could do with a separation between “general usage” and “administration”. It would make things easier to find IMHO.
I haven’t tried the LXC containers it supports. I’m not convinced that would be a Good Thing. Maybe some day…
The
bpg/proxmoxterraform provider does not allow you to specify an ssh key in the provider’ssshblock. This means that the provider has to use a password to log in, which is annoying.The
bgp/proxmoxprovider has a broken implementation for specifying USB passthrough parameters.
Apart from these minor hiccups, Proxmox is performing admirably so far. The UI is a lot snappier than VMware ever was, and I haven’t noticed a negative performance difference (though to be fair, I’m currently running it on a faster machine than the old Dells, so YMMV).
So far, though, I’m extremely happy with the decision to go this way. It strikes me as being much easier to manage than vSphere, to boot.
I’ll keep you posted if anything crops up.
And some day I’ll tinker with the Proxmox/qemu implementation of live migration…
For now, I’m going to go enjoy not being worried about all my stuff not coming back after a power failure because VMware’s licenses expired! Yay!